
HP LaserJet 3050 Getting Started Guide
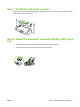
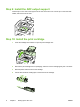
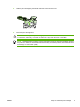
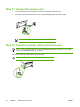
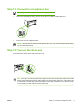
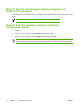
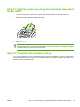
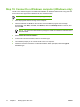

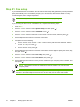
Table Of Contents
- Setting up the all-in-one
- Step 1: Prepare the location
- Step 2: Regulate the environment
- Step 3: Verify the package contents
- Step 4: Locate the all-in-one parts
- Step 5: Install the control-panel overlay (if not already installed)
- Step 6: Install the media tray
- Step 7: Install the output bin support
- Step 8: Install the automatic document feeder (ADF) input tray
- Step 9: Install the ADF output support
- Step 10: Install the print cartridge
- Step 11: Connect the power cord
- Step 12: Connect a printer cable to the all-in-one
- Step 13: Connect to a telephone line
- Step 14: Turn on the all-in-one
- Step 15: Set the control-panel display language and location (if necessary)
- Step 16: Test the hardware setup by printing a configuration report
- Step 17: Test the copier by using the automatic document feeder (ADF)
- Step 18: Complete the hardware setup
- Step 19: Connect to a Windows computer (Windows only)
- Step 20: Connect to a Macintosh computer (Mac OS X V10.3 and 10.4 only)
- Step 21: Fax setup
- Step 22: Test the software installation
- Step 23: Register the all-in-one
- Step 24: Program the Scan To button (Windows only)
- Step 25: Use the HP ToolboxFX software to set device settings (Windows only)
- Step 26: Support information
- Congratulations!
- Tips for using the all-in-one
Step 13: Connect to a telephone line
NOTE If you are not using the fax functionality, go to step 15.
1. Connect the included fax cord to the port on the all-in-one that is marked with an "L".
2. Connect the cord to a telephone jack.
NOTE Use only the fax cord that came with the all-in-one. For more information about faxing,
see the online User Guide.
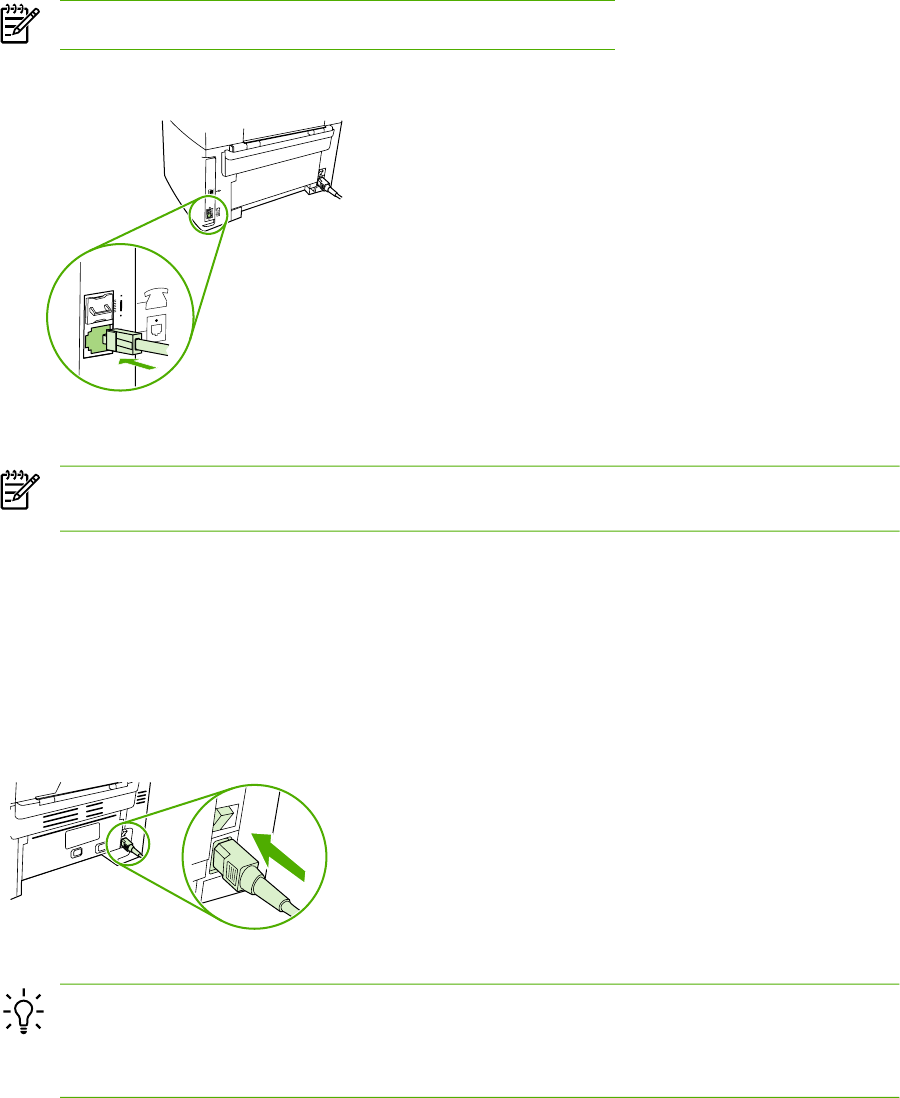
Step 14: Turn on the all-in-one
Press the power switch on the back of the all-in-one.
Hint If the all-in-one has no power and no lights are lit on the control panel, make sure that the
power cord is attached securely to both the all-in-one and a power outlet. Also, if the power cord
is connected to a power strip, make sure that the power strip is switched on, or connect the all-
in-one directly to a wall outlet to test the power strip.
ENWW Step 13: Connect to a telephone line 11