
Hardware Reference Guide - dc7700 CMT


Table Of Contents
- Product Features
- Hardware Upgrades
- Serviceability Features
- Warnings and Cautions
- Unlocking the Smart Cover Lock
- Removing the Computer Access Panel
- Replacing the Computer Access Panel
- Removing the Front Bezel
- Replacing the Front Bezel
- Removing Bezel Blanks
- Installing Additional Memory
- Removing or Installing an Expansion Card
- Drive Positions
- Removing a Drive from a Drive Bay
- Installing Additional Drives
- Changing from a Minitower to a Desktop Configuration
- Changing from a Desktop to a MinitowerConfiguration
- Specifications
- Battery Replacement
- External Security Devices
- Electrostatic Discharge
- Computer Operating Guidelines, Routine Care and Shipping Preparation
- Index
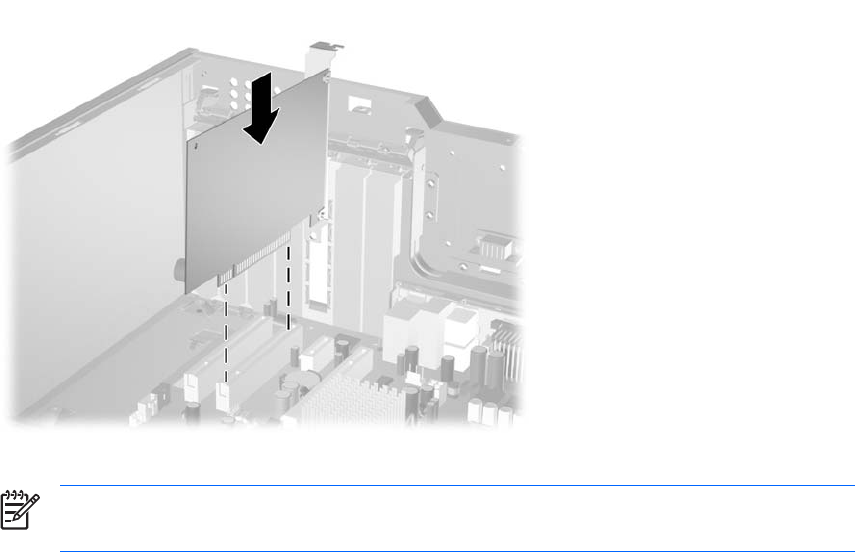
11. To install a new expansion card, slide the bracket on the end of the card down into the slot on the
back of the chassis and press the card down firmly into the socket on the system board.
Figure 2-14 Installing an Expansion Card
NOTE When installing an expansion card, press firmly on the card so that the whole
connector seats properly in the expansion card slot.
12. Close the expansion card retention latch, making sure that it snaps firmly into place.
13. Connect external cables to the installed card, if needed. Connect internal cables to the system
board, if needed.
14. Replace the computer access panel.
15. Reconnect the power cord and turn on the computer.
16. Lock any security devices that were disengaged when the computer access panel was removed.
17. Reconfigure the computer, if necessary. Refer to the Computer Setup (F10) Utility Guide on the
Documentation and Diagnostics CD for instructions about using Computer Setup.
ENWW Removing or Installing an Expansion Card 25