
Hardware Reference Guide - dc7700 CMT


Table Of Contents
- Product Features
- Hardware Upgrades
- Serviceability Features
- Warnings and Cautions
- Unlocking the Smart Cover Lock
- Removing the Computer Access Panel
- Replacing the Computer Access Panel
- Removing the Front Bezel
- Replacing the Front Bezel
- Removing Bezel Blanks
- Installing Additional Memory
- Removing or Installing an Expansion Card
- Drive Positions
- Removing a Drive from a Drive Bay
- Installing Additional Drives
- Changing from a Minitower to a Desktop Configuration
- Changing from a Desktop to a MinitowerConfiguration
- Specifications
- Battery Replacement
- External Security Devices
- Electrostatic Discharge
- Computer Operating Guidelines, Routine Care and Shipping Preparation
- Index
5. Remove the computer access panel.
CAUTION After removing the access panel, look for the LED on the system board to the
right of the DIMM sockets. If the LED is illuminated, the system still has power. Turn off the
computer and remove the power cord before proceeding.
6. Locate the battery and battery holder on the system board.
NOTE On some computer models, it may be necessary to remove an internal component
to gain access to the battery.
7. Depending on the type of battery holder on the system board, complete the following instructions
to replace the battery.
Type 1
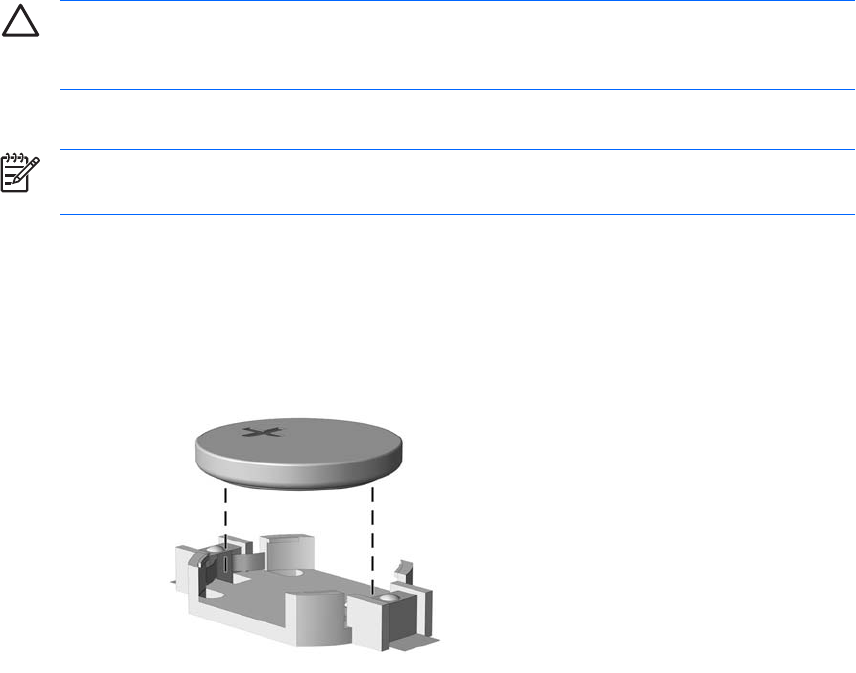
a. Lift the battery out of its holder.
Figure B-1 Removing a Coin Cell Battery (Type 1)
b. Slide the replacement battery into position, positive side up. The battery holder automatically
secures the battery in the proper position.
Type 2
a. To release the battery from its holder, squeeze the metal clamp that extends above one edge
of the battery. When the battery pops up, lift it out (1).
44 Appendix B Battery Replacement ENWW