
HP ProDesk 600 G2 Microtower Business PC - Maintenance and Service Guide


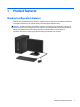
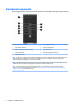
Table Of Contents
- Product features
- Illustrated parts catalog
- Routine care, SATA drive guidelines, and disassembly preparation
- Removal and replacement procedures – Microtower (MT) chassis
- Computer Setup (F10) Utility
- Troubleshooting without diagnostics
- Safety and comfort
- Before you call for technical support
- Helpful hints
- Solving general problems
- Solving power problems
- Solving hard drive problems
- Solving media card reader problems
- Solving display problems
- Solving audio problems
- Solving printer problems
- Solving keyboard and mouse problems
- Solving Hardware Installation Problems
- Solving Network Problems
- Solving memory problems
- Solving CD-ROM and DVD problems
- Solving USB flash drive problems
- Solving front panel component problems
- Solving Internet access problems
- Solving software problems
- POST error messages and diagnostic front panel LEDs and audible codes
- Password security and resetting CMOS
- Using HP PC Hardware Diagnostics (UEFI)
- System backup and recovery
- Battery replacement
- Power Cord Set Requirements
- Statement of Volatility
- Specifications
- Index
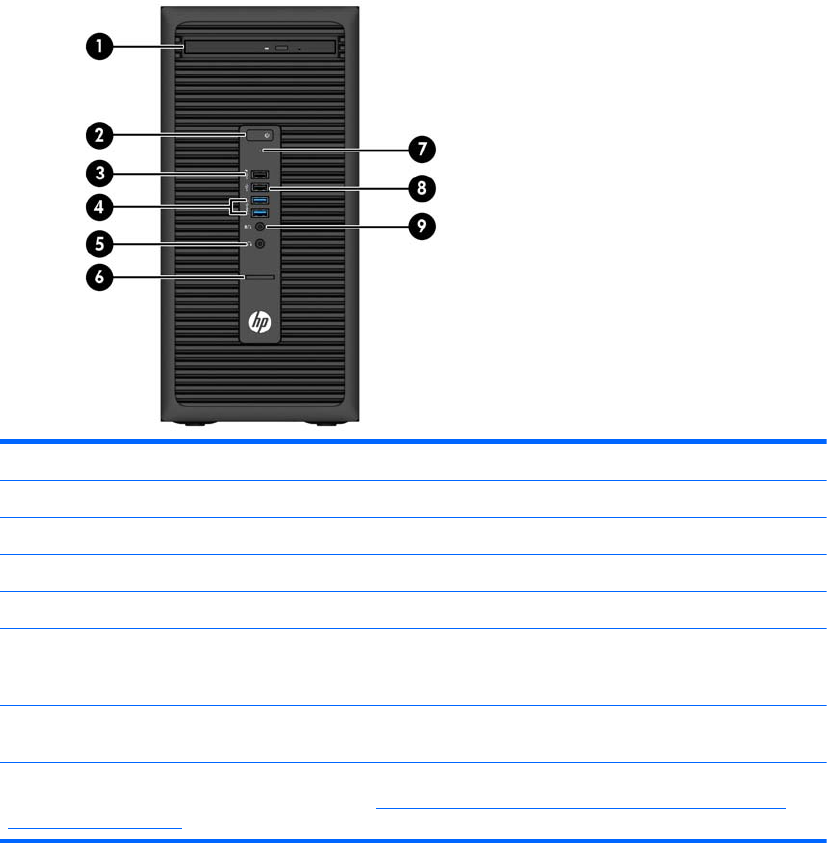
Front panel components
Drive conguration may vary by model. Some models have a bezel blank covering the optical drive bay.
1 Slim Optical Drive (optional) 6 SD Card Reader (optional)
2 Dual-State Power Button 7 Hard Drive Activity Light
3 USB 2.0 Charging (powered) Port (black) 8 USB 2.0 Port (black)
4 USB 3.0 Ports (blue) 9 Microphone/Headphone Connector
5 Headphone Connector
NOTE: When a device is plugged into the Microphone/Headphone Connector, a dialog box will pop up asking if you want to
use the connector for a microphone Line-In device or a headphone. You can recongure the connector at any time by
double-clicking the Audio Manager icon in the Windows taskbar.
NOTE: The USB 2.0 Charging Port also provides current to charge a device such as a Smart Phone. The charging current is
available whenever the power cord is plugged into the system, even when the system is o.
NOTE: The Power On Light is normally white when the power is on. If it is ashing red, there is a problem with the
computer and it is displaying a diagnostic code. Refer to Interpreting system validation diagnostic front panel LEDs and
audible codes on page 103 to interpret the code.
2 Chapter 1 Product features