
HP ProDesk 600 G2 Microtower Business PC - Maintenance and Service Guide
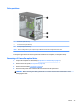
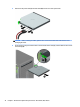


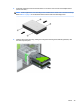


Table Of Contents
- Product features
- Illustrated parts catalog
- Routine care, SATA drive guidelines, and disassembly preparation
- Removal and replacement procedures – Microtower (MT) chassis
- Computer Setup (F10) Utility
- Troubleshooting without diagnostics
- Safety and comfort
- Before you call for technical support
- Helpful hints
- Solving general problems
- Solving power problems
- Solving hard drive problems
- Solving media card reader problems
- Solving display problems
- Solving audio problems
- Solving printer problems
- Solving keyboard and mouse problems
- Solving Hardware Installation Problems
- Solving Network Problems
- Solving memory problems
- Solving CD-ROM and DVD problems
- Solving USB flash drive problems
- Solving front panel component problems
- Solving Internet access problems
- Solving software problems
- POST error messages and diagnostic front panel LEDs and audible codes
- Password security and resetting CMOS
- Using HP PC Hardware Diagnostics (UEFI)
- System backup and recovery
- Battery replacement
- Power Cord Set Requirements
- Statement of Volatility
- Specifications
- Index
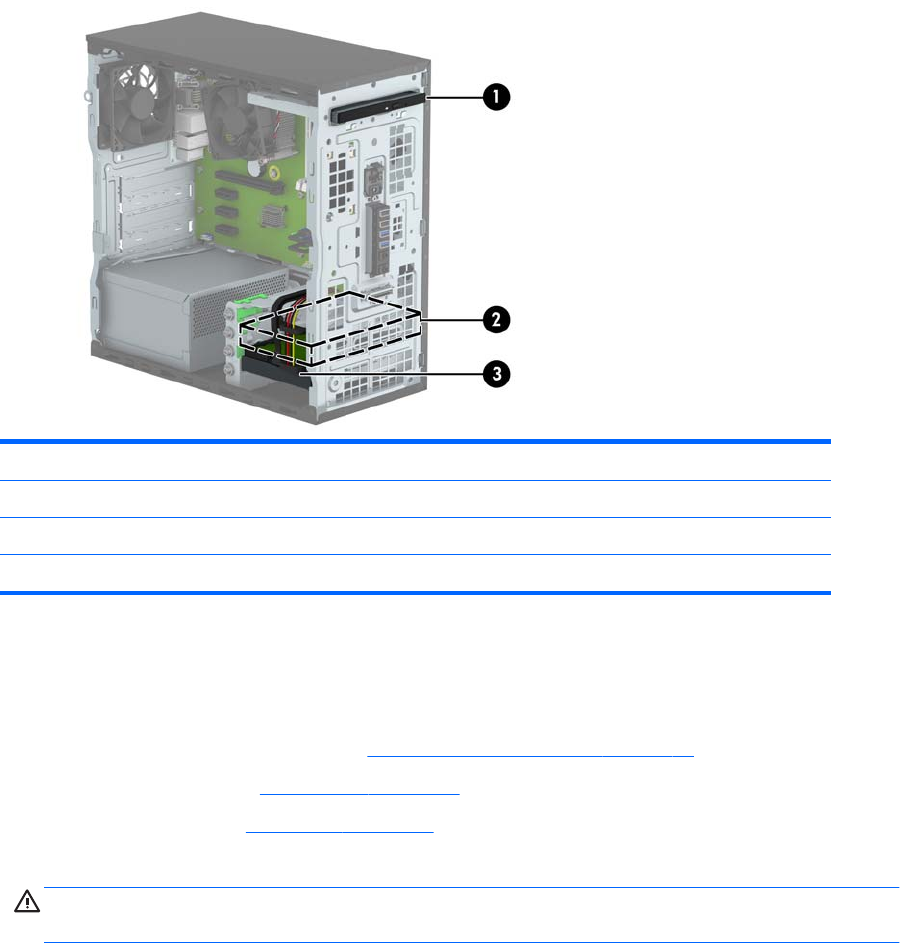
Drive positions
1 9.5mm slim optical drive bay
2 3.5-inch secondary hard drive bay
3 3.5-inch primary hard drive bay
NOTE: The drive conguration on your computer may be dierent than the drive conguration shown above.
To verify the type and size of the storage devices installed in the computer, run Computer Setup.
Removing a 9.5 mm slim optical drive
1. Prepare the computer for disassembly (Preparation for disassembly on page 19)
2. Remove the access panel (Access panel on page 20)
3. Remove the front bezel (Front bezel on page 21)
4. Disconnect the power cable and data cable from the back of the optical drive.
CAUTION: When removing the cables, pull the tab or connector instead of the cable itself to avoid
damaging the cable.
Drives 33