
Installation Instructions

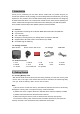
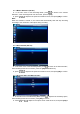

2.2 Installing the Car DVR
2.2.1 .Remove the protective stickers from the Car DVR and protective paper from
suction mount.
2.2.2 Find a right position on the windscreen and fix it.
2.2.3 Adjust the device position
1).Adjust the horizontal view angle by turn the camera left & right.
2).Adjust the vertical view angle by move up and down on the mount or sticker.
2.3 Connecting to Power
Only use the included charger to power and charge the Car DVR.
1).Once the Car DVR is securely installed on your vehicle’s windscreen, plug the
charger into your vehicle’s cigarette lighter
2) .Run the cable along your vehicle’s console and windscreen and plug the USB Micro
plug into the Car DVR.
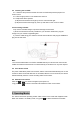
Note:
1.It’s recommended that the car DVR is installed behind your vehicle’s rear view monitor.
2.Make sure that the camera view is not obstructed by an window tint or any other objects.
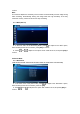
2.4 Auto Power On/Off
The power cable takes power from the ACC, and the camera will automatically turn on and
record for about 10 seconds after the car is started; When the car is turned off, the device
will automatically save the current recording and then shut down.
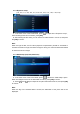
2.5 Manual Power On/Off
Press the once, the screen will lights up and power on;
Long press the for about 3 seconds and release the button to shut down.
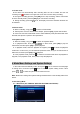
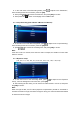
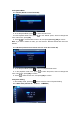
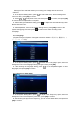
3. Operating Modes
The camera has three operating modes: Video mode, Photo mode and Playback mode.
When the camera is in standby mode, Long press to switch between three modes.