
Users guide

Intel® RAID Software User Guide 236
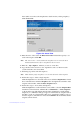
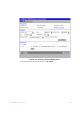
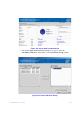
frame (This screen shows the Snapshot Base details and any existing snapshots).
Click Create View.
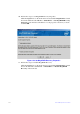
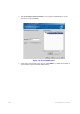
Figure 158. Create View
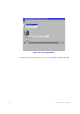
14. Enter the name of the view in the Enter V
iew name field and the capacity to set
aside in the snapshot. Click OK.
Note: The “
View name” can be found in the snapshots screen view in the View
Details information box after a snapshot has been created
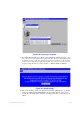
15. Enter into “My computer”, and the
n you can see a new drive.
16. Copy the files in the new drive to the original drive and cove
r them. Now the
system rolls back to the selected PiT.
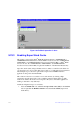
17. Following steps delete and clear snapshots.
Note: Whe
n deleting single snapshots, you can only delete the oldest snapshot.
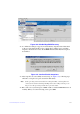
18. Follow these steps to dele
te a single snapshot:
Click the Logical
view on the main menu screen; Click the Snapshot Base virtual
drive in the left frame; Click the Snapshots tab in the right frame; Click the oldest
snapshot in the timeline; Click the Delete Snapshot button.
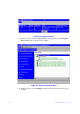
19. Follow these steps to clear (delete) all snapshots:
Click the Lo
gical view on the main menu screen; Click to select the Snapshot Base
virtual drive in the left frame; Click Go To -> Virtual Drive -> Clear Snapshots
on the menu bar (Or right click the Snapshot Base Virtual Drive and click Clear
Snapshots); A confirmation dialog box appears. It warns that any snapshot-related
data that is on the associated Snapshot Repository virtual drives will be lost if you
clear the snapshots; Check the box next to the Confirm field and click Yes and the
snapshots will be cleared.