
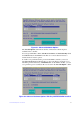
Users guide
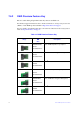
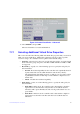
79 Intel® RAID Software User Guide
drives use less energy. The fan and the enclosure require less energy to cool and
house the drives, respectively. Also, this technology helps avoid application
time-outs caused by spin-up delays and drive wea
r caused by excessive spin-
up/down cycles.
5. You can encrypt data and use drive-based ke
y management for your data security
solution. This option protects the data in the event of theft or loss of drives. Select a
value from the Secure VD field. The options available are Ye s and No.
6. You can choose whether you want to use the d
ata protection feature on the newly
created virtual drive. Select a value from the Data Protection field. The options
available are Yes and No. The Data Protection field is enabled only if the
controller has data protection physical drives connected to it.
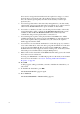
7. You can change the sequence of the physical drives in the Drives box. All the
available un
configured good drives appear in the Drives box. Select the physical
drives in the sequence that you prefer. Based on your selection, the sequence
number appears in the # column.
8. You can enter a size less than the maximum size of the drive group, if you want to
create other virtual
drives on the same drive group. The maximum size of the drive
group appears in the Size field. The size entered can be in MB, GB, or TB and
should be mentioned only in uppercase. Before entering a size, ensure that you have
deleted the previous default value by using the Backspace key.
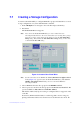
9. Enter a name for the virtual drive in the Name field
. The name given to the virtual
drive cannot exceed 15 characters.
You may press Advance
d to set additional properties for the newly created virtual
drive. For more information, see Section “Selecting Additional Virtual Drive
Properties” on page 80.
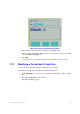
10. Press OK.
A dialog appears, asking you whether you want to initialize t
he virtual drive you
just created.
11. To initialize the virtual drive, press OK.
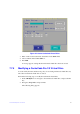
The Cr
eate New VD dialog appears again.
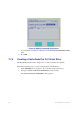
12. Press Advanc
ed.
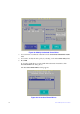
The Cr
eate Virtual Drive – Advanced dialog appears.