
User`s manual


81
Then you can use this name to access the printer port. By
default, the printer port name is “lpt1” for port 1, “lpt2” for
port 2 and “lpt3” for port 3.
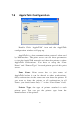
Upgrade: You can use this “Upgrade” tool to update
the newest firmware of the print server. Click “
” button
and select the correct firmware in your PC. After selecting
the firmware file, click the “Upgrade” button to finish the
firmware update process.
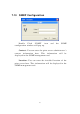
Note that before you upgrade the firmware please make
sure that the IP Address settings of the MFP Server are in
the same network as your computer.
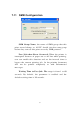
Wireless Function:
You can select “Auto”, Enable” or
“Disable” to manually configure the wireless function.
Auto – “Auto” is the default setting of the print server. At this
mode, the print server will automatically decide to enable or
disable the wireless function. When the print server starts up, it
will auto-detect if the LAN port is connected to an active
network by an Ethernet cable. If this is the case, the print
server will run in Ethernet mode. If the print server is not
connected to an active network by Ethernet cable, the print
server will run in wireless LAN mode.
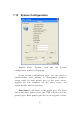
Users can plug the Ethernet cable to the print server at the first,
after configuring the print server features and wireless settings;
they can unplug the Ethernet cable to enable the wireless
connection. It makes the configuration much easier without
creating the wireless connection in advance.