
User's Manual Part 2

Chapter 2 — Connecting and Configuring the Printer
46 PD41 and PD42 Commercial Printer User’s Guide
Use the following table to understand SNMP settings.
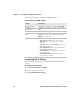
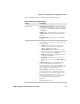
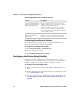
Configuring TCP/IP Settings
Use the TCP/IP settings page to view and change TCP/IP network
settings.
To configure TCP/IP settings
1 Click Network Admin > TCP/IP.
2 View or update your settings.
3 Click Submit TPC/IP settings.
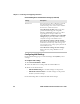
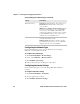
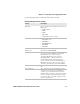
Understanding the SNMP Settings
Setting Description
Read Community Community with rights to read the SNMP MIBs.
Read/Write
Community
Community with rights to read and write SNMP
MIBs.
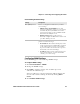
System Name Administrative name for the SNMP node.
Authentication Failure
Trap
Defines if a trap is sent when an unauthorized
SNMP request tries to access the printer. Choose
Enable to send the trap.
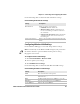
Trap Address Settings Click Add to specify these trap address settings:
• Trap Address: IP address of the receiver of
SNMP traps. You can specify up to four trap
addresses.
• Trap Port: The port where SNMP traps are sent.
The default port if 162.
• Trap Community: Defines the community to
which SNMP traps will be sent.
• Friendly Name: A user-defined text string that
identifies the trap.
• Trap Enable Status: Defines whether the
specified trap is enabled.