
Instructions / Assembly


6
8
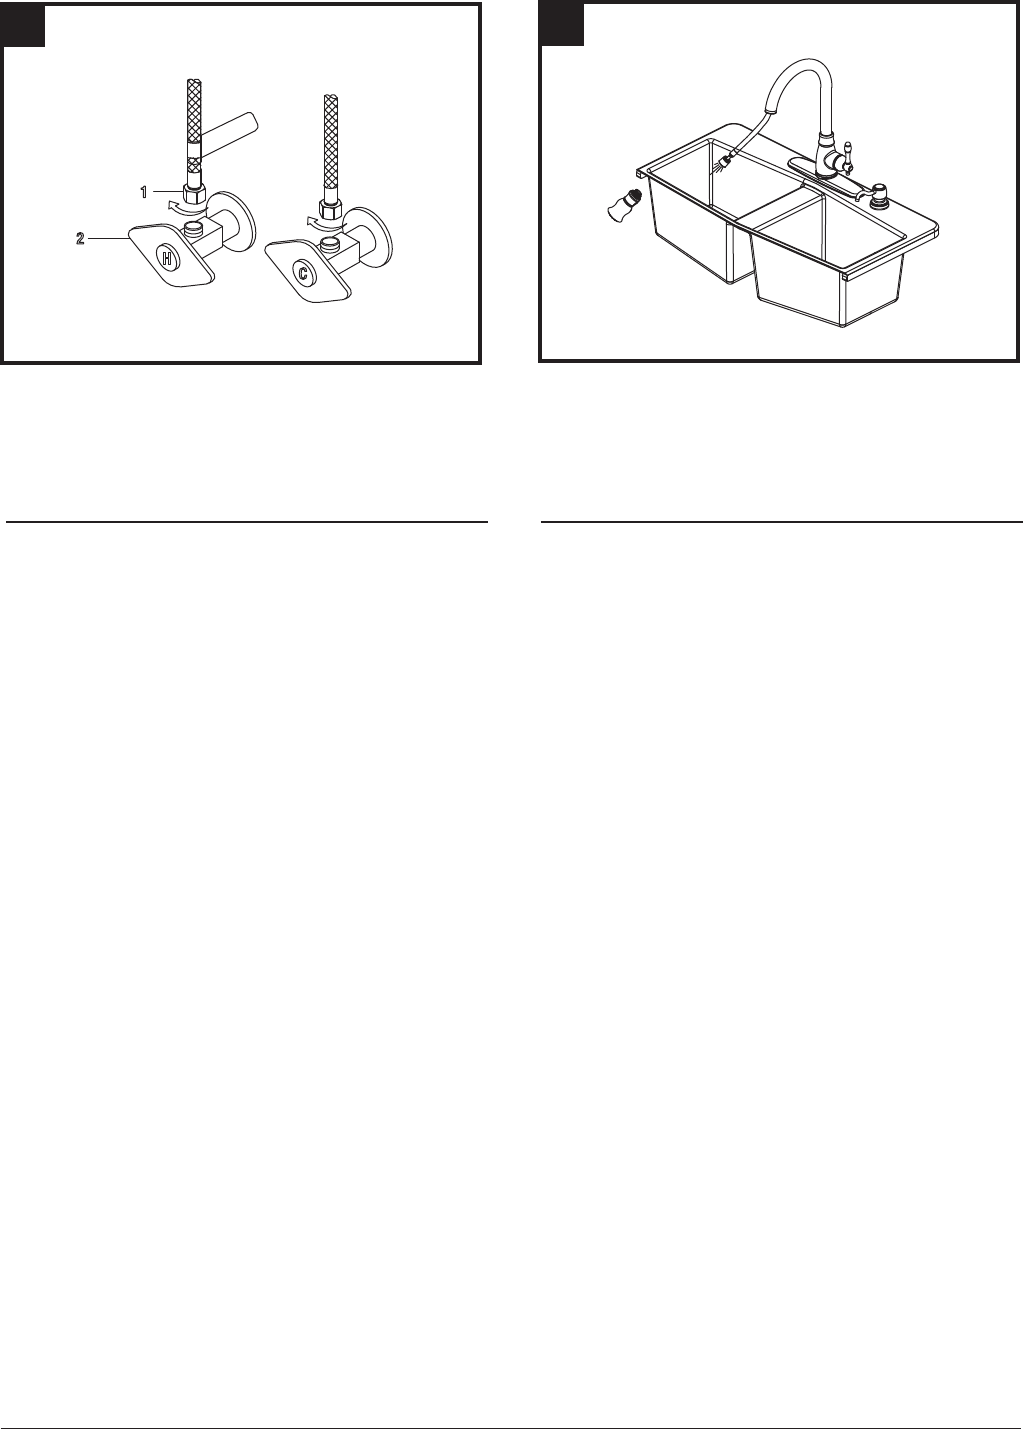
Important: After installation is completed, turn on hot and cold water supplies.
Check for leaks. Pull the hose assembly out of the spout and remove the spray head
by unscrewing it from the hose counterclockwise. Be sure to hold the end of the
hose down into the sink and turn the faucet on to the warm position where it mixes
hot and cold water. Flush water lines for one minute. This flushes away any debris
that could cause damage to internal parts. Check for leaks. Re-tighten any
connections if necessary, but do not overtighten. Reinstall spray head by hand
tightening it back onto the spray hose.
Importante: Luego de terminar la instalación, abre los suministros de agua
caliente y fría. Revisa si hay filtraciones. Retire el ensamblaje de la manguera del
conductor y retire el cabezal del rociador desenroscándolo de la manguera en el
sentido contrario a las manecillas del reloj. Asegúrese de apuntar con el extremo
de la manguera hacia el fregadero y gire la llave del grifo a la posición cálida,
donde mezcla el agua fría y el agua caliente. Deje que corra el agua por un
minuto. Esto enjuagará cualquier suciedad que podría dañar las piezas internas.
Controle que no haya filtraciones. Vuelva a ajustar las conexiones que lo
necesiten, pero sin ajustar demasiado. Vuelva a instalar el cabezal del rociador
ajustándolo a mano en la manguera del rociador.
9
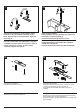
Thread the nut (1) on the supply line onto the outlet of the water supply valve
(2) and tighten with a wrench. Do not overtighten.
NOTE: The hot side inlet tube is indicated by a label. Avoid twisting wires
together or placing the wires close to each other and damaging.
Enrosca la tuerca (1) de la línea de suministro en la salida de la válvula de
suministro de agua (2) y aprieta con una llave. No aprietes
demasiado.
NOTA: El tubo de entrada del agua caliente se identica con una etiqueta.
Evita enroscar los cables juntos o colocarlos cerca y evita dañarlos.