
Operation Manual

19
q
ew
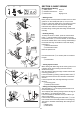
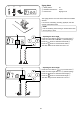
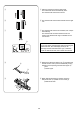
Straight Stitch Sewing
q Stitch pattern: 00 or 01
w Needle thread tension: 2 to 6
e Presser foot: Zigzag foot A
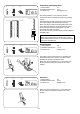
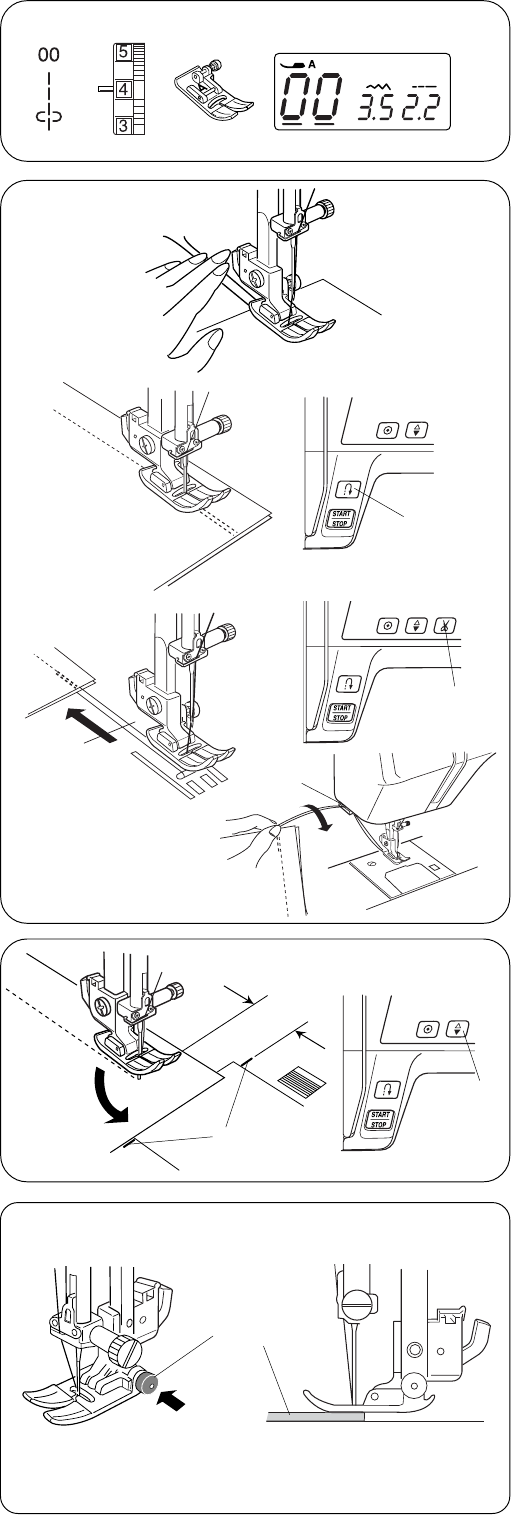
•Sewing from the edge of thick fabric
The black button q on the zigzag foot locks the foot in
the horizontal position.
This is helpful when starting sewing from the far edge of
thick fabrics w or sewing across a hem.
Lower the needle into the fabric at the point where you
wish to start sewing.
Lower the foot while pushing the black button q in. The
foot is locked in the horizontal position to avoid slipping.
The button is released automatically after sewing a few
stitches.
q Black button
w Thick fabrics
w
q
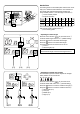
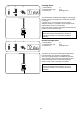
• Starting to sew
Raise presser foot and position the fabric next to a seam
guide line on the needle plate (5/8˝ (1.6 cm) is most
common). Lower the needle to the point where you want
to start. Lower the presser foot and pull the threads
toward the back. Start the machine. Gently guide
the fabric along a seam guide line letting the fabric feed
naturally.
• Finishing sewing
To fasten the ends of a seam, press the reverse stitch
button q and sew several reverse stitches. Press the
thread cutter button w to cut the threads, or the machine
will trim the threads at the end of sewing automatically if
the thread cutter sign is indicated on the LCD display
(see page 7).
q Reverse stitch button
w Thread cutter button
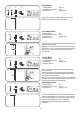
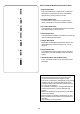
Raise the presser foot.
SECTION III. BASIC SEWING
e
q
w
w
Use the thread cutter e on the face plate to cut thicker
threads.
e Thread cutter
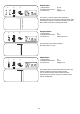
• Turning square corners
When sewing with fabric edge at 5/8˝ seam guide, to turn
a square corner so that sewing continues at same
distance from edge.
Stop the machine when front edge of fabric reaches the
cornering guide lines q.
Lower the needle by pressing needle up/down button w.
Raise the presser foot and turn the fabric counterclock-
wise 90°.
Lower the presser foot, and begin stitching in the new
direction.
q Cornering guide
w Needle up/down button
q