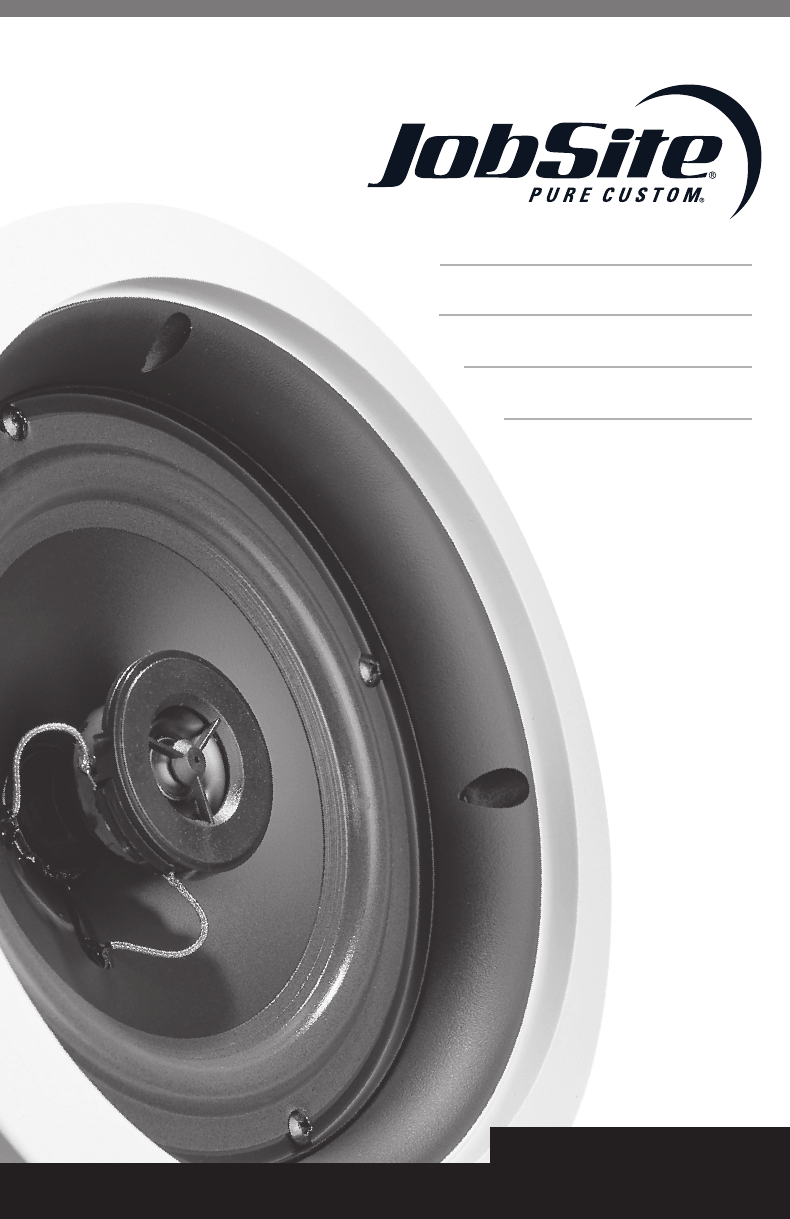
INSTALLATION & USER GUIDE For Music and Voice Reproduction from In-Ceiling Locations 6-1/2” BUILDER GRADE IN-CEILING LOUDSPEAKER DS00640A-0_LSC-BG.
LSC-BG 6-1/2” BUILDER GRADE IN-CEILING LOUDSPEAKER TABLE OF CONTENTS Features ............................................................................................................................1 Product Overview...........................................................................................................2 Package Contents ..........................................................................................................2 Preparing for Installation ..............................
FEATURES: LSC-BG ■ 6-1/2” Polypropylene woofer with urethane surround ■ 3/4” Fluid-cooled ultra-wide Kaladex® tweeter ■ Moisture and UV resistant ■ Rust proof aluminum grilles Installation friendly design: ■ Suitable for painting ■ Connection terminals accept up to 12 gauge speaker wire ■ Quick mounting system for new construction or retrofit installations ■ Includes hole template and paint mask ■ Ceiling Bracket for New Construction: Jobsite NCB-6 (sold separately) 1 DS00640A-0_LSC-BG.
PRODUCT OVERVIEW The illustration shows how a typical JobSite LSC loudspeaker mounts into a ceiling. Ceiling Bracket serves as a “hole saver” when drywall has not been applied. Cannot be used when installing into existing ceilings. Knockout wire tie allows the wire to be secured to the bracket throughout the new construction process. It knocks out cleanly when the speaker is installed. Wings instantly snap into the bracket without screws. Dogs swivel 90°, then clamp the speaker frame to the drywall.
INSTALLATION Installation Existing Construction: 1. Use a stud locator to identify the location of the ceiling joists on each side of the proposed loudspeaker mounting location. 2. Mark ceiling joists’ edges, using masking tape. 3. Repeat this process for the other loudspeaker locations. 4. You may have to adjust the loudspeaker mounting locations based on how the ceiling joists line up with the proposed speaker mounting locations. 5. Check for clearance using the following method: a.
4. There are four clamps “dogs” which hold each speaker in place. Rotate all the dogs inward. 5. Insert the loudspeaker into the cutout in the ceiling. 6. The dogs are tightened via four front-baffle screws. Tighten the dogs by turning the screws clockwise, while pressing the loudspeaker against the ceiling. NOTE: DO NOT OVER TIGHTEN THESE SCREWS. Overtightening the screws may make the grille difficult to install. 8. Install the grille into the speaker. 9. Repeat this procedure for the next speaker. holes.
LIMITED WARRANTY JobSite Systems (“JobSite”) warrants to the original retail purchaser only that this product will be free of manufacturing defects in material and workmanship for the following periods and subject to the limitations and exclusions set forth below: Lifetime Warranty All Passive Loudspeaker Products (those not requiring AC or battery power). Ten years from the date of purchase All Other Passive Products (those not requiring AC or battery power).
JOBSITE SYSTEMS 12331 S.W. 130 STREET, MIAMI, FLORIDA 33186 P (866) 4JB-SITE (866-452-7483) – F (305) 238-0185 WWW.JOBSITESYSTEMS.COM JobSite Systems, a Niles Audio Corporation company, 12331 S.W. 130 Street, Miami, Fl 33186. ©2008 Niles Audio Corporation. JobSite, The JobSite logo, Pure Custom and Niles are registered trademarks of Niles Audio Corporation. All other trademarks are the property of their respective owners. Some JobSite products (or components thereof) are manufactured under one or more U.S.