
- Frontier Equipment Automobile Parts User's Manual


Table Of Contents
- Contents
- Recognize Safety Information
- Items to Note Prior to Installation
- Average Installation Time
- AutoTrac Universal Kit
- Install GreenStar Common Components
- Install AutoTrac Universal Steering Kit
- Attaching ATU to Vehicle Console
- Installing Clamp and Rod Anti-Rotation Bracket
- Installing Straight Anti-Rotation Bracket
- Installing Angled Anti-Rotational Bracket
- Connect Steering Motor Harness
- Connect ATU Harness to GreenStar Harness
- ATU Harness Connection Locations
- Harness Connection location in GreenStar Ready Tractor Side Consoles
- Harness Connection Location for Implement Connectors
- Connecting to a GreenStar Harness Terminator
- Connect Seat Switch Harness
- Secure and Route all Harness
- Activating AutoTrac Universal
- Optional Use of Shims
- System Setup
- Page Numbers
Installation Instructions
OUO6050,0001473 –19–19OCT05–2/2
PC8721 –UN–23AUG05
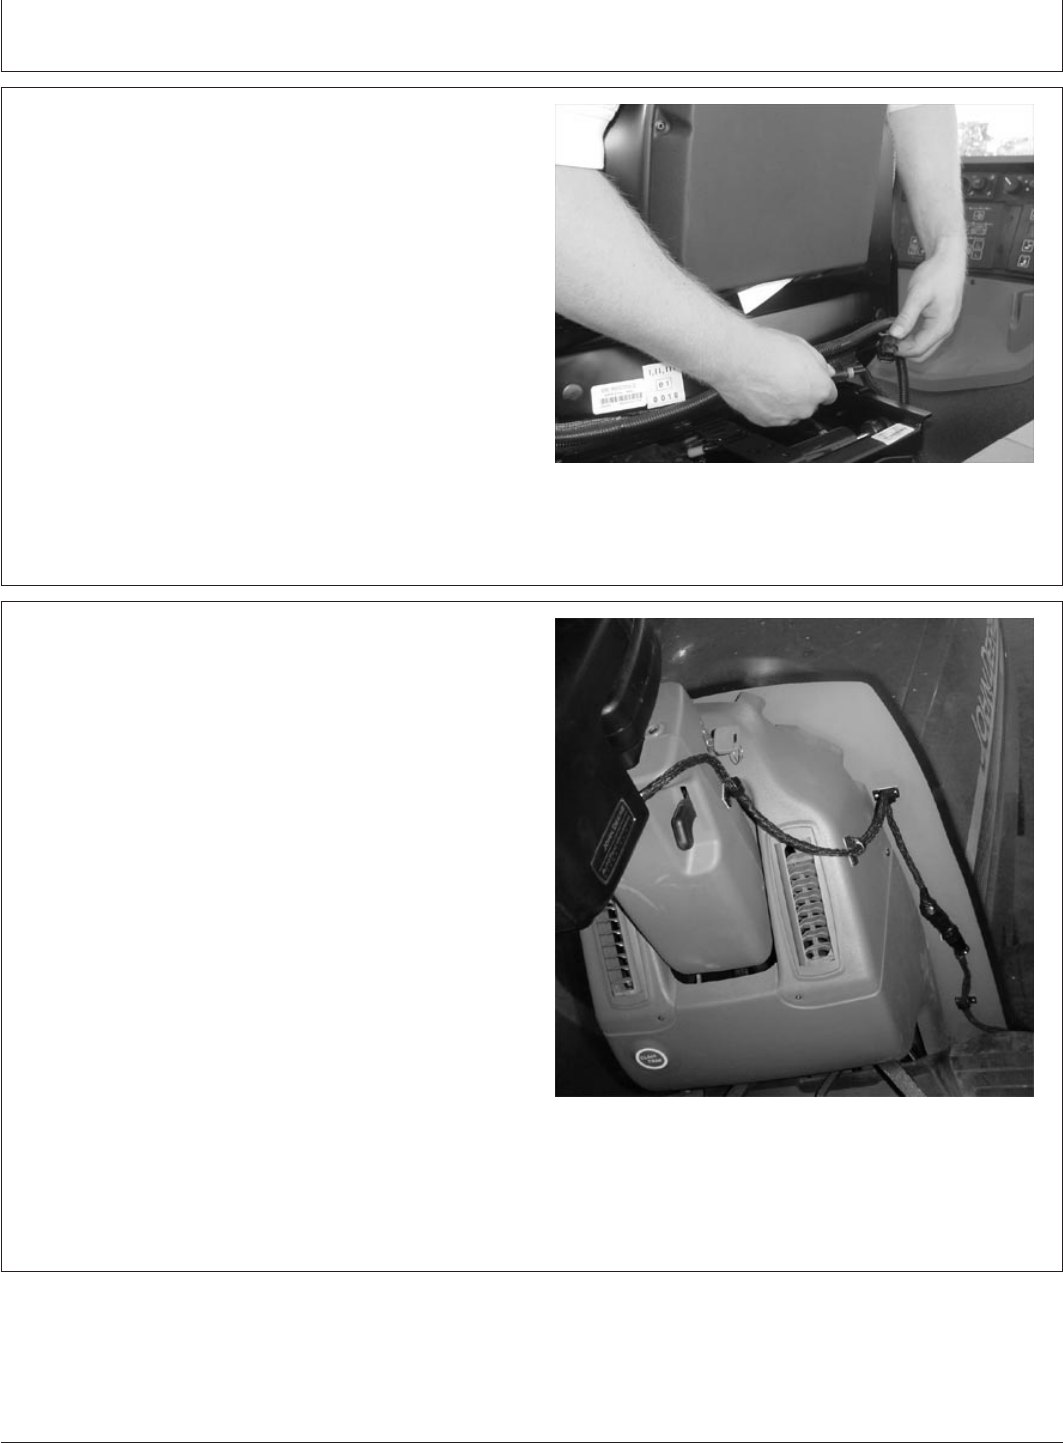
2. Connect seat switch harness connector to seat switch.
This harness includes two sets of connectors, use only
the set of connectors that corresponds with the
vehicle’s seat switch. Disregard the unused set.
NOTE: Seat Switch is found on lower backside of the
seat.
3. Plug unused connectors in to each other for dust
protection
OUO6050,0001475 –19–19OCT05–1/1
Secure and Route all Harness
PC8873 –UN–22NOV05
In order to prevent interference with operator and cab
controls secure and route harnesses with the provided
adhesive clips.
1. Thoroughly clean surface with JD All-Purpose Cleaner
(TY25683) and dry completely before attaching
adhesive clips.
2. After removing protective film on the clips, press and
hold the clips to the surface for at least 30 seconds to
ensure proper adhesion.
3. Securely lock all harnesses into clips leaving enough
slack for the steering wheel to telescope.
PC20577 (22MAR06)
18
Installation Instructions
032206
PN=20