
Projection Television Users Guide


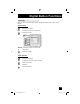


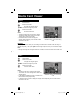
Table Of Contents
- Important Safety Precautions
- Warnings
- Quick Setup AA
- Remote Programming
- Onscreen Menus
- Initial Setup
- Picture Adjust
- Sound Adjust
- Clock/Timers
- Button Functions
- Multi Screen Function
- Twin
- Index
- Freeze
- Swap
- Select
- Power
- Number Buttons - 10Key Pad
- Tune
- Input
- TheaterPro D6500K
- Return +/TV
- Sound
- Video Status
- Natural Cinema
- Muting
- Sleep Timer
- ML/MTS
- Display
- C.C. (Closed Caption)
- Channel +/–
- Volume +/–
- Favorite
- Aspect
- Menu
- OK
- Back
- TV/CATV Slide Switch
- VCR/DVD Slide Switch
- VCR Buttons
- DVD Buttons
- Light
- Digital Setup
- Digital Button Functions
- Media Card Viewer
- OSD Information
- Cable Card Information
- Troubleshooting
- Appendix
82
Digital Button Functions
i.LINK Menu
i.LINK has two menus - Controller and Device.
By connecting a D-VHS VCR with an i.LINK cable, you can set the timer easily.
Notes:
• The i.LINK/Timer function will only work when you are receiving digital programming only.
• As for the connection of a D-VHS VCR with the i.LINK cable, see page 27.
• When operating the i.LINK, don't insert or disconnect the i.LINK cable.
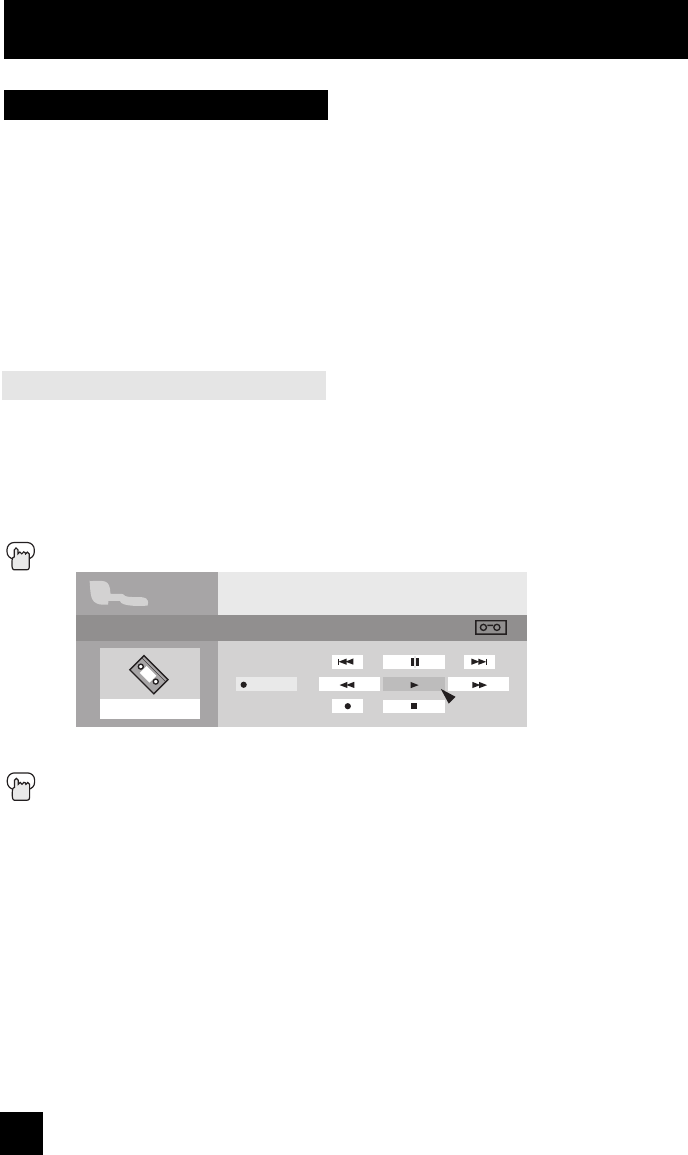
Controller
You can operate a D-VHS VCR connected with an i.LINK cable by using this controller.
Notes:
• If the i.LINK is not connected, the Controller OSD will not appear. The OSD of device on
page 83 will appear.
• Some controller operations may differ from your D-VHS VCR operations.
Press the i.
LINK MENU button
è
π†
To select the key you want to operate
Press the OK button
i.LINK
D-VHS1
Device
STOP 00:00:00
POWER
Controller
LCT2024 English.indd 82LCT2024 English.indd 82 11/8/05 9:27:40 AM11/8/05 9:27:40 AM