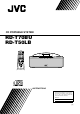
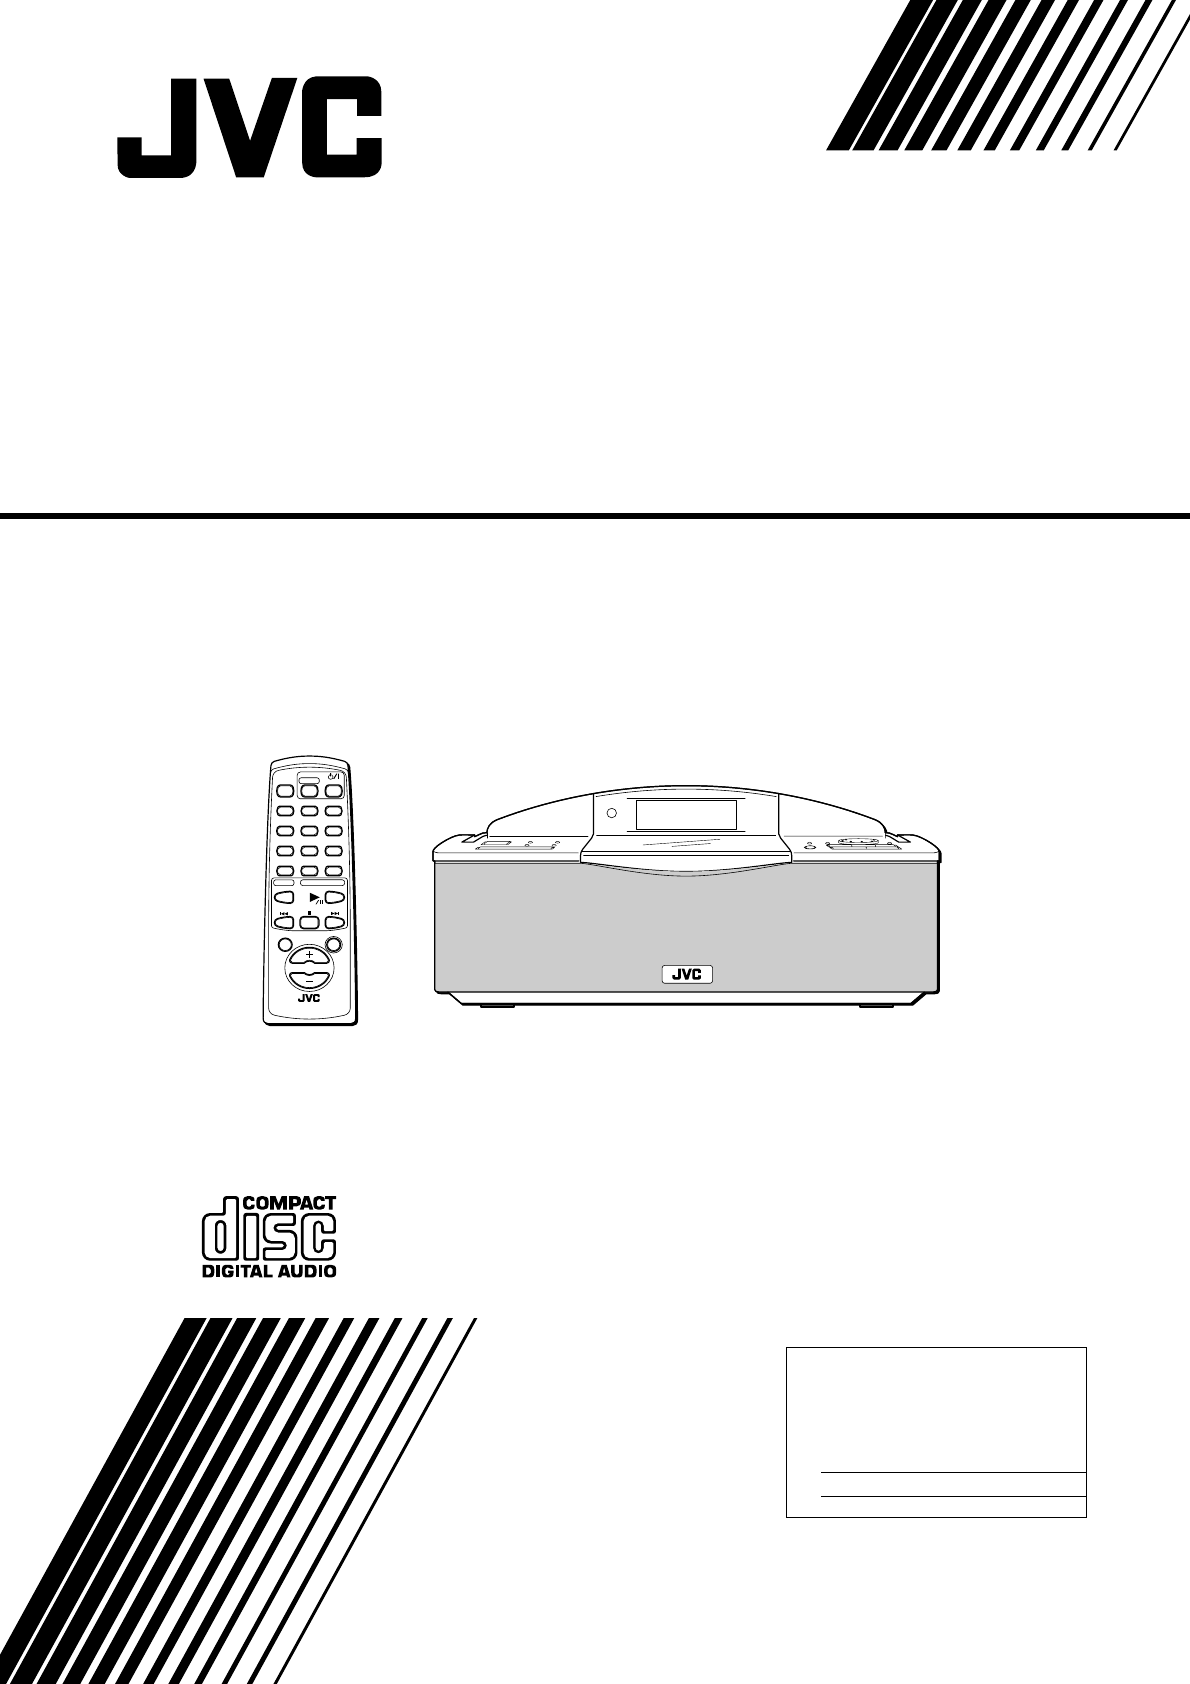
CD PORTABLE SYSTEM RD-T70BU RD-T50LB SNOOZE /DIMMER SLEEP STANDBY/ON 1 2 3 4 5 6 7 8 9 10 +10 REPEAT CD TUNER BAND FM MODE BASS/TREBLE AHB PRO VOLUME REMOTE CONTROL RM-SRDT7A [RD-T70BU Only] INSTRUCTIONS For Customer Use: Enter below the Model No. and Serial No. which are located either on the rear, bottom or side of the cabinet. Retain this information for future reference. Model No. Serial No.
Warnings, Cautions and Others / Mises en garde, précautions et indications diverses (For U.S.A) CAUTION RISK OF ELECTRIC SHOCK DO NOT OPEN CAUTION: TO REDUCE THE RISK OF ELECTRIC SHOCK DO NOT REMOVE COVER (OR BACK) NO USER SERVICEABLE PARTS INSIDE REFER SERVICING TO QUALIFIED SERVICE PERSONNEL.
For Canada/pour le Canada For Canada/pour le Canada CAUTION: TO PREVENT ELECTRIC SHOCK, MATCH WIDE BLADE OF PLUG TO WIDE SLOT, FULLY INSERT. PRECAUTION: POUR EVITER LES CHOCS ELECTRIQUES, INTRODUIRE LA LAME LA PLUS LARGE DE LA FICHE DANS LA BORNE CORRESPONDANTE DE LA PRISE ET POUSSER JUSQUAU FOND.
Thank you for purchasing the JVC CD Portable System. We hope it will be a valued addition to your home as well as to your outdoor life, giving you years of enjoyment. Be sure to read this instruction manual carefully before operating your new stereo system. In it you will find all the information you need to set up and use the system. If you have a query that is not answered by the manual, please contact your dealer.
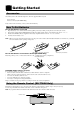
■ ■ Getting Started Accessories Check that you have all of the following items, which are supplied with the System. Power Cord (1) Remote Control (1) [RD-T70BU Only] If any of these items are missing, contact your dealer immediately. How To Put Batteries How To Put Batteries In the Unit 1. Open the battery cover on the back of the Unit by pulling it toward you while pressing the tabs as shown by the arrows. 2.
Connecting the AC Power Cord Firmly insert the AC power cord supplied with the System into the AC inlet on the back of the Unit. AC IN CAUTIONS: • ONLY USE THE JVC POWER CORD PROVIDED WITH THIS SYSTEM IN ORDER TO AVOID MALFUNCTION OR DAMAGE TO THE SYSTEM. • BE SURE TO UNPLUG THE POWER CORD FROM THE OUTLET WHEN GOING OUT OR WHEN THE SYSTEM IS NOT IN USE FOR AN EXTENDED PERIOD OF TIME.
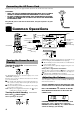
For private listening Connect a pair of headphones to the PHONES jack. No sound comes out of the speakers. Be sure to turn down the volume before connecting or putting on headphones. Reinforcing the Bass Sound (AHB PRO) [RD-T70BU Only] You can reinforce the bass sound to maintain rich, full bass at low volume: To get the effect, press the AHB (Active Hyper Bass) PRO button. The “BASS” indicator lights up on the display. To cancel the effect, press the button again. The “BASS” indicator goes out.
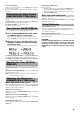
■ ■ Using the Tuner SNOOZE /DIMMER SLEEP STANDBY/ON 1 2 3 4 5 6 MULTIJOG VOLUME CD PORTABLE SYSTEM RD-T70R STANDBY/ON Number keys 7 8 9 10 +10 REPEAT CLOCK/ DISPLAY SLEEP AHB PRO CLOCK/DISPLAY FAVORITE TIMER TIMER1 TIMER2 BASS/ TREBLE MULTI CONTROL MANUAL/ PRESET TUNING SNOOZE CD DIMMER CD TUNER BAND RANDOM/ REPEAT STANDBY TUNER BAND AUTO PRESET TUNER BAND ■ MANUAL/PRESET TUNING ¢ 4 TUNING BAND AUTO PRESET FM MODE 4 BASS/TREBLE ¢ AHB PRO Band display, Frequency displ
Presetting Stations You can preset up to 30 FM stations and up to 15 AM stations into memory. Manual Presetting (Using the Remote Control) [RD-T70BU Only]——— TUNER BAND Auto Presetting (Using the Unit) — In each band, you can automatically preset FM-30, AM-15 stations. Preset numbers will be allocated as stations are found, starting from the station currently tuned to and moving up the frequency.
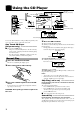
■ ■ Using the CD Player SNOOZE /DIMMER SLEEP STANDBY/ON 1 2 3 4 5 6 CD cover (including the display) MULTIJOG 7 8 9 10 +10 REPEAT VOLUME Number keys CD PORTABLE SYSTEM RD-T70R STANDBY/ON REPEAT CD TUNER BAND CD 38 ¢ FM MODE BASS/TREBLE AHB PRO VOLUME CLOCK/ DISPLAY SLEEP AHB PRO RANDOM/ REPEAT BASS/ TREBLE STANDBY FAVORITE TIMER TIMER1 TIMER2 MULTI CONTROL MANUAL/ PRESET TUNING SNOOZE CD TUNER BAND DIMMER AUTO PRESET 7 4 Playing time, Preset number Jog dial 7 ¢ 4
Locating a Track directly with the Remote Control —————————— Using the number keys on the Remote Control, you can go directly to the beginning of any track. During playback, enter the number of the track you want to listen to using the number keys. The selected track starts playing. • Example: For track 5, press 5. For track 15, press +10, then 5. For track 20, press +10, then 10. For track 32, press +10 three times, then 2. 2. Press the CD 38 button. ■ Repeat playback starts.
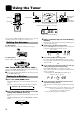
■ ■ Using the Timers SNOOZE /DIMMER SLEEP STANDBY/ON 1 2 3 4 5 6 SNOOZE /DIMMER 7 8 9 10 +10 REPEAT SLEEP MULTIJOG VOLUME SLEEP CD PORTABLE SYSTEM RD-T70R STANDBY/ON CD TUNER BAND CLOCK/ DISPLAY SLEEP AHB PRO RANDOM/ REPEAT BASS/ TREBLE Jog dial STANDBY CLOCK/DISPLAY TIMER 1 TIMER 2 FM MODE BASS/TREBLE AHB PRO FAVORITE TIMER TIMER1 TIMER2 MULTI CONTROL MANUAL/ PRESET TUNING SNOOZE CD DIMMER TUNER BAND AUTO PRESET VOLUME REMOTE CONTROL RM-SRDT7A [RD-T70BU Only] SNOOZ
6. Turn the Jog dial to select the source. ■ The source name changes as follows: CD TUNER MELODY 7. Press the ■ TIMER1/2 button and select a source item you want. When the source is CD: 1. Turn the Jog dial to select either “TRACK NO” (for Normal Play) or “RANDOM” (for Random Play). 2. Press the TIMER1/2 button. When “TRACK NO” is selected, “TRACK- 1” blinks. Go to steps 3 and 4. When “RANDOM” is selected, the current volume level blinks. Go to step 8 . (When “TRACK- 1” blinks.) 3.
■ ■ Care And Maintenance Handle your CDs carefully, and they will last a long time. Compact Discs • Only CDs bearing these marks can be played with this Unit. • Continued use of irregularly shaped CDs (heart-shape, octagonal, etc.) can damage the Unit. • Remove the CD from its case by holding it at the edges while pressing the case's center hole lightly. Do not touch the shiny surface of the CD, or bend the CD.
■ ■ Troubleshooting • • If you have a problem with your System, check this list for a possible solution before calling for service. If you cannot solve the problem from the hints given here, or the System has been physically damaged, call a qualified person, such as your dealer, for service. Symptom Possible Cause No sound is heard. • • • The power cord is disconnected. The batteries in the Unit have lost their charge. Headphones are connected. Action • • Connect it firmly Replace the batteries.
Authorized Service Centers ® QUALITY SERVICE HOW TO LOCATE YOUR JVC SERVICE CENTER TOLL FREE: 1 (800) 537-5722 http://www.jvc.com Dear Customer, In order to receive the most satisfaction from your purchase, please read the instruction booklet before operating the unit. In the event that repairs are necessary, please call 1 (800)537-5722 for your nearest authorized servicer or visit our website at www.JVC.com Remember to retain your Bill of Sale for Warranty Service.
LIMITED WARRANTY PORTABLE AUDIO 1-90 USA ONLY ONLY FOR PRODUCT PURCHASED IN U.S.A. JVC COMPANY OF AMERICA warrants this product and all parts thereof, except as set forth below ONLY TO THE ORIGINAL PURCHASER AT RETAIL to be FREE FROM DEFECTIVE MATERIALS AND WORKMANSHIP from the date of original retail purchase for the period as shown below.
RC-BZ6BU CD PORTABLE SYSTEM VICTOR COMPANY OF JAPAN, LIMITED EN 0302HMOCREHIT