TD-W254B/J DOUBLE CASSETTE DECK DOUBLE CASSETTE DECK TD-W254 B/J Area suffix B .................... U.K. J ..................... U.S.A.
id8/i10371/ 11/22/96 Page 2 IMPORTANT (In the United Kingdom) Mains Supply (AC 230 V z, 50 Hz only) RISK OF ELECTRIC SHOCK DO NOT OPEN DO NOT cut off the mains plug from this equipment. If the plug fitted is not suitable for the power points in your home or the cable is too short to reach a power point, then obtain an appropriate safety approved extension lead or consult your dealer.
id8/i10371/ 09/23/99 Page 3 INTRODUCTION CAUTIONS Thank you for purchasing a JVC product. Read this instruction book carefully before operating to be sure of getting optimum performance and longer service life from the unit. 1. Prevention of Electric Shocks, Fire Hazards and Damage 1) Even when the POWER switch is set to STANDBY, a very small current will flow. To save power and for safety when not using the unit for an extended period of time, disconnect the power cord from the household AC outlet.
id8/i10371/ 11/25/96 Page 4 2. Installation 1) Avoid placing the unit on or adjacent to an amplifier, to prevent hum from being produced by some types of amplifiers. Move the unit to a place not affected by the amplifier. Keep the unit as far as possible from a TV set. 2) Avoid installing the unit in a location subject to ambient temperatures exceeding 40 °C (104 °F) (e.g. direct sunlight, near heaters, etc.) or less than 0 °C (32 °F), excessive humidity, dust or vibrations.
id8/i10371/ 09/23/99 Page 5 CONNECTIONS • • • • Do not switch the power on until all the connections are completed. Insert the plugs firmly, or poor contact will result, causing noise. When the pin-plug cords are employed, always connect the white plug to the left channel terminal. This helps to avoid reversed connections. When using the Compu Link Control System version 3, do not connect the power cord to the SWITCHED AC OUTLET of an amplifier or receiver.
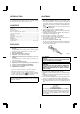
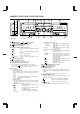
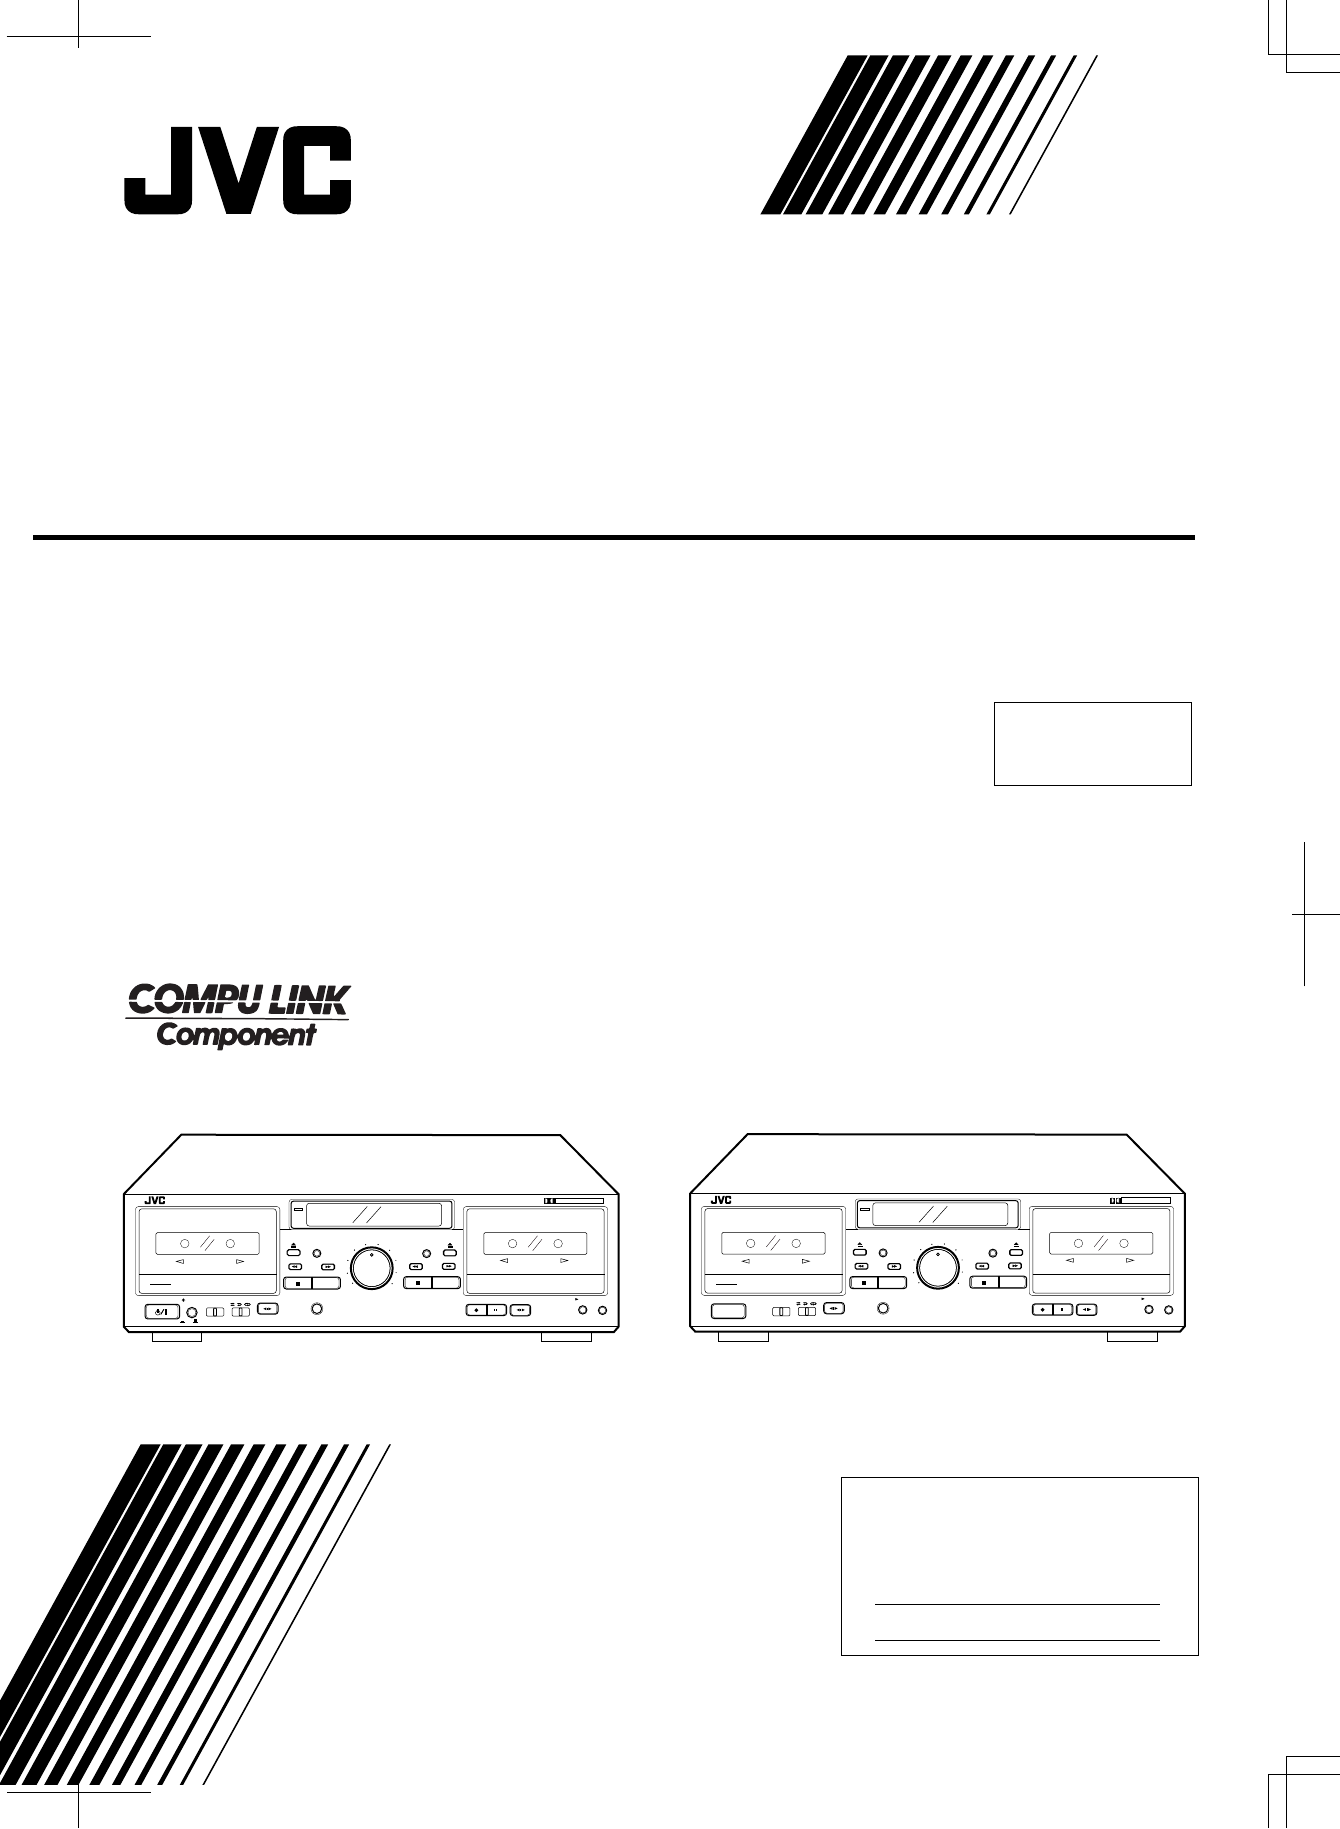
id8/i10371/ 09/23/99 Page 6 NAMES OF PARTS AND THEIR FUNCTIONS 2 1 1 3 TD-W254 DOUBLE CASSETTE DECK 4 5 A PLAYBACK A AUTO REVERSE PLAYBACK 3MOTOR SILENT MECHANISM INPUT LEVEL 5 4 6 3MOTOR SILENT MECHANISM Component Component INPUT LEVEL 5 4 6 COUNTERCOUNTER RESET RESET 3 7 POWER POWER REVERSE MODE DOLBY B NR B OFF C ON 2 2 8 1 PLAY PLAY MIN 1 2 3 4 5 6 7 8 DOLBY B-C NR HX PRO COUNTER RESET 8 1 9 PHONES DOLBY B NR REVERSE MODE B OFF C 9 PLAY MIN MAX 3MOTOR SILENT MECH
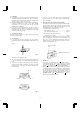
id8/i10371/ 09/23/99 Page 7 8 PLAYBACK 1 POWER POWER ON STANDBY / ON OFF (B version) (J version) 2 t INPUT LEVEL control y Cassette operation buttons (deck B) : Press to wind the tape quickly from right to left. : Press to wind the tape quickly from left to right. (stop) : Press to stop the tape. Also press to stop both decks simultaneously during dubbing. PLAY : Press to start playback/recording.
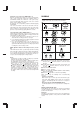
id8/i10371/ 09/23/99 Page 8 RECORDING Deck B only Operate in the order of the numbers in the illustration. • Make sure the safety tab of the cassette has not been broken off. 1 POWER POWER ON It should be noted that it may be unlawful to re-record prerecorded tapes, records, or discs without the consent of the owner of copyright in the sound or video recording, broadcast or cable programme and in any literary, dramatic, musical, or artistic work embodied therein.
id8/i10371/ 09/23/99 Page 9 Dolby HX PRO headroom extension When a source which contains many high-frequency components is recorded, these high-frequency signals have the same function as bias and therefore, the effective bias current changes. This will result in phenomena such as changes in the level of low-frequency signal and subsequent distortion and reduction of the high-frequency saturation level.
id8/i10371/ 09/23/99 Page 10 Automatic Source Selection (COMPU LINK-1, 3) When the provided remote cables are used for connecting this unit to other components which have COMPU LINK-1 or 3/SYNCHRO terminals, the switch-over of all system components is possible with simple one-touch of the source selector button of JVC’s amplifier or receiver. By doing this, the corresponding component will start playing automatically.
id8/i10371/ 09/23/99 Page 11 Demagnetizing the heads Magnetic objects brought close to the head or using the deck for a long period of time, results in magnetization of the head, thus noise occurs. When the noise is excessive, high frequencies on the recorded tape may be erased. Demagnetize the heads and other metal parts that come into contact with the tape every 20–30 hours of use with a head demagnetizer (available from your audio store). Tape editing 1.
SPECIFICATIONS Type Track system Tape speed S/N ratio : 0.08% (WRMS), ±0.2% (DIN/IEC) : 40 dB (1 kHz) : 60 dB (1 kHz) : k3; 0.8% (Type IV tape, 315 Hz, 0 VU) : Deck A; METAPERM head for playback x1 Deck B; METAPERM head for recording/ playback, 2-gap ferrite head for erasure; combination head x 1 : Electric governed DC motor for capstan x1 DC motor for reel x 1 DC motor for mechanism drive x 1 (For both decks A and B) Fast forward/rewind : Approx. 110 sec.