
User guide


U S E R G U I D E
50
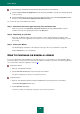
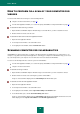
3. In the right part of the window, click the Password Manager button.
4. Click the Start Password Manager button.
This starts the Password Manager Configuration Wizard. Let us take a closer look at the wizard's steps:
a. Create a master password to protect your password database in the Master Password window.
b. Select an authorization method to access your password database in the Access control window.
c. In the Locking timeout window, set the time after which Password Manager will be automatically blocked.
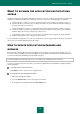
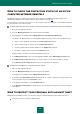
5. On finishing the Password Manager Configuration Wizard, you are asked to type in the master password, after
which the Password Manager main window becomes available.
6. In the Password Manager main window, click the Add Password button.
7. In the Account Creation Wizard that opens, select the type of account (Web Account, Application Account or
expert mode):
If you have selected an Internet account or an application account, click the Next button.
At the next step in the Account Creation Wizard, specify the website or application that the account is to be
used for, and click the Next button.
If you have selected the advanced mode, click the Next button.
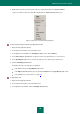
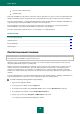
8. At the next step in the Account Creation Wizard, specify the account settings:
In the top part of the Account Name field, enter or edit the name of the new account.
Under the tab Login information, enter the user name (login) and password.
The user name can consist of one or several words. To specify key words (see page 179) for the user
name, click .
To copy a user name / password to the clipboard, click the button.
To copy a user name from another account, follow the Use shared Login from another Account link.
To create a password automatically, open the Password Generator window by clicking the Generate
password link (see page 203).
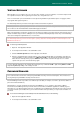
Under the Links tab, specify the path to the program / web page, and specify the account's settings.
On the Manual form edit tab, modify the settings for populating other fields of the web page, if necessary.
If necessary, under the Comments tab, enter some explanatory text for the account. To display comments
in a notification after activating the account, check the Show comments in the notification box.
9. Click the Add Account button.
10. Run the application / web page for which the account was created.
The authorization form will be filled automatically using data from the account.