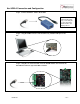
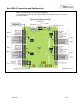
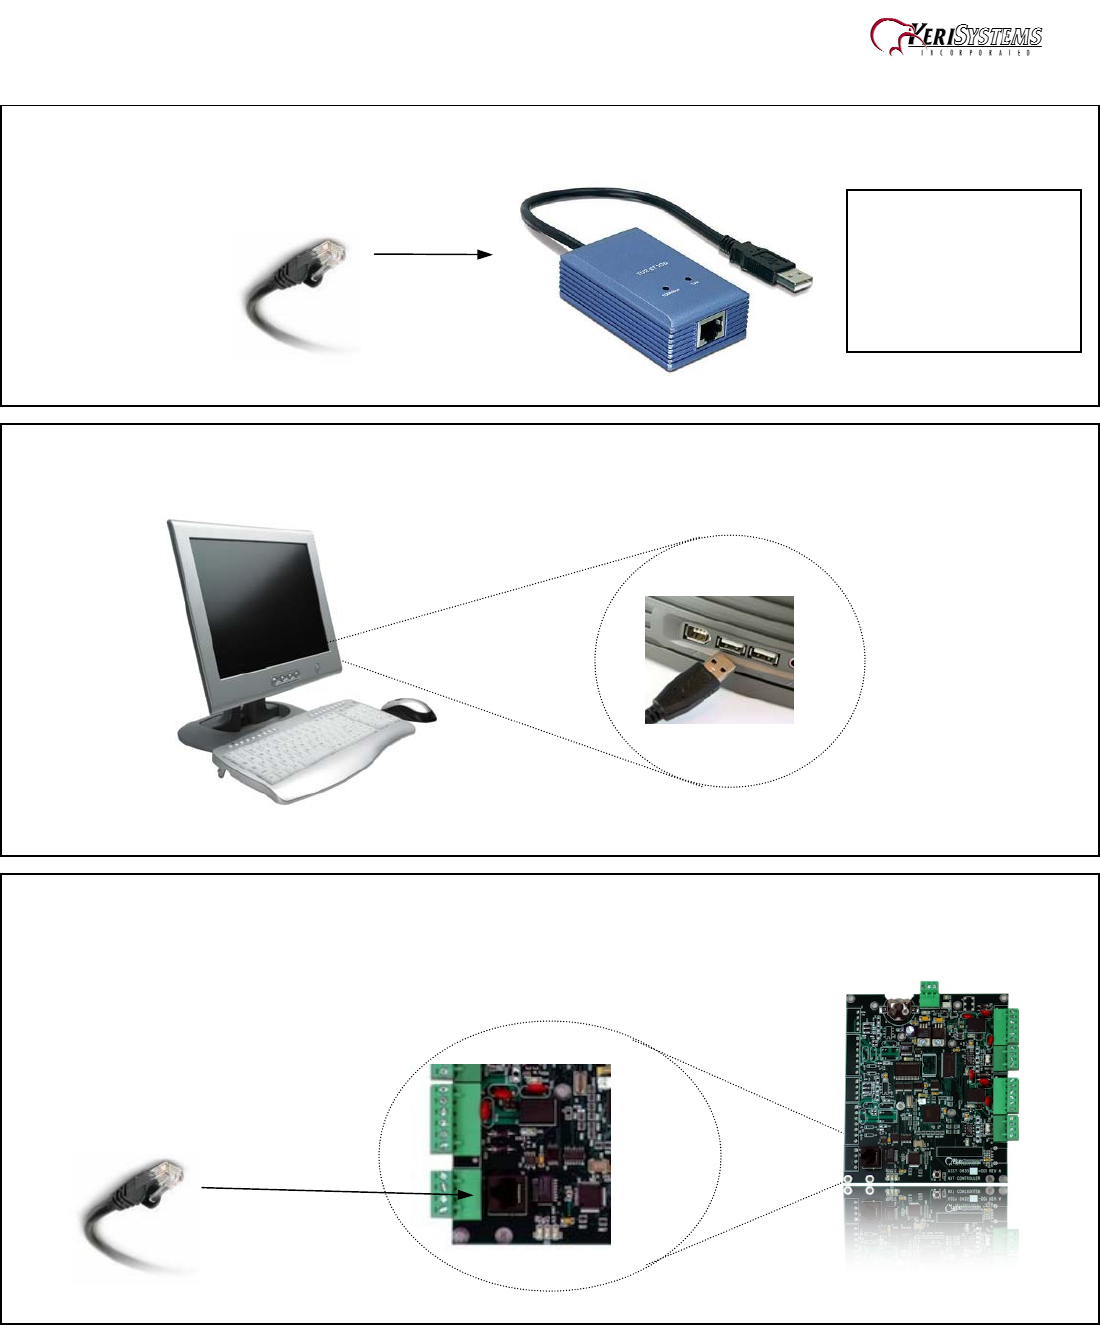
Keri USB-A Connection and Configuration Step 1 - Connect the KPC-1 cable to the K-USB. NOTE: The form of the USB converter may vary, so the unit you receive may not be identical to the one displayed here. Step 2 – Plug the USB Connector of the K-USB to any available USB port on the PC. Step 3 – Plug the one end of the KPC-1 into the K-USB and the other end into the black RJ-45 connector (J2) on the NXT controller.
Keri USB-A Connection and Configuration Step 4 – Connecting the Access Control Hardware Use the Diagram below and the appropriate hardware Installation Guides to hook up the remaining hardware.
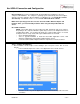
Keri USB-A Connection and Configuration Step 5 – Software Installation Driver Installation - Insert the Installation CD, packaged with the K-USB device, into your computer’s CD-ROM drive. The computer’s operating system automatically detects the Adapter and asks you how to begin the driver installation. For Windows XP, select Install the software automatically. For Windows Vista or 7, select Locate and install driver software.
Keri USB-A Connection and Configuration o o o If a License Key was not provided, click on the Demo button to run Doors.NET in a fully functional demo mode. If the computer is not connected to the Internet, the license file must be activated off line. The license manager will display instructions to copy the license file and provide an email address where the license file should be sent.
Keri USB-A Connection and Configuration Step 7 – Auto Configuration Start the Administrative Client Application. Autoconfig queries the local subnets for each NXT Gateway and returns a list of NXT Controllers found on the network. Note: The DoorsNXTProxy.exe service must be allowed to communicate through any firewall installed on the computer running the NXT Gateway service.
Keri USB-A Connection and Configuration o The AutoConfigurationResults Tab will be displayed. Progress of the Auto Configuration will be shown in the Status Messages section. Detected controllers will appear in the Available Controllers section. o Click Apply and then click Yes (in the dialog that appears) to continue the Auto Configuration Process. o Auto Configuration will next assign the IP Address to the controller and update the controller’s settings.
Keri USB-A Connection and Configuration Step 8 – Firmware Upgrade NOTE: When upgrading firmware, the Administrative Client must run on the computer that is running the NXT Gateway service. o o In the Hardware Setup tab, select the All tab and then select a controller on the tree. Click on the Firmware Upgrade button, which will be present in the Selected Items Toolbar ribbon.