
User Manual
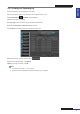
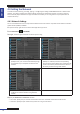
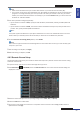
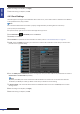
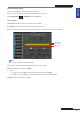
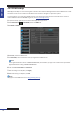

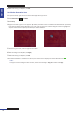
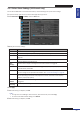
Table Of Contents
- About this Manual
- Chapter 1: Product Overview
- Chapter 2: Installation
- Chapter 3: Getting Started
- Chapter 4: Using the DVR
- Chapter 5: KGUARD Web Client
- 5.1 Login
- 5.2 The Interface
- 5.3 Live Viewing
- 5.4 Searching and Playing Recorded Videos
- 5.5 Remote Settings
- 5.6 Local Settings
- Chapter 6: Using KView Series Software
- Chapter 7: Troubleshooting & FAQ
- Appendix: Specifications
ENGLISH
Chapter 4: Using the DVR
54
DVR User’s Manual
6 Aer all sengs are complete, click Apply.
7 When data saving is complete, click OK.
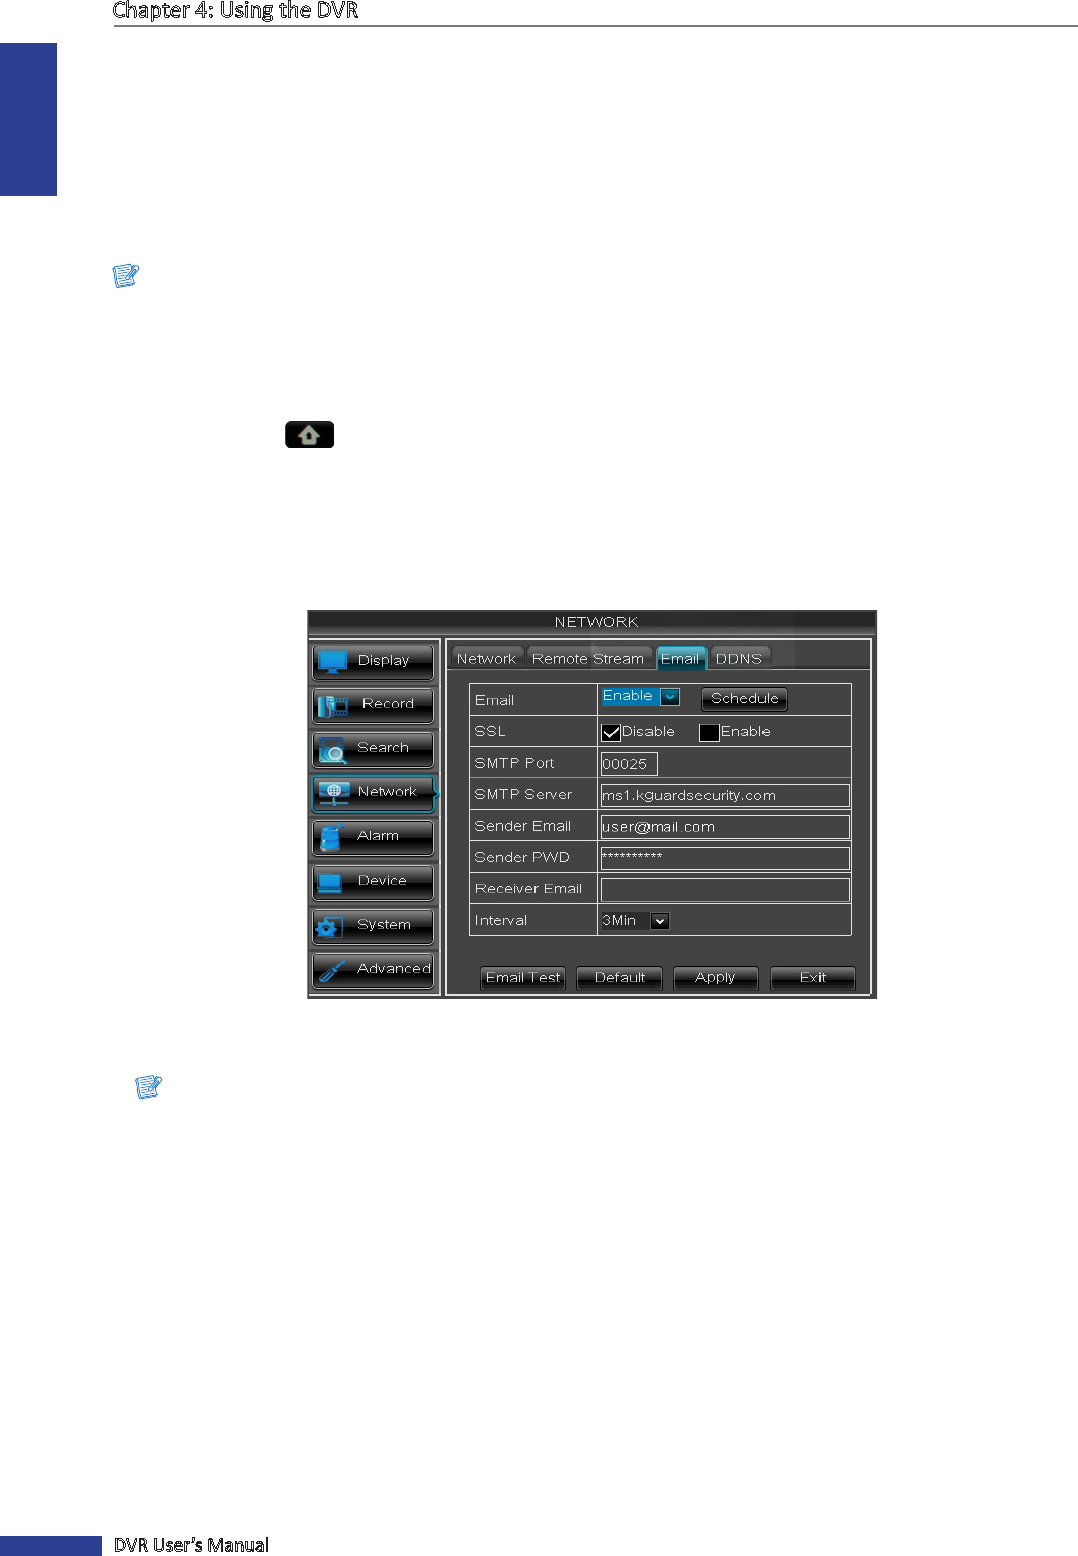
4.4.3 Email Sengs
The DVR supports sending of email nocaons when events occur, such as when moon is detected or the HDD fails
at the specied channel, day, and me.
Note:
Be sure that the DVR network connecon is properly congured before proceeding with the email setup.
To set up email, do the following:
1 In preview mode, right-click on the mouse to display the Pop-up menu.
2 Select Main Menu > NETWORK, select the Email tab.
3 On Email, select Enable.
4 Click Schedule to implement the email schedule. For details, refer to “Email Schedule Setup” on page 55.
5 On SSL, select the Enable check box if your email server needs the SSL vericaon. Check with your email service
provider for the applicable seng.
6 Enter the SMTP port and SMTP Server of the sending email server, the email address and password of the sender in
Sender Email and Sender PWD respecvely.
Note:
By default, the SMTP port is 25 for email without SSL vericaon. For Gmail server or for email that needs SSL
vericaon, the SMTP port is 465, by default. Check with your ISP for the correct seng.
7 In Receiver Email, enter the email address where the nocaon email is to be sent. In Interval, select an email
sending interval.
8 Aer all sengs are complete, click Apply.
9 When data saving is complete, click OK.