
User Manual
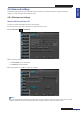
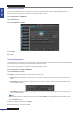
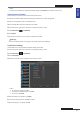
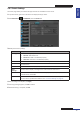

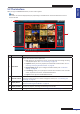
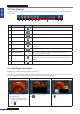
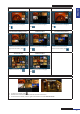
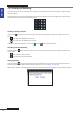
Table Of Contents
- About this Manual
- Chapter 1: Product Overview
- Chapter 2: Installation
- Chapter 3: Getting Started
- Chapter 4: Using the DVR
- Chapter 5: KGUARD Web Client
- 5.1 Login
- 5.2 The Interface
- 5.3 Live Viewing
- 5.4 Searching and Playing Recorded Videos
- 5.5 Remote Settings
- 5.6 Local Settings
- Chapter 6: Using KView Series Software
- Chapter 7: Troubleshooting & FAQ
- Appendix: Specifications
ENGLISH
Chapter 5: KGUARD Web Client
76
DVR User’s Manual
Chapter 5: KGUARD Web Client
Use KGUARD Web Client to remotely access the DVR at anyme.
To access KGUARD Web Client you must ensure the following requirements are met:
• The Network sengs of the DVR is properly congured. See “4.4 Seng the Network” on page 52.
• Your computer has a web browser, such as Internet Explorer or Safari, installed.
5.1 Login
KGUARD Web Client allows up to 3 simultaneous access. However, only one administrator account is allowed per
access.
1 Open your computer web browser and enter the DVR IP address or domain name in the URL box.
For example, see illustraon below:
Don’t know the IP Address of your DVR?
The IP address of the DVR vary depending on the network sengs you congured in NETWORK menu (see “4.4
Seng the Network” on page 52).
• If your network type is DHCP, ask your network administrator for the IP address assigned to the DVR.
• If your network type is PPPoE, ask your Internet Service Provider (ISP) for the IP address assigned to the DVR.
• If your network type is Stac IP, check the IP address you congured for IP ADDR in NETWORK menu.
• If the DVR is connected to a DDNS, check the Domain Name that you congured when you created the DDNS
account and type the domain name in the URL box.
Note:
For MAC users, you may be prompted to install necessary plug-ins to access the KGUARD Web Client. Follow the
on-screen instrucons to complete the installaon. When prompted for password entry, leave the password empty
and select Install.
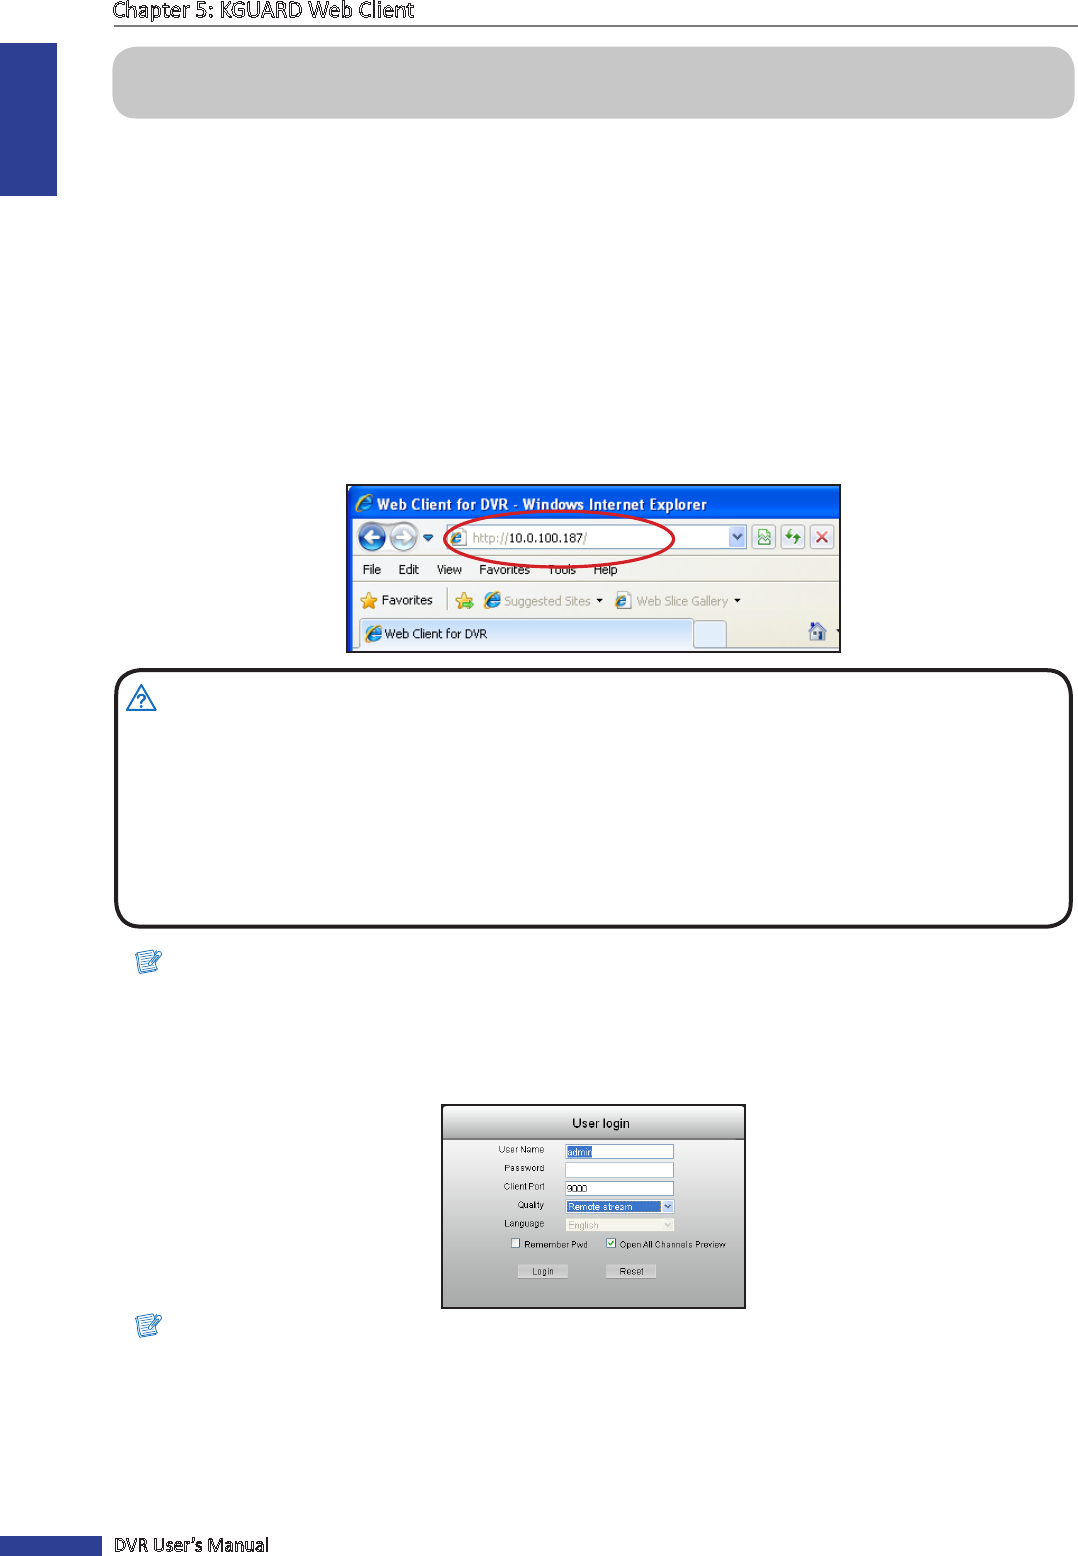
2 Enter the User Name and Password.
Note:
The default administrator User Name is “admin” and the password is 123456. We suggest you change the password
to protect your privacy. To change the password, see “Changing the Password” on page 67.
3 If necessary, modify the Client Port, this should be the same port as congured in the Network Sengs menu.
4 On Quality, select Record setup or Remote stream.
5 Click Login.