
User Manual
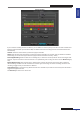
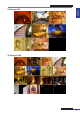
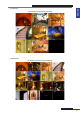
Table Of Contents
- About this Manual
- Quick Setup Guide
- Understanding the Live Viewing Screen
- Basic DVR Operation
- Accessibility Features
- Operating the DVR
- Main Menu
- Display: Live
- Display: Output
- Display: Privacy Zone
- Record: REC Para
- Record: Schedule
- Record: Record Setup
- Search: Record Search
- Search: Event Search
- Search: Log
- Network: Network
- Network: Remote Stream
- Network: Email
- Network: DDNS
- Alarm: Motion
- Device: HDD
- Device: PTZ
- Device: Cloud Storage
- System: General
- System: Users
- System: Info
- Advanced: Maintain
- Remote Access Via Web Client
- Appendix
ENGLISH
Easy Link PRO Series: Understanding the Live Viewing Screen
30
DVR User’s Manual
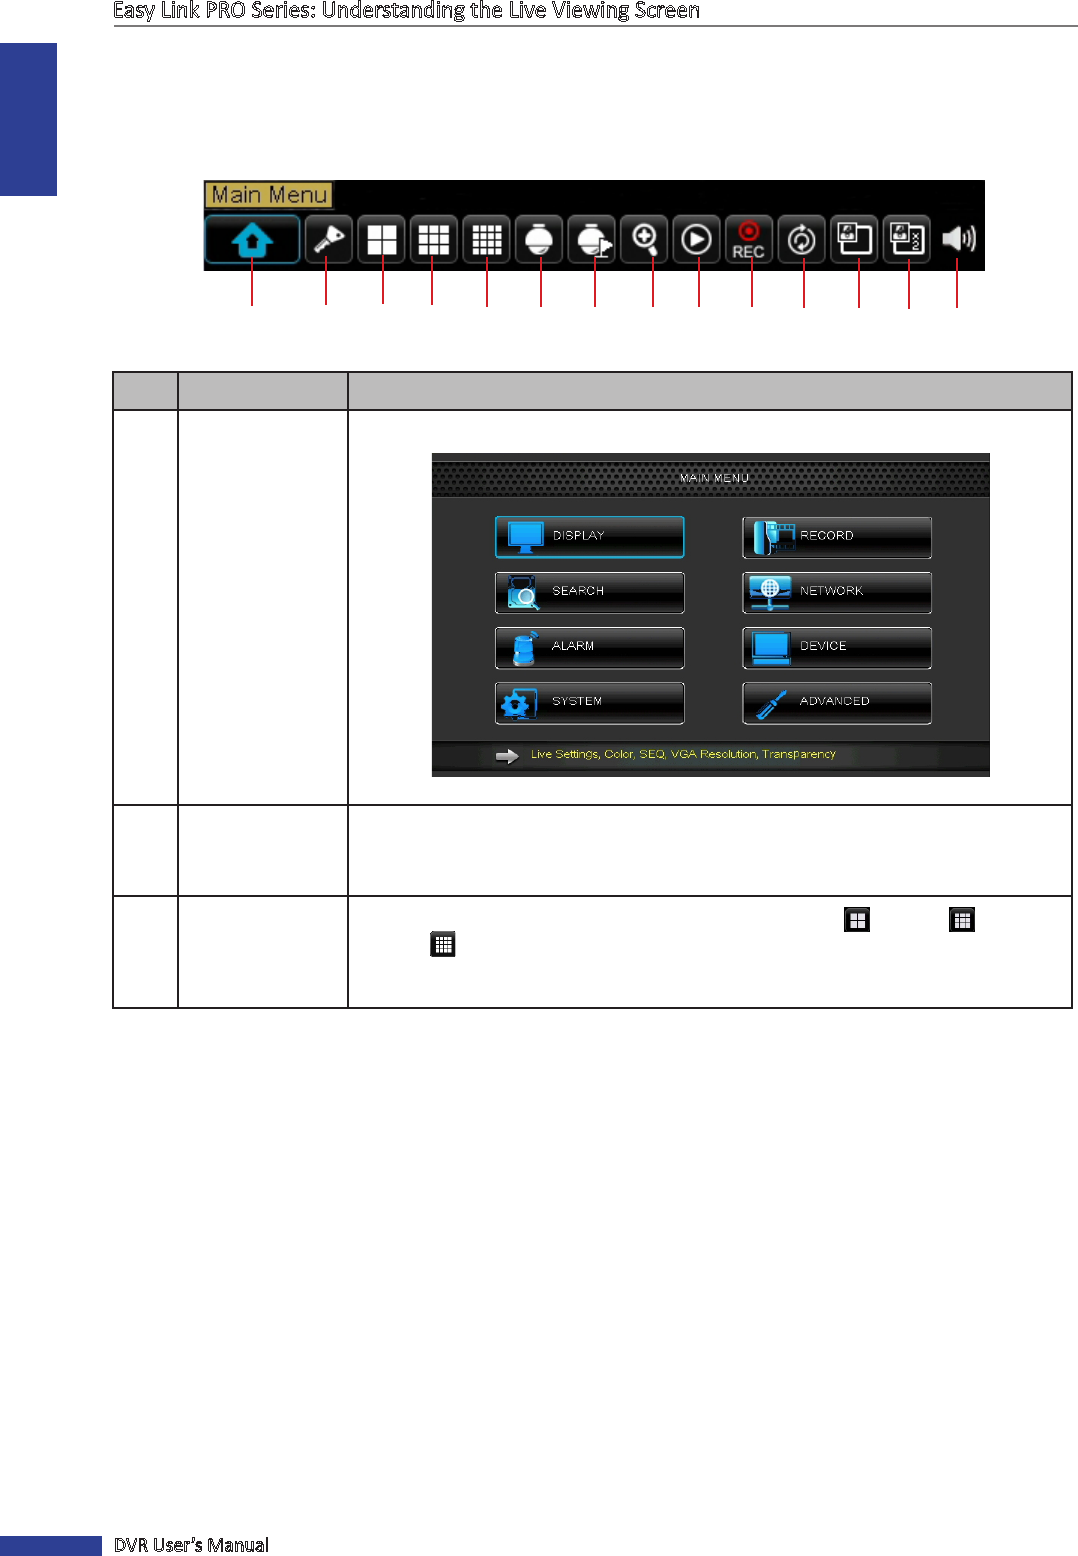
Pop-Up Menu on Live Viewing Screen
Via Pop-up menu you can access the Main Menu, for making modicaons to the DVR’s conguraon and other
common features. To bring up the Pop-up Menu, click on the right mouse buon on Live Viewing screen or press the
MENU buon on the remote control.
1 3 4 6 7 8 9 10 11 1412
2 13
5
No. Buon Descripon
1
Main Menu This is the Main Menu where you can congure all the sengs of the DVR.
2
Lock Lock access to enter the OSD menu. You need to type the user name and password
before entering the OSD menu.
NOTE: The default user name and password are “admin” and “123456“.
3,4,5
Screen View
(4-split / 9-split /
16-split)
Depending on your DVR’s model, switch to a 4-split display (
), 9-split ( ), or
16-split ( ) display. For example, you may want to use this funcon, aer viewing
channels in a full screen mode or in a sequence, and wish to switch back to a 4-split,
9-split, or 16-split display.