
User Manual
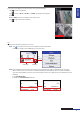
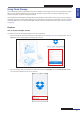
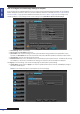
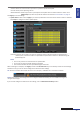
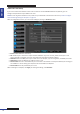
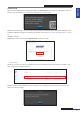

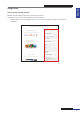
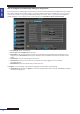
Table Of Contents
- About this Manual
- Quick Setup Guide
- Understanding the Live Viewing Screen
- Basic DVR Operation
- Accessibility Features
- Operating the DVR
- Main Menu
- Display: Live
- Display: Output
- Display: Privacy Zone
- Record: REC Para
- Record: Schedule
- Record: Record Setup
- Search: Record Search
- Search: Event Search
- Search: Log
- Network: Network
- Network: Remote Stream
- Network: Email
- Network: DDNS
- Alarm: Motion
- Device: HDD
- Device: PTZ
- Device: Cloud Storage
- System: General
- System: Users
- System: Info
- Advanced: Maintain
- Remote Access Via Web Client
- Appendix
ENGLISH
Easy Link PRO Series: Accessibility Features
44
DVR User’s Manual
How to Congure the Cloud Storage Sengs for Dropbox
If you already have an acve Dropbox account, you need to connect the KGuard Cloud Uploader to your Dropbox.
Before making the connecon, make sure you have installed a hard drive in the DVR (see “Step 2: Install the Hard
Disk Drive (HDD)” on page 8) and formaed the hard drive (see “Device: HDD” on page 78). Then congure the
following sengs on your DVR (right-click on Live Viewing screen, Main Menu->Device->Cloud Storage).
• Cloud Storage: Allow cloud sengs.
• Server Type: Select Dropbox from the list.
• Drive Name: Enter the cloud storage name for your DVR. When linking the KGuard Cloud Uploader to your
Dropbox, the Drive Name will be used as the folder name where KGuard uploads the snapshots and/or videos.
• Cloud Version: Current cloud storage service version.
• Receiver Email: Enter your e-mail address that is associated with your Dropbox account. The DVR will be sending
the acvaon e-mail to this e-mail address for asking your acceptance to link the DVR to the Dropbox.
Click Apply to save the sengs. Then connue conguring the photo/video upload sengs.
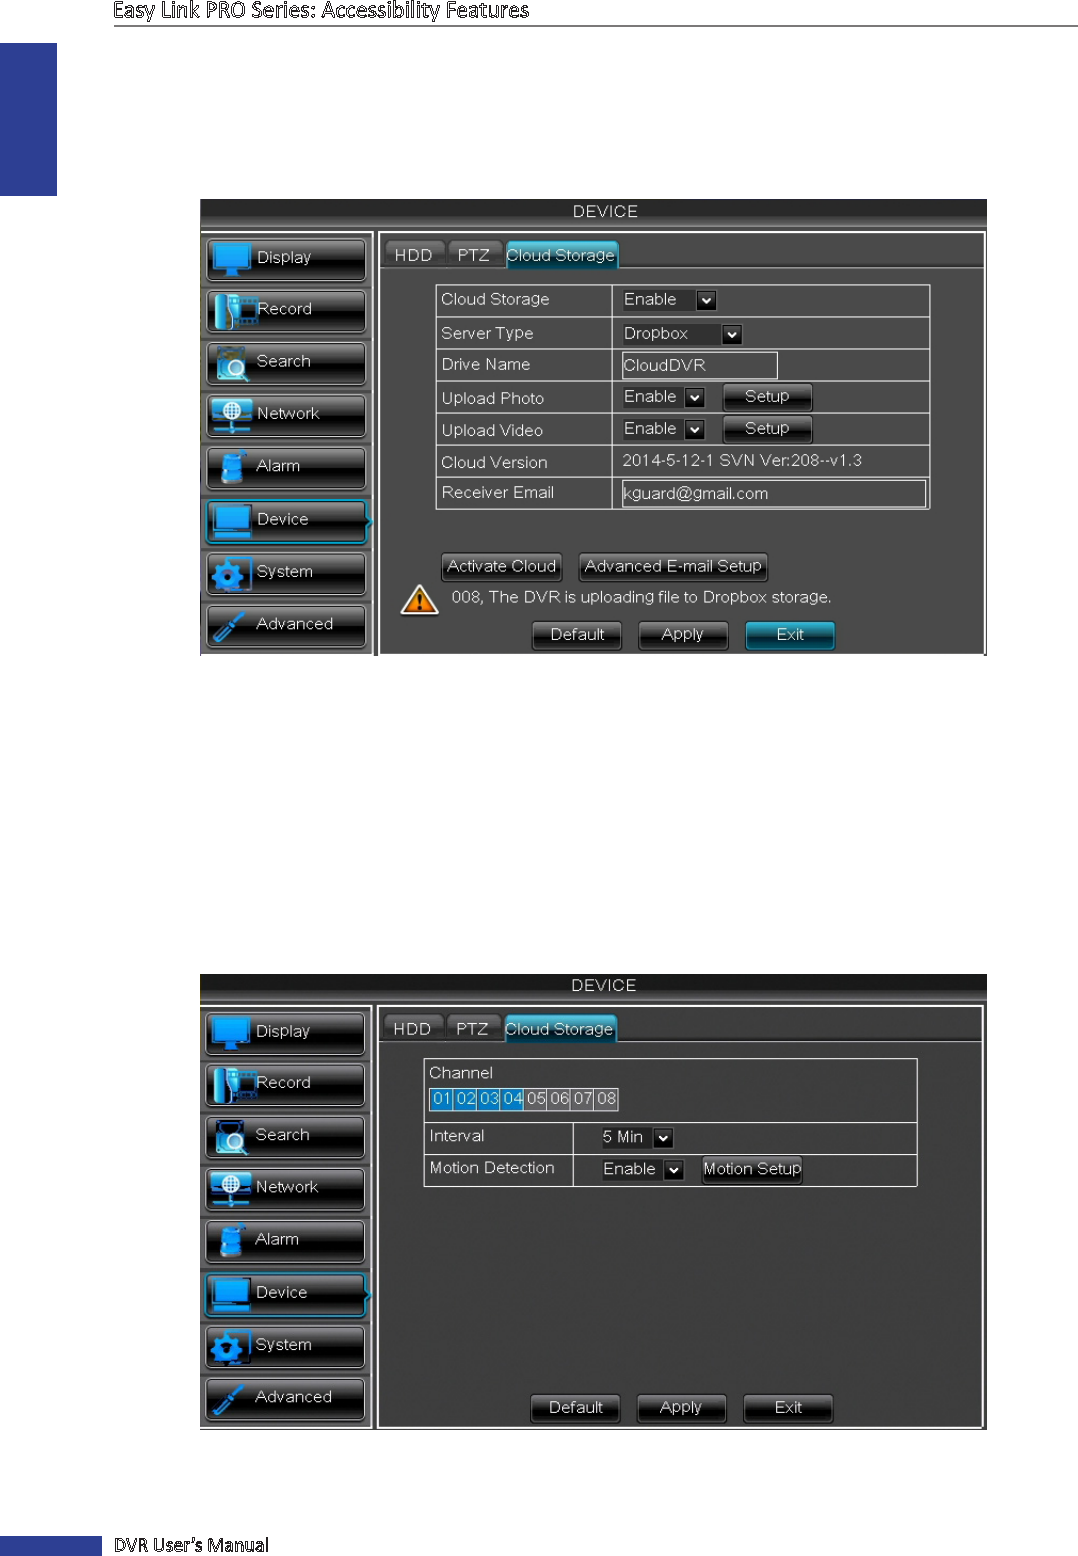
• Upload Photo: Enable and click Apply if you want to upload photos from the cameras. Click Setup to congure
the photo upload opons.
NOTE: You can set four channels to upload photos to the cloud storage.