
User Manual


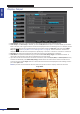

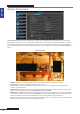


Table Of Contents
- About this Manual
- Quick Setup Guide
- Understanding the Live Viewing Screen
- Basic DVR Operation
- Accessibility Features
- Operating the DVR
- Main Menu
- Display: Live
- Display: Output
- Display: Privacy Zone
- Record: REC Para
- Record: Schedule
- Record: Record Setup
- Search: Record Search
- Search: Event Search
- Search: Log
- Network: Network
- Network: Remote Stream
- Network: Email
- Network: DDNS
- Alarm: Motion
- Device: HDD
- Device: PTZ
- Device: Cloud Storage
- System: General
- System: Users
- System: Info
- Advanced: Maintain
- Remote Access Via Web Client
- Appendix
ENGLISH
Easy Link PRO Series: Operang the DVR
58
DVR User’s Manual
Display: Privacy Zone
A Privacy Zone can be used to cover up part of your image. You can create up to four privacy zones. On your image,
they appear as “black areas”. You can choose where you want to create the zone and how large the zone is. Just click
inside the default green-lined rectangle and drag it where you want to create a privacy zone. Then click and hold the
green line and move the cursor to give the desired shape for the zone. Right-click to get back to the Privacy Zone menu
items.
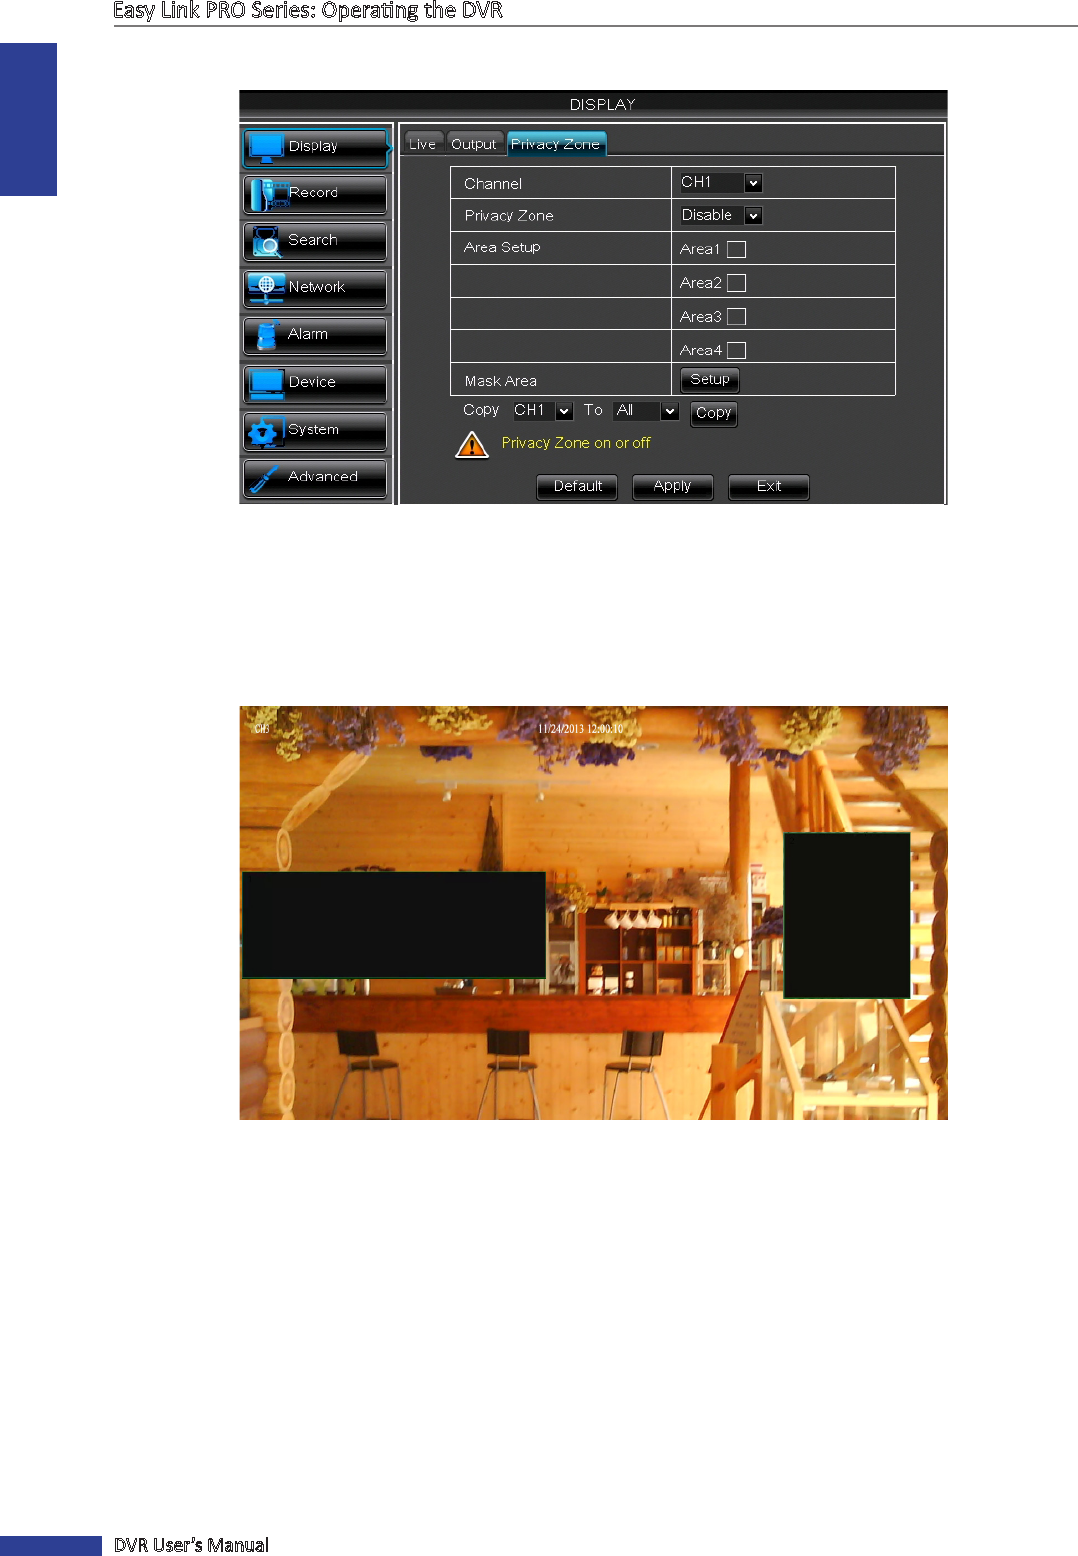
Two Privacy Zones
• Channel: Select the channel from the drop-down menu where you want to create privacy zone(s).
• Privacy Zone: You need to enable the funcon in order to use it.
NOTE: The privacy zone is valid only to the specic channel. If you wish to copy the same sengs to other
channels, use Copy funcon.
• Area Setup: Decide how many privacy areas you want to set. The maximum number of areas is 4. If you want to
dene four privacy areas, check all areas (Area1, Area2, Area3, and Area4).
• Mask Area: Click Setup to open the channel in full screen mode and start marking the privacy zones. Depending
on the number of areas you have chosen in Area Setup, you will see areas covered with black rectangles on the
channel view. When you have nished marking the areas, right-click to return to the Main Menu.
NOTE: The privacy zone(s) are not visible on channel live view as well as on the video le. On live view and video
le, you can see the privacy zone(s) covered with black boxes.