
User Manual
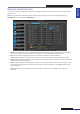
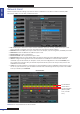

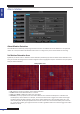
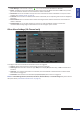
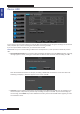
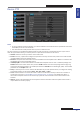

Table Of Contents
- About this Manual
- Quick Setup Guide
- Understanding the Live Viewing Screen
- Basic DVR Operation
- Accessibility Features
- Operating the DVR
- Main Menu
- Display: Live
- Display: Output
- Display: Privacy Zone
- Record: REC Para
- Record: Schedule
- Record: Record Setup
- Search: Record Search
- Search: Event Search
- Search: Log
- Network: Network
- Network: Remote Stream
- Network: Email
- Network: DDNS
- Alarm: Motion
- Device: HDD
- Device: PTZ
- Device: Cloud Storage
- System: General
- System: Users
- System: Info
- Advanced: Maintain
- Remote Access Via Web Client
- Appendix
ENGLISH
Easy Link PRO Series: Operang the DVR
76
DVR User’s Manual
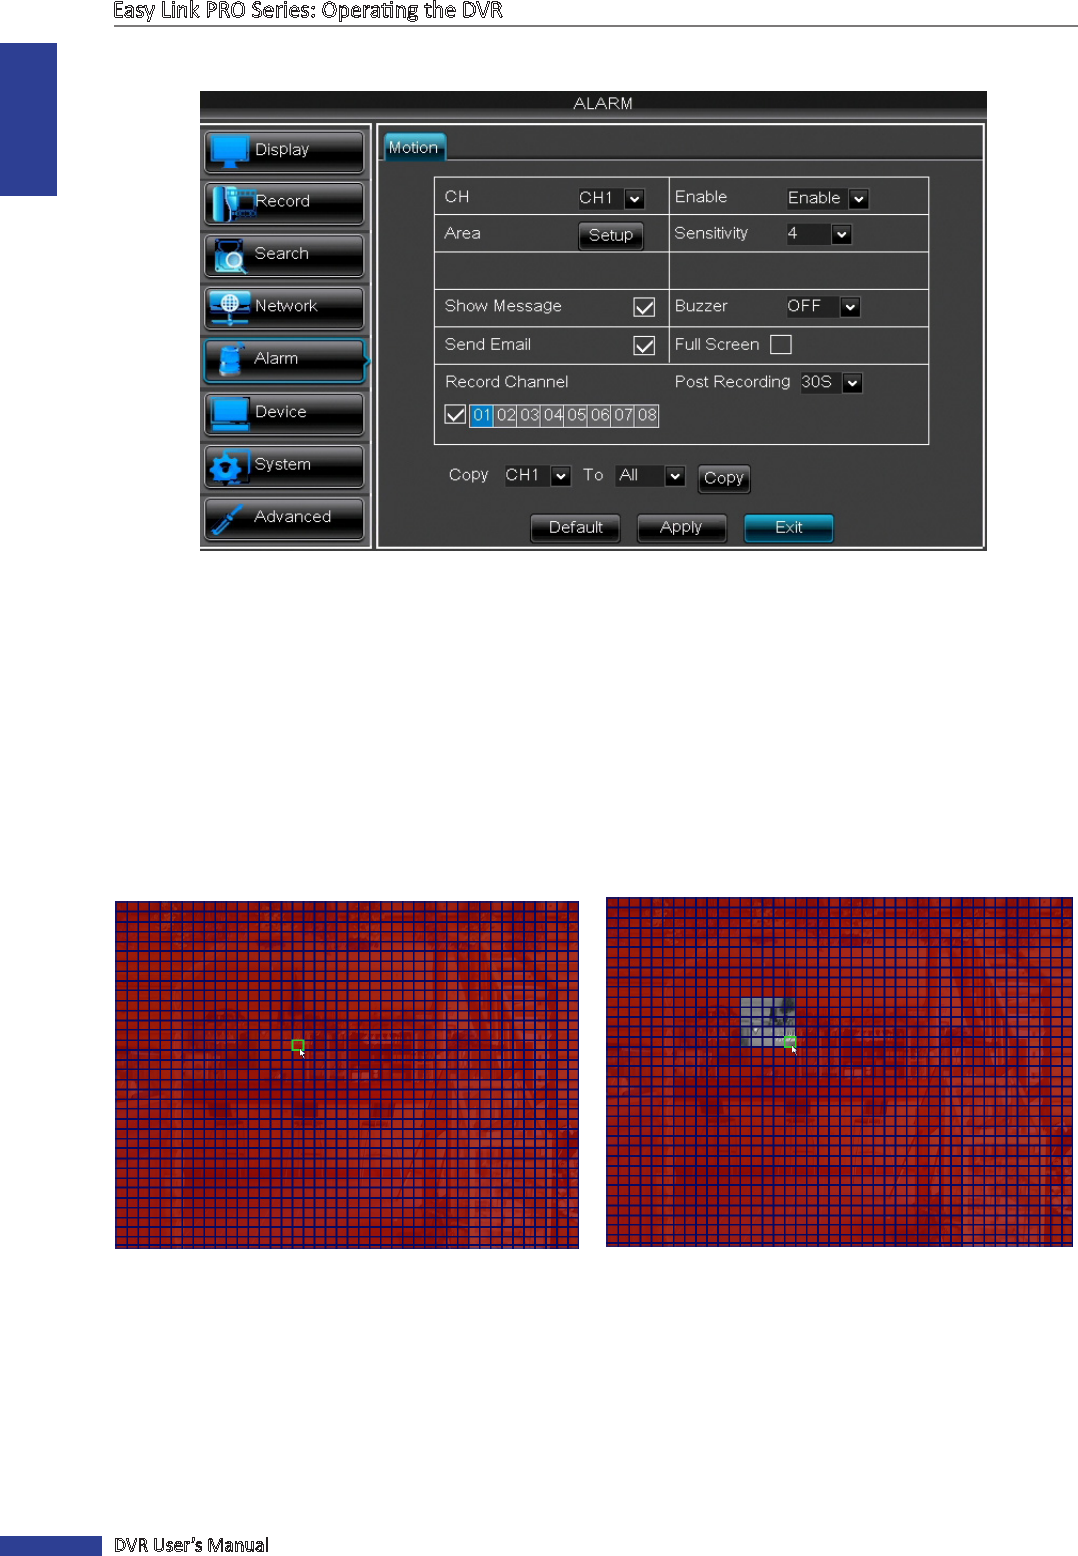
Alarm: Moon
About Moon Detecon
The DVR detects the moon by comparing one frame to another. A sucient amount of dierence is interpreted as
moon. As a result, the DVR is able to detect when there is a change in the picture and to iniate the recording.
Set Moon Detecon Area
By default, the whole screen is marked for moon detecon (red block).If you want to disable moon detecon on an
area, you need to click the grid cursor and then drag the mouse to highlight the scope to unmark the area (transparent
block) for moon detecon.
Seng Moon Area
• CH: Select the channel you want to set the moon detecon.
• Enable: Enable the moon detecon for a channel.
• Area: Click Setup, to dene the moon area. See above.
• Sensivity: It is very important to set the moon detecon on a suitable seinsivity level. To nd the best
sensivity level, test the feature. For example, see how the moon event is triggered in normal and low light
condions (during day me and night). If you set the moon detecon at a high sensivity levels (“8” is the
most sensive) then the frequency of false alarm events increases. Vice versa if the seinsivity level is too low
(“1” is the least sensive), you might increase the risk that a signicant moon event will not trigger the moon
detecon to record.