
Owner manual
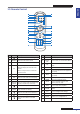


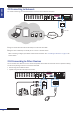


Table Of Contents
- About this Manual
- Chapter 1: Product Overview
- Chapter 2: Installation
- Chapter 3: Getting Started
- Chapter 4: Using the DVR
- Chapter 5: KGuard Web Client
- 5.1 Login
- 5.2 The Interface
- 5.3 Live Viewing
- 5.4 Searching and Playing Recorded Videos
- 5.5 Remote Settings
- 5.6 Local Settings
- Chapter 6: Using KView Series Software
- Chapter 7: Troubleshooting & FAQ
- Appendix: Specifications
ENGLISH
Chapter 2: Installaon
18
DVR User’s Manual
2.9 Connecng to Network
For remote monitoring, connect the DVR to the internet via wired network connecon.
VGA
AUDIO IN (CH5-CH16)
HDMI
DC 12V
LAN
MAIN
SPOT
AUDIO OUTVIDEO OUT AUDIO IN
2
4
1
3
MAIN
SPOT
CH8
CH16
CH7
CH15
CH6
CH14
CH5
CH13
CH4
CH12
CH3
CH11
CH2
CH10
CH1
CH9
G 12345678910 11
+
-
NO COM G1615141312
RS-485 OUT IN
ALARM
LAN
Internet
RJ-45 cable
Notebook/PC
Tablet PC
Mobile Phones
1 Plug one end of the RJ-45 cable to the LAN port on the back of the DVR.
2 Plug the other end directly into a LAN port on a router or network switch.
Aer connecng, congure your DVR for network communicaon. See “4.2 Seng the Network” on page 33 for
further details.
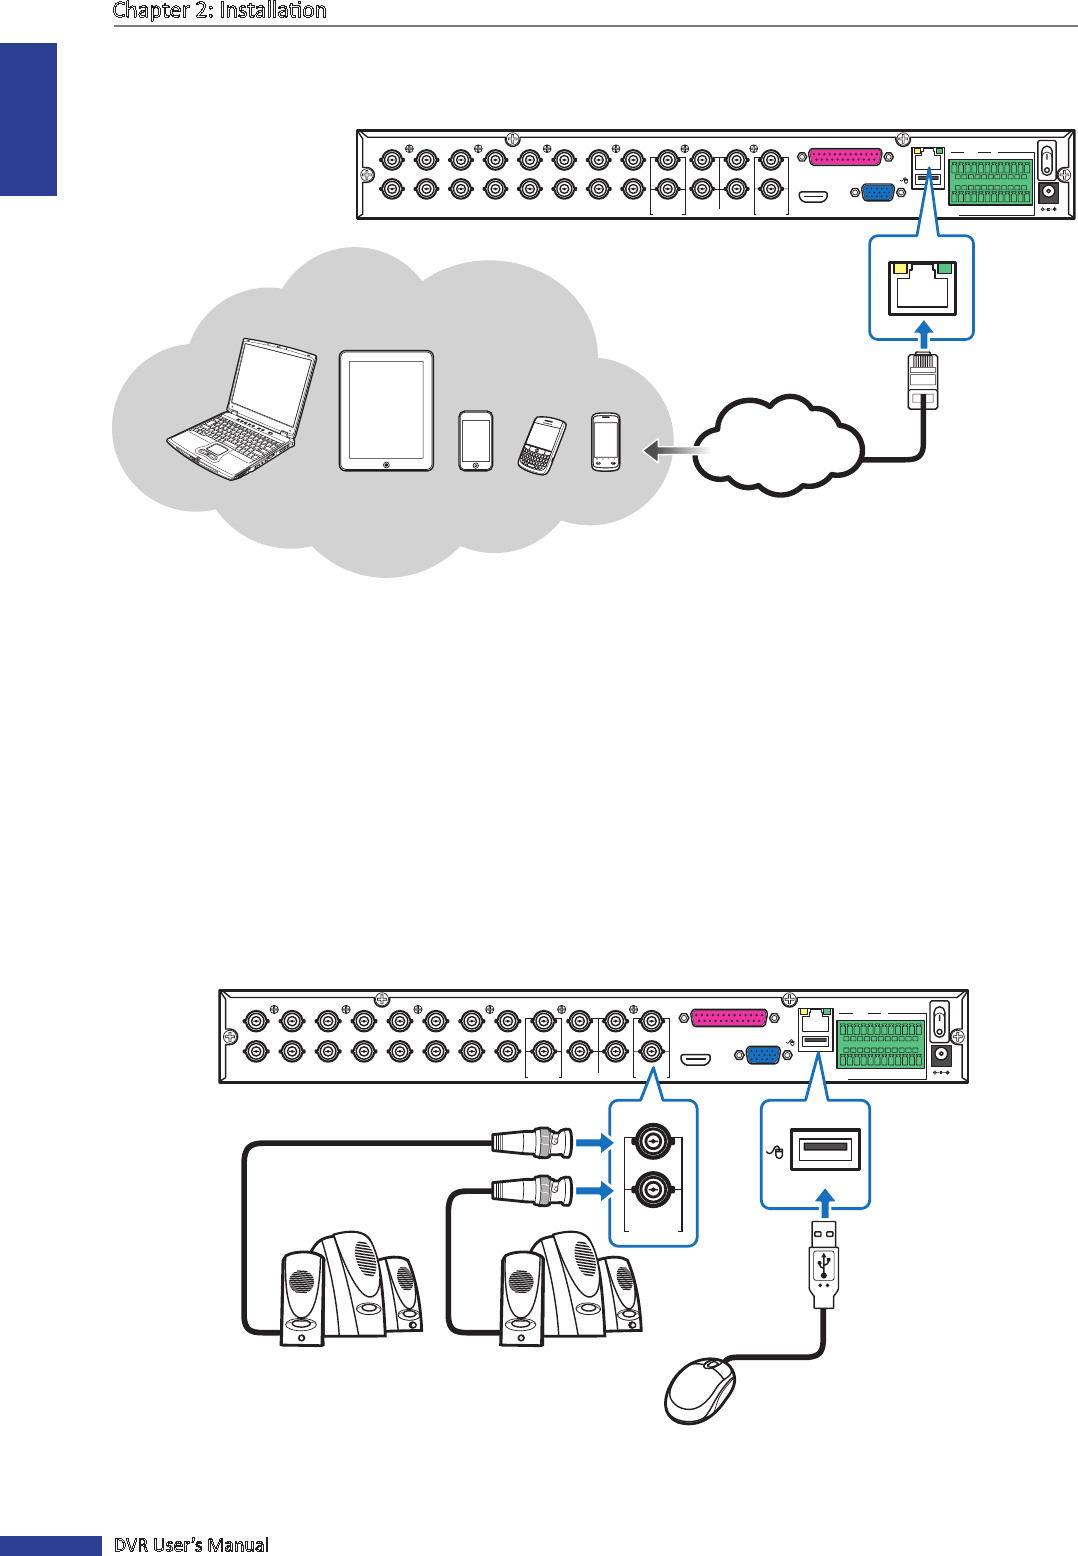
2.10 Connecng to Other Devices
You can connect other devices such as a mouse and speakers to the DVR. Connect them via their respecve cable(s)
into the corresponding connectors on the back of the DVR.
• Mouse: Plug into the USB connector.
• Speaker: Plug into the audio output connectors.
VGA
AUDIO IN (CH5-CH16)
HDMI
DC 12V
LAN
MAIN
SPOT
AUDIO OUTVIDEO OUT AUDIO IN
2
4
1
3
MAIN
SPOT
CH8
CH16
CH7
CH15
CH6
CH14
CH5
CH13
CH4
CH12
CH3
CH11
CH2
CH10
CH1
CH9
G 12345678910 11
+
-
NO COM G1615141312
RS-485 OUT IN
ALARM
MAIN
SPOT
AUDIO OUT