
Owner manual

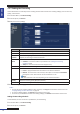
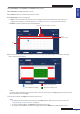
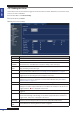
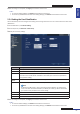
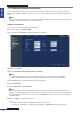
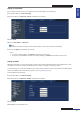
Table Of Contents
- About this Manual
- Chapter 1: Product Overview
- Chapter 2: Installation
- Chapter 3: Getting Started
- Chapter 4: Using the DVR
- Chapter 5: KGuard Web Client
- 5.1 Login
- 5.2 The Interface
- 5.3 Live Viewing
- 5.4 Searching and Playing Recorded Videos
- 5.5 Remote Settings
- 5.6 Local Settings
- Chapter 6: Using KView Series Software
- Chapter 7: Troubleshooting & FAQ
- Appendix: Specifications
ENGLISH
Chapter 5: KGuard Web Client
64
DVR User’s Manual
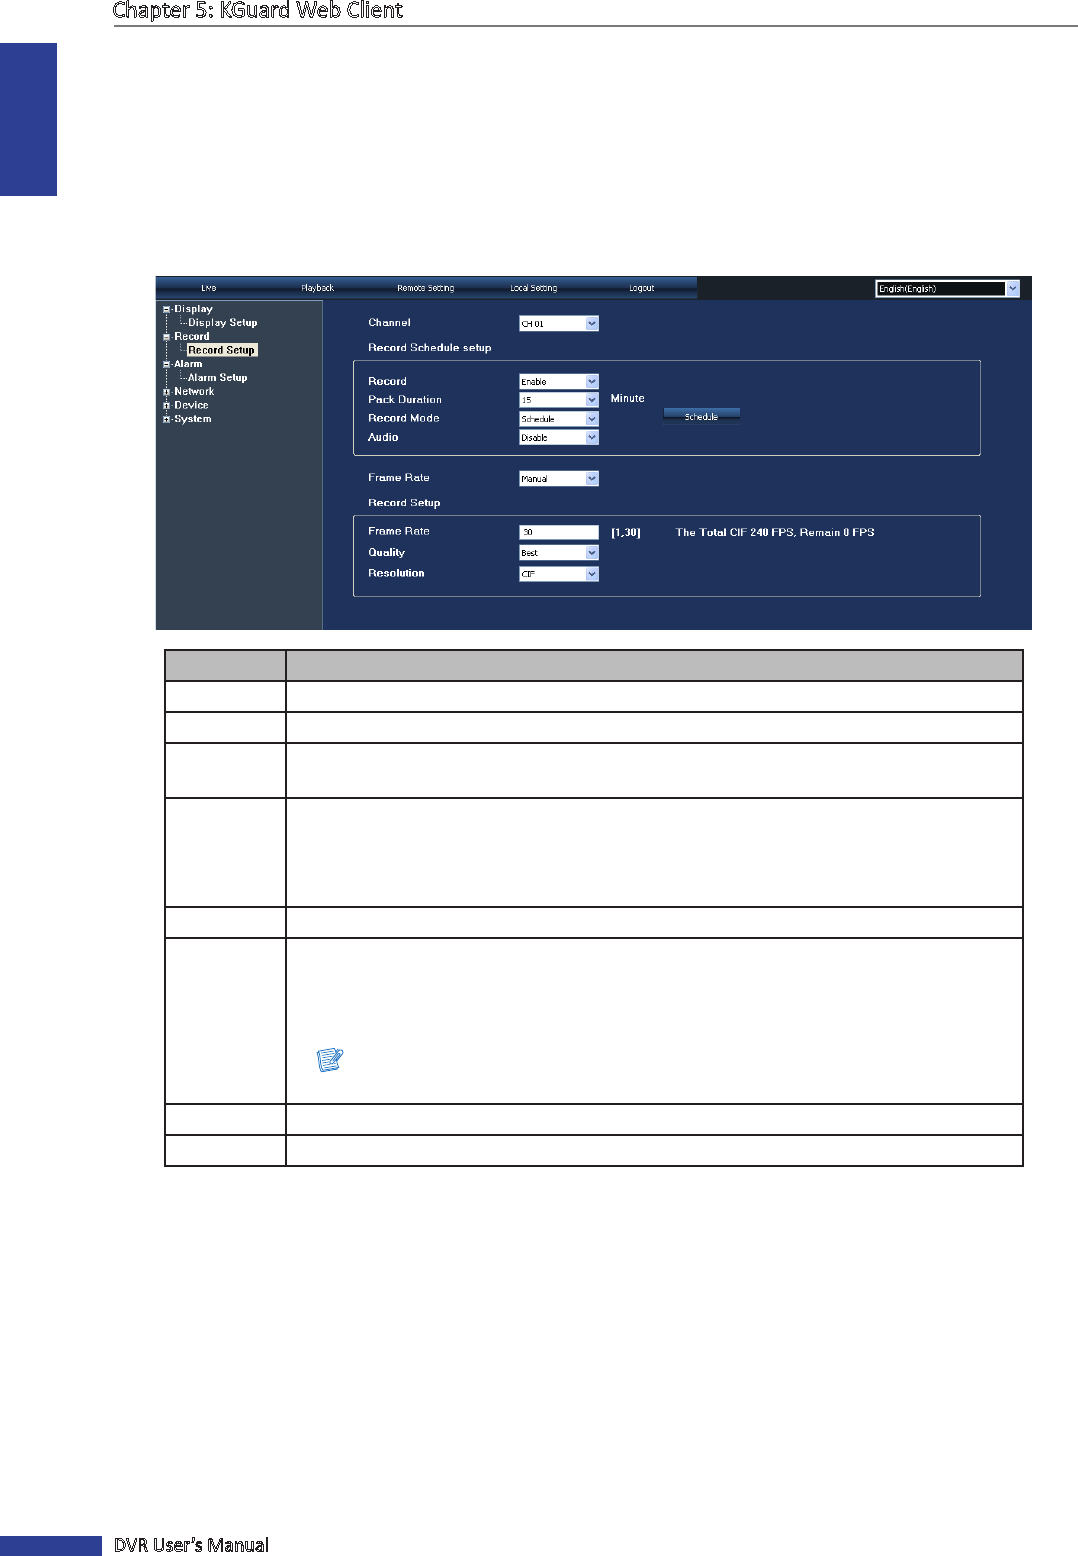
5.5.2 Seng the Recording
Use the Record menu to remotely set the recording schedule and customize the recording sengs, such as frame rate,
quality, and resoluon.
1 On the Main Menu, click Remote Seng.
2 On the le panel, click Record.
3 Modify the necessary sengs.
Item Descripon
Channel Select the channel that you want to congure.
Record Enable/Disable recording.
Pack
Duraon
Set the recording length for each video le (15/30/45/60 minutes). When the me
elapsed, the recording is saved to another le.
Record
Mode
Select the record mode. Opons are:
• Schedule: To record the video at a preset me. See “Seng the Recording
Schedule” below.
• Always: To record the video the whole day (24 hours).
Audio Enable/Disable audio recording.
Frame Rate Select the frame rate. Opons are:
• Fixed: To apply the xed frame rate based on the selected resoluon.
• Manual: To set the frame rate manually. If this opon is selected, the Frame Rate
eld appears. Enter desired frame rate value between 1 to 30.
Note:
The maximum frame rate varies depending on the selected resoluon.
Quality Select the recording quality (Best/Fine/Normal).
Resoluon Select the recording resoluon (CIF/HD1/D1).
4 To save the sengs, click Apply at the boom of the screen.
« TIP »
• To apply the same recording sengs to other channels, click Copy To at the boom of the screen. See
”Copying Sengs To Other Channels” on page 60.
• To revert to default sengs, click Default at the boom of the screen.
• To cancel any modicaons and retain the exisng sengs, click Refresh at the boom of the screen.
Seng the Recording Schedule
To automacally record a channel at a specied me, do the following:
1 On the Main Menu, click Remote Seng.
2 On the le panel, click Record.