
Installation Guide


www.kingsbottle.com! 10
F. INSTALLING YOUR WINE COOLER
1. Move the appliance into its final position .
2. If the appliance is not tilting back as described earlier, minor adjustments can be made to the leveling legs.
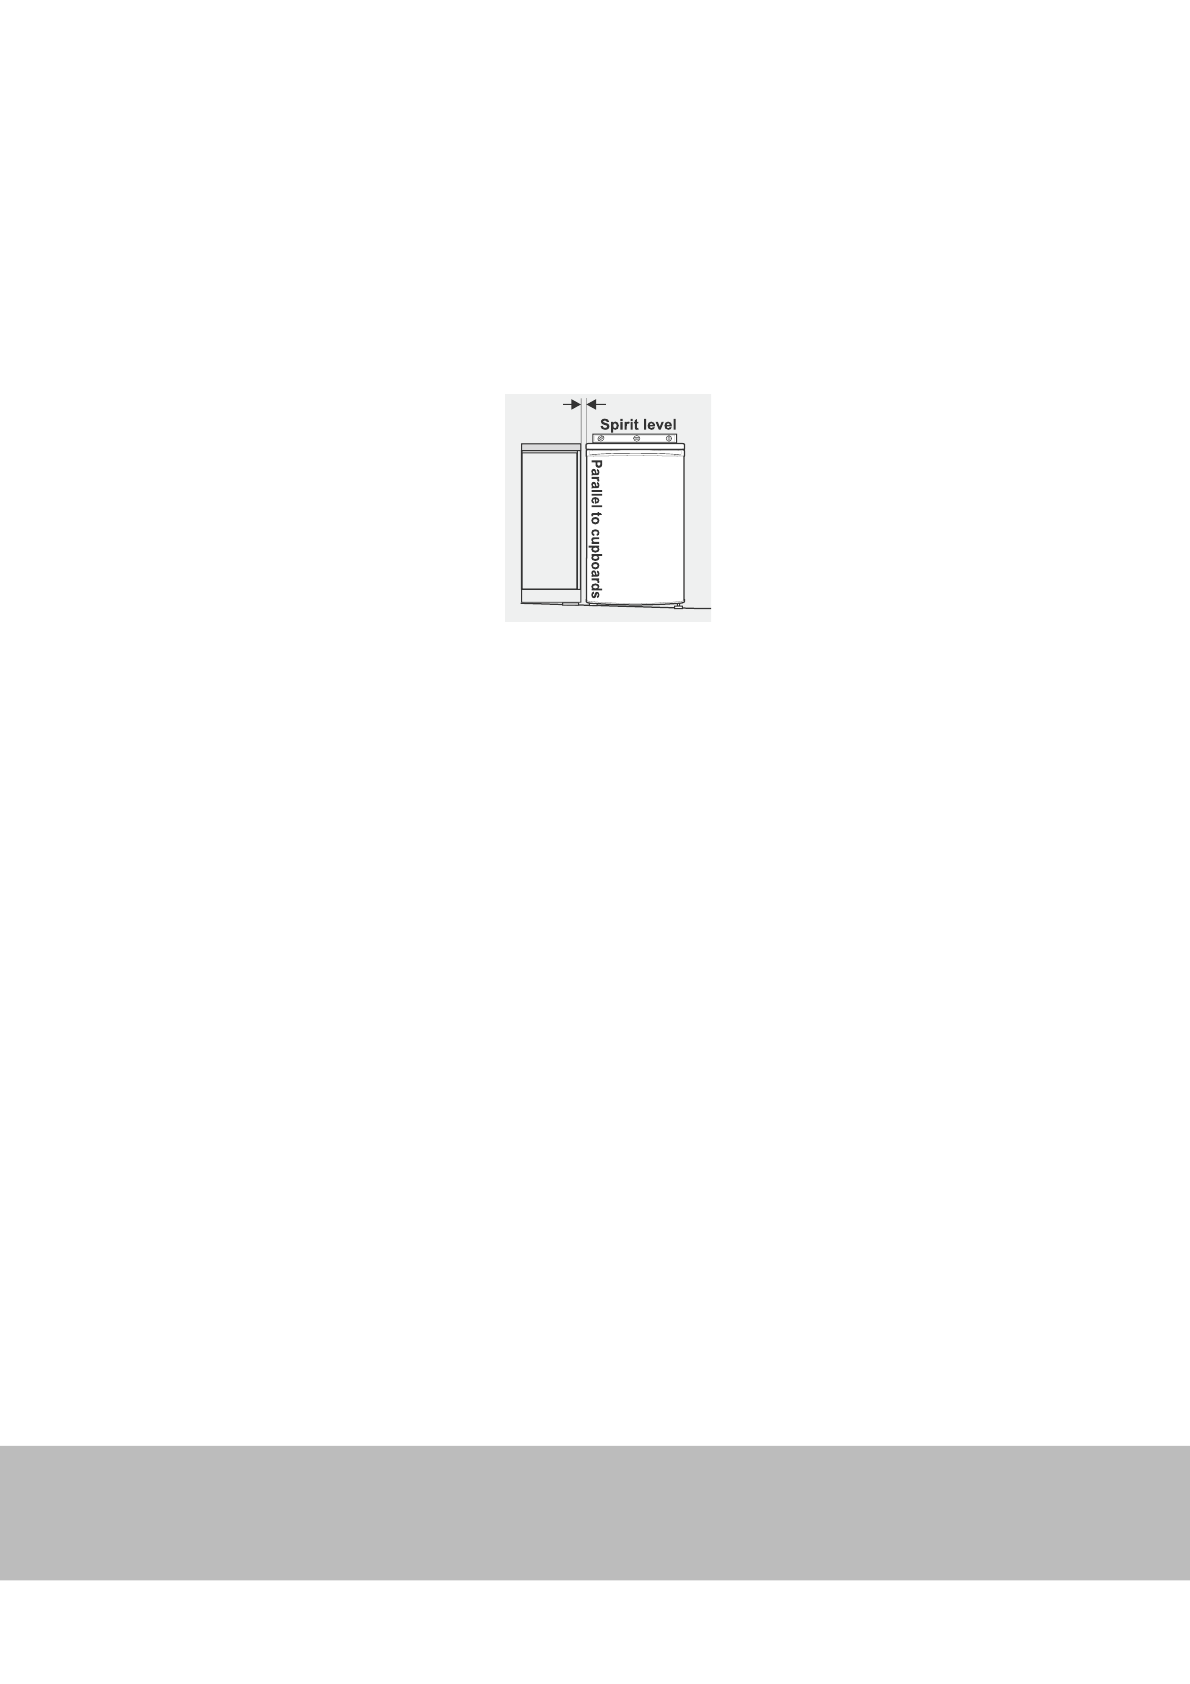
3. Compare the alignment of the appliance to the surrounding cupboard . The top of the appliance should be level from side to side
(see diagram below) .
4. If the appliance now rocks from one corner to the opposite rear corner, this means that the floor is uneven. You may need to put
some packing under the ridge to the rear of the appliance . You could use thin pieces of solid material such as thin board, vinyl floor
tiles or laminate .
5. You may now need to fine tune the installation by repeating steps 2, 3 and 4 .
6. Wipe off any dust that has accumulated during shipping and clean following the directions in Part VIII ( Care & Maintenance)
7. Plug the appliance into the power point. Don’t use a double adaptor or extension cord .
8. It is recommended that you let the appliance for an hour or two before you put any wine in it . This will confirm that it is operating
correctly and make the conditions appropriate for wine storage .
Congratulations! You have successfully installed your cellar/refrigerator/freezer
DOOR LOCK
This unit comes with an optional key lock. The keys are located inside the plastic bag that contains the user manual. To unlock the door,
insert the key into the lock and turn counterclockwise. To lock the door, simply reverse the operation making sure the metal pin is
engaged completely. Then remove the key and place it is a secure place for safekeeping.
PART III! INSTALLATION INSTRUCTIONS
INSTALLATION