
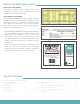
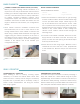
Assembly Instructions

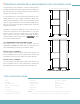
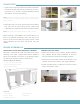
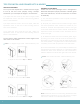
HINGE ADJUSTMENT
You may find that adjustment is needed with the hinges
to line up the door fronts properly. Using a Phillips
screwdriver you can adjust the hinges in six directions.
1) To adjust the door fronts up and down in height, rotate
the adjustment screw in the center of the mounting plate as
shown in the illustration.
2) To adjust the door fronts in and out in depth, rotate the
adjustment screw on the front of the mounting plate as
show in the illustration.
3) To adjust the door fronts left and right, rotate the
adjustment screw on the back of the mounting plate as
shown in the illustration.
You may have to make adjustments to both hinges on the
door fronts to see results.
TIPS FOR INSTALLING DRAWER KITS & HINGES
1) Adjust the door fronts Up and Down
2) Adjust the door fronts In and Out
3) Adjust the door fronts Left and Right
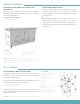
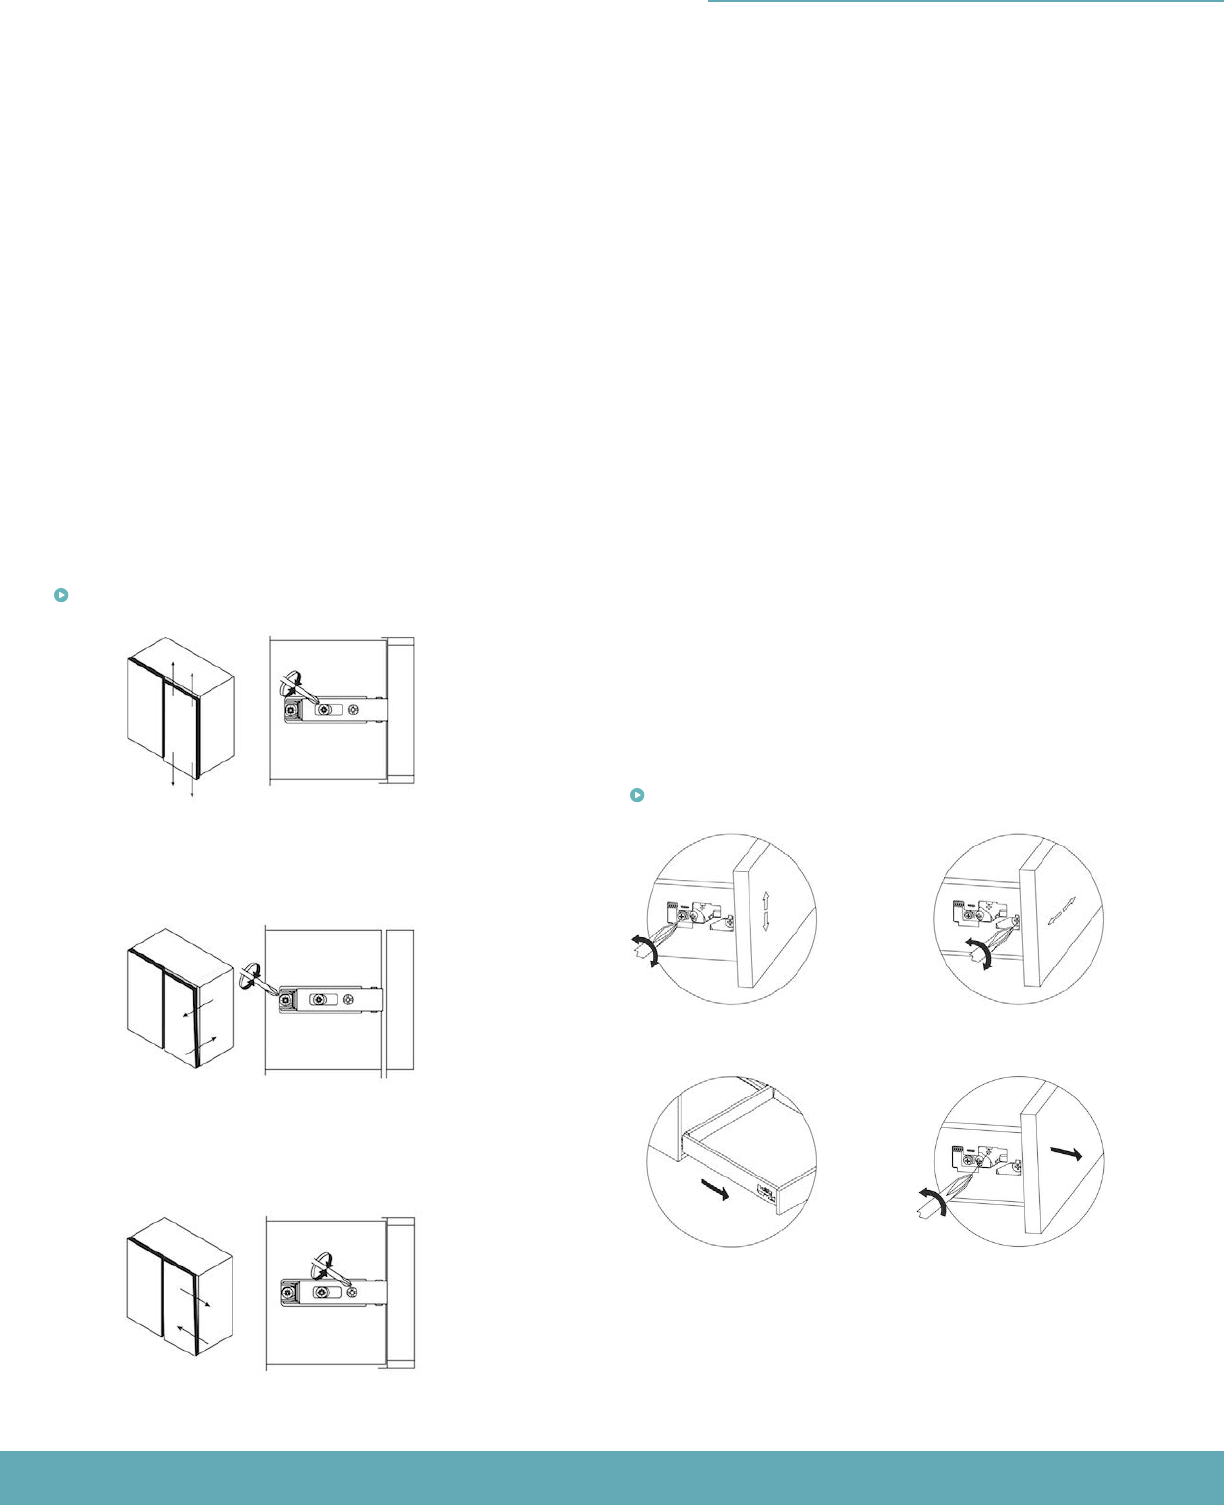
DRAWER ADJUSTMENT
Drawer kits will come packaged with a Configuration
Guide that will explain proper placement of drawer glides
within the cabinet box, as well as instructions for drawer
kit assembly.
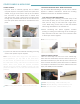
1) Turn the metal adjustment screw to adjust the drawer
front up and down.
2) To adjust your drawer fronts to the left and right, adjust
the white adjustment screw inward and outward of your
drawer kit. Protrude both adjustment screws to the right
to force the drawer front to move to the left. Protrude both
adjustment screws to the left to force the drawer front to
move to the right.
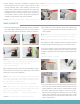
3) To release the drawer box from the drawer glides, begin
by placing your hands under the center of the drawer front.
Be careful not to place hands under the drawer glides. From
the closed position, use gentle force to extend the drawer
completely out and then lift upwards in one fluid motion.
4) To remove the drawer front, use a Phillips screwdriver into
the hollowed-out location (looks like a + symbol) and rotate
towards the back of the drawer box until the bracket is
released. Repeat on both left and right sides of the drawer.
1) Up/Down Adjustment 2) Left/Right Adjustment
3) Release
the drawer
box from the glides
4) Remove the drawer front
Note: If the white screw on the mounting bracket has been
adjusted and is protruding out, you may need to un-adjust
the screw to remove or re-install the drawer front.
10
Video: 110 Degree Hinge Install - klearvuecabinetry.com
Video: Low Drawer Kit Install - klearvuecabinetry.com