
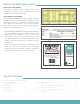
Assembly Instructions

1 2
3
4
BASE CABINETS
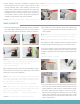
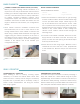
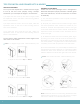
Once cabinet connector installation locations have
been determined, use a 3/16" or 5mm drill bit to drill
through desired holes. Insert cabinet connector and
fasten using a Phillips head screwdriver until tight. We
suggest using two cabinet connectors at the front of
the cabinet and one near the back. Once connectors
are installed, remove clamps. Continue installing wall
cabinets in this fashion until all are installed.
Note: If cover panel is required between two wall cabinets,
see page 9.
Set base cabinet legs to be level with the 34-3/4" chalk
line. Adjust base cabinet legs so the top of the cabinet
box is level with the line previously drawn on the wall.
Base cabinets will have Toe Kick Clips packaged inside.
Insert these into the front of the cabinet leg. These will be
used later for Toe Kick Installation.
5
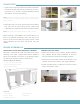
Note: Shallow-depth base cabinets and undermount apron
sink bases will include a wall cabinet box paired with a
4-pack of adjustable legs that include a template to convert
the wall cabinet into a base cabinet.
4-pack Adjustable Legs with Toe Kick Clip (478-3850)
Note: Blind Corner and Lazy Susan Cabinets include
specialty hinges packaged inside the cabinet box. These
will be used to install the door front to the box.
Blind Corner (478-9838) Lazy Susan (478-3892)
Note: When securing into place, you may want to use a scrap
piece of material between the mallet & leg for protection.
Note: See additional Blind Corner installation on page 6.
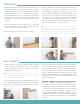
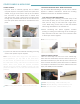
Start with the corner cabinet. Insert the cabinet legs
into the pre-drilled holes and secure into place with a
rubber mallet.
Note: Base corner cabinets will include adjustable legs that
are packaged inside the cabinet box. These will need to be
installed before securing the box to the wall.
Corner Legs (478-9840)
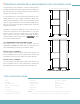
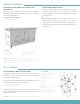
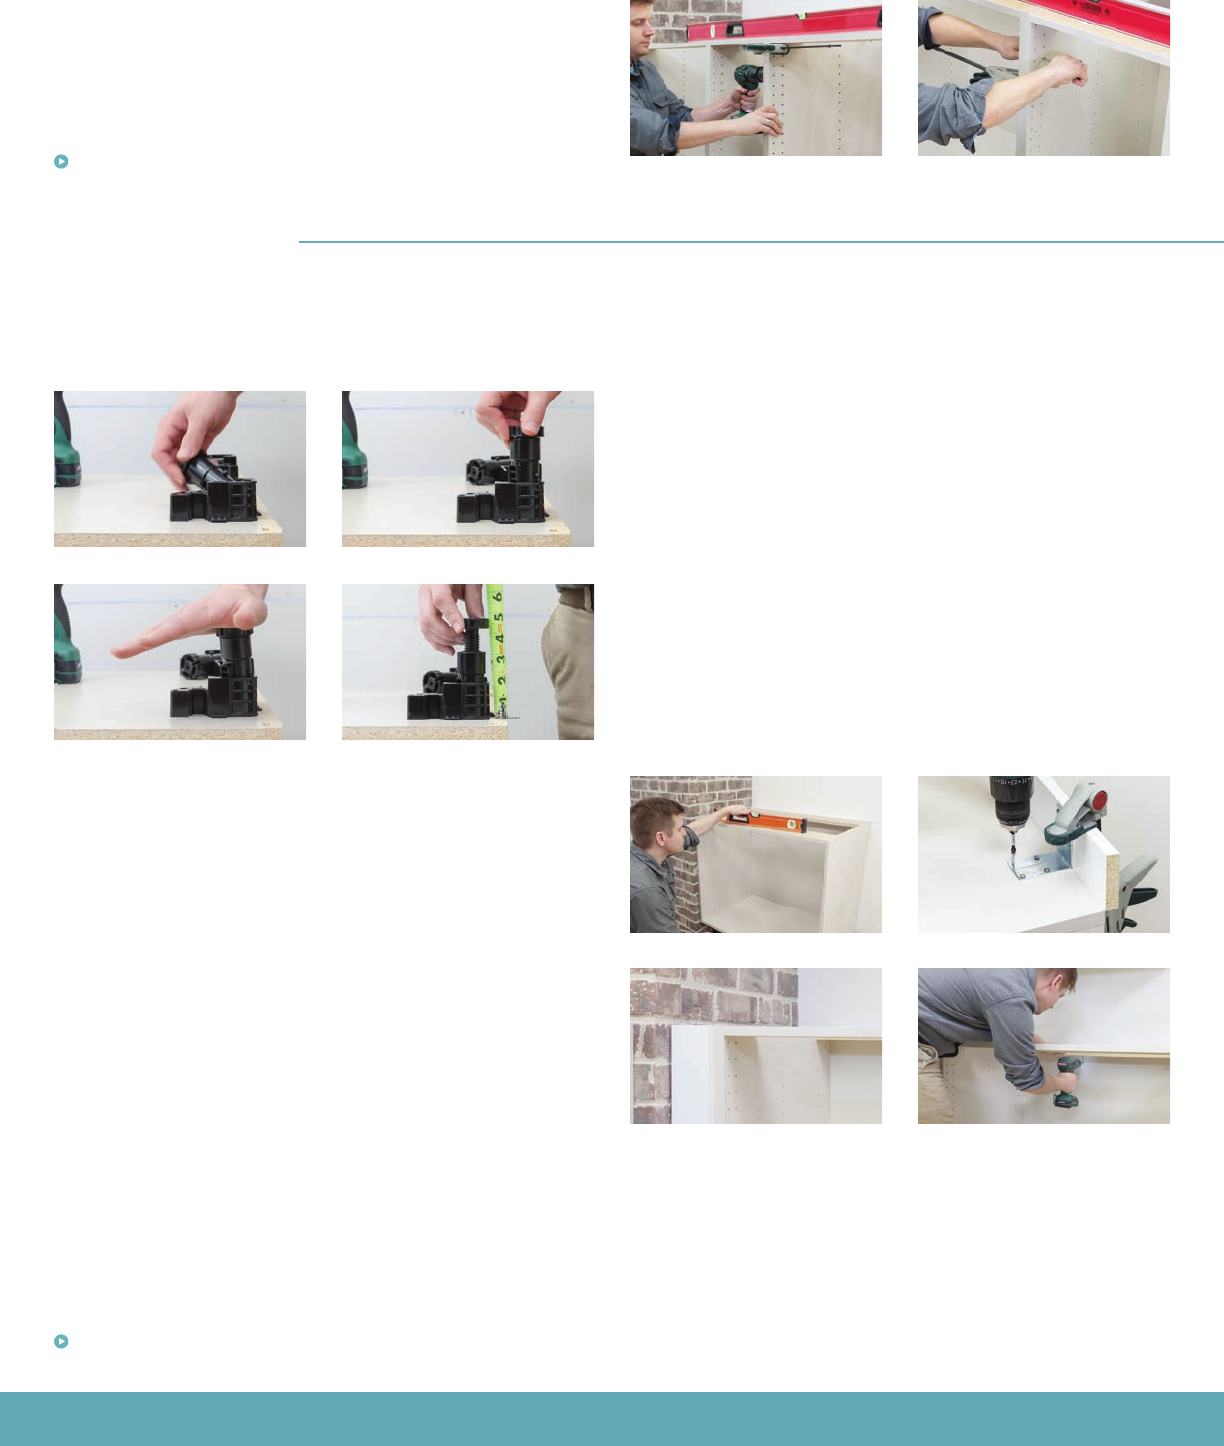
The next cabinet will be set into place and clamped to
the previously installed cabinet. Clamp the two cabinet
boxes together so that the front, top and bottom edges
are flush. Verify that the cabinet is level and install 4
cabinet screws through the fastening strip into the wall
studs. With cabinets still clamped and flush, install
cabinet connectors through the pre-drilled holes on the
side of the cabinets.
See filler installation on page 7.
Set cabinet into place. Check for level and install 4 cabinet
screws through the fastening strips into the wall studs.
If you do not have a corner, start with the cabinet closest
to the wall. Cabinets against wall will require a filler strip
to begin. Install filler onto cabinet before installing cabinet
to wall
Video: Adjustable Legs - klearvuecabinetry.com
Video: Cabinet Connector Install - klearvuecabinetry.com