
Assembly Instructions

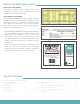
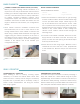
CABINET CONNECTOR INSTALLATION (478-3872)
Before you begin installing cabinet connectors, it is
important to note the pre-drilled holes that are used in
building your cabinet configurations. We have found it
common to use the fourth hole from the top and bottom
for cabinet connector installation, however, some
configurations require use of these locations. Use the
installation instructions included with drawer kits and
hinges to determine hole locations your configurations
will use.
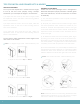
Once cabinet connector installation locations have
been determined, use a 3/16" or 5mm drill bit to drill
through desired holes. Insert cabinet connectors and
fasten using a Phillips head screwdriver until tight. We
suggest using two cabinet connectors at the front of
the cabinet and one near the back. Once connectors
are installed, remove clamps. Continue installing base
cabinets in this fashion until all are installed your
configuration will use.
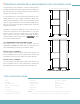
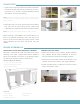
Determine orientation of cabinet (left or right opening)
and use a rubber mallet to attach included cabinet legs
into the pre-drilled holes. Adjust cabinet legs so the
top of the cabinet box is level with the 34-3/4" chalk
line. To position blind corner properly, have 3" of space
between wall and the length of cabinet (bringing 39"
cabinet to 42"). Install cabinet to wall, making sure
cabinet is level. Install 4 cabinet screws through the
fastening strips.
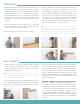
Once the corner cabinet is installed, attach first 3" filler.
Apply silicone to the back of the filler and clamp into
place, 3/4" back from the opening of the cabinet. Wipe
down any excess silicone.
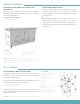
Attach second 3" filler using Large L-Brackets. This is
installed at the end of the first 3" filler, perpendicular
to the cabinet box. Remove clamps once silicone has
dried.
Additional Materials Needed
- Silicone
- (2)3"x30" Fillers
- Clamps
- Large L-Brackets
BLIND CORNER CABINETS
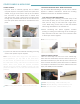
SINK / COOKTOP
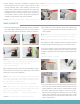
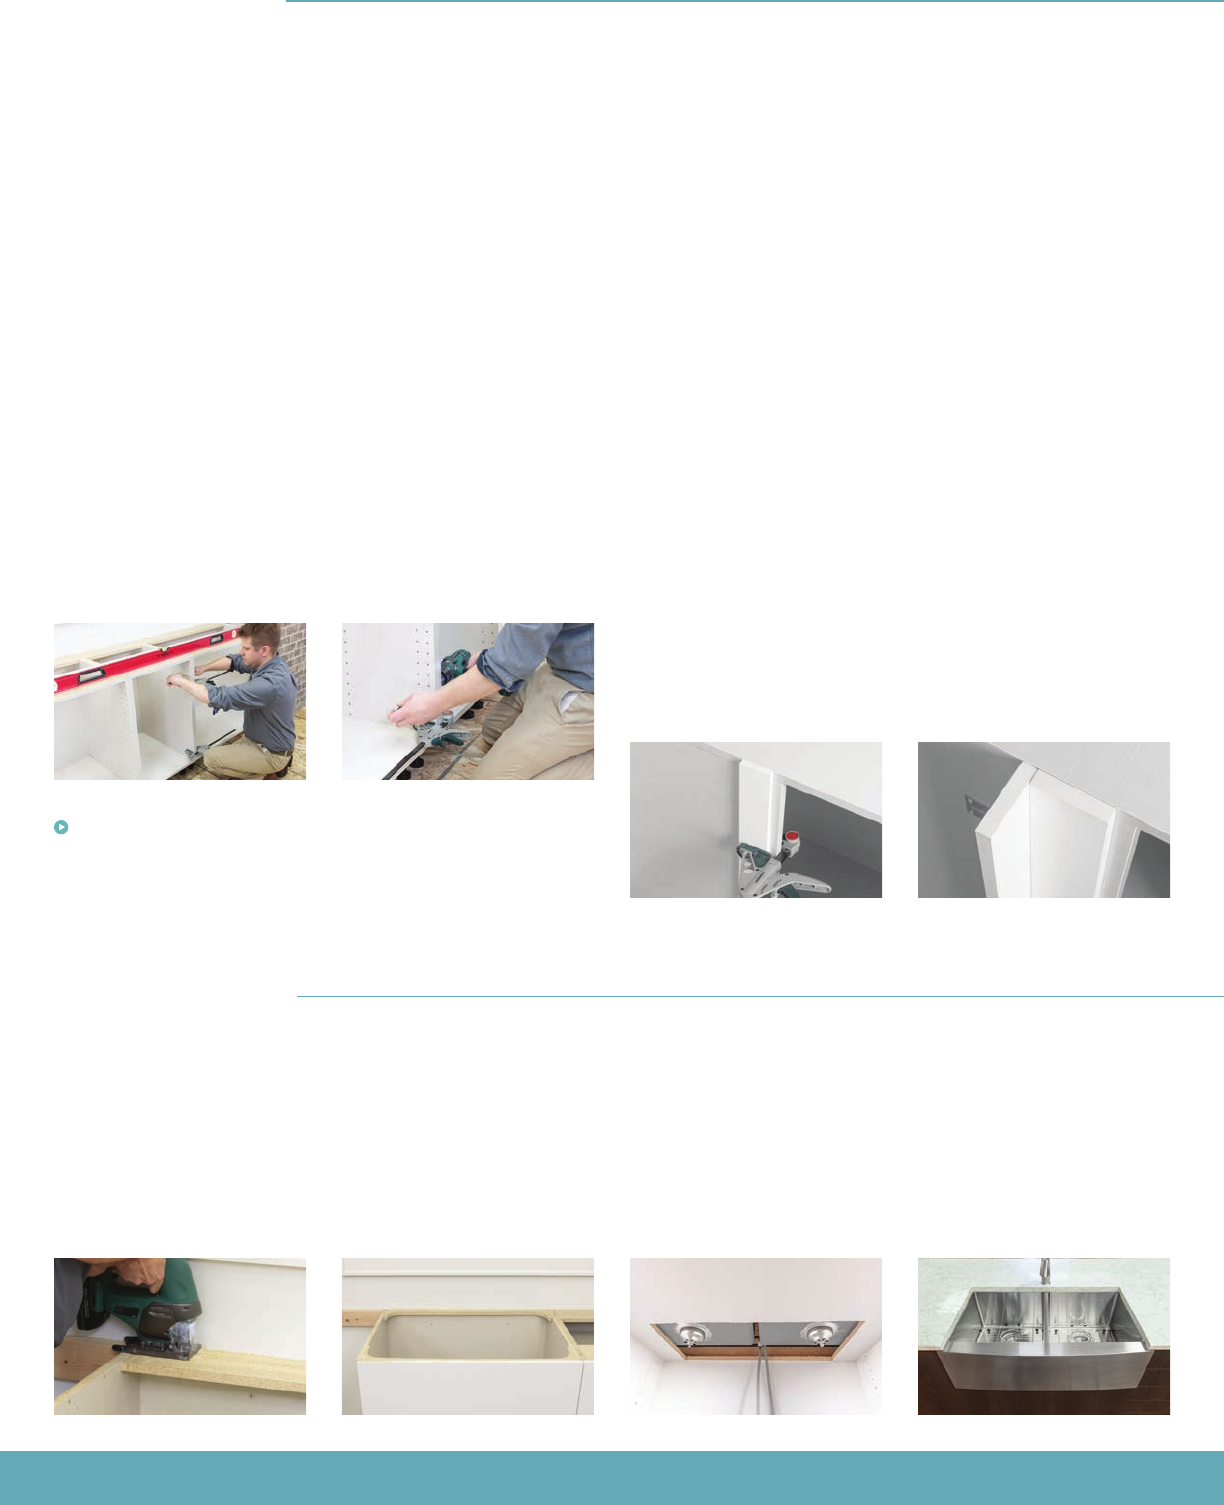
STANDARD SINK / COOKTOP
When installing a sink or cooktop, trimming maybe
necessary to fit within the cabinet. Mark cutout lines
where the sink or cooktop will be using the countertop
template that is provided (with a countertop order) to
ensure correct measurements. Cut along the marked
lines using a jigsaw.
UNDERMOUNT APRON SINK
An undermount apron sink base is made by modifying a
deep wall cabinet into a base cabinet using the 4-pack
adjustable legs. You will need to cut holes out of the top of
the cabinet to allow plumbing. Locations of holes will vary
based on what sink you purchase. Most sink brands come
with a template that demonstrate where to cut holes.
6
BASE CABINETS
1
2
3
4
5
Video: Cabinet Connector Install - klearvucabinetry.com