
Assembly Instructions

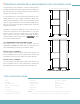
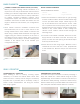
FILLER STRIP
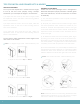
If a filler strip is required, measure the distance between
the cabinet and the wall and cut the filler strip to match.
A minimum of 2" of filler is required between the wall
and cabinet, to ensure full opening.
7
1
1
2
3
2
Note: Install filler onto cabinet before installing to wall.
Note: Follow the installation guide that is provided for filler
strip with Small or Large L-Bracket (pending filler size) for
filler installation.
Place filler strip to sit 3/16" past the front of the cabinet
box and hold into place using clamps. Install using
L-Brackets from the back side of filler strip and cabinet.
When installing a filler between two cabinet boxes, cut
filler to the required dimensions. Place filler strip to sit
flush to the front of the cabinet box using clamps. Install
using L-Brackets from the back side of filler strip and
cabinet.
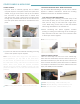
Additional Materials Needed
- Large L-Brackets (478-3868)
- Block Of Wood For Support
- Construction Screws
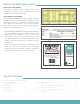
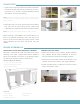
ISLAND & PENINSULA
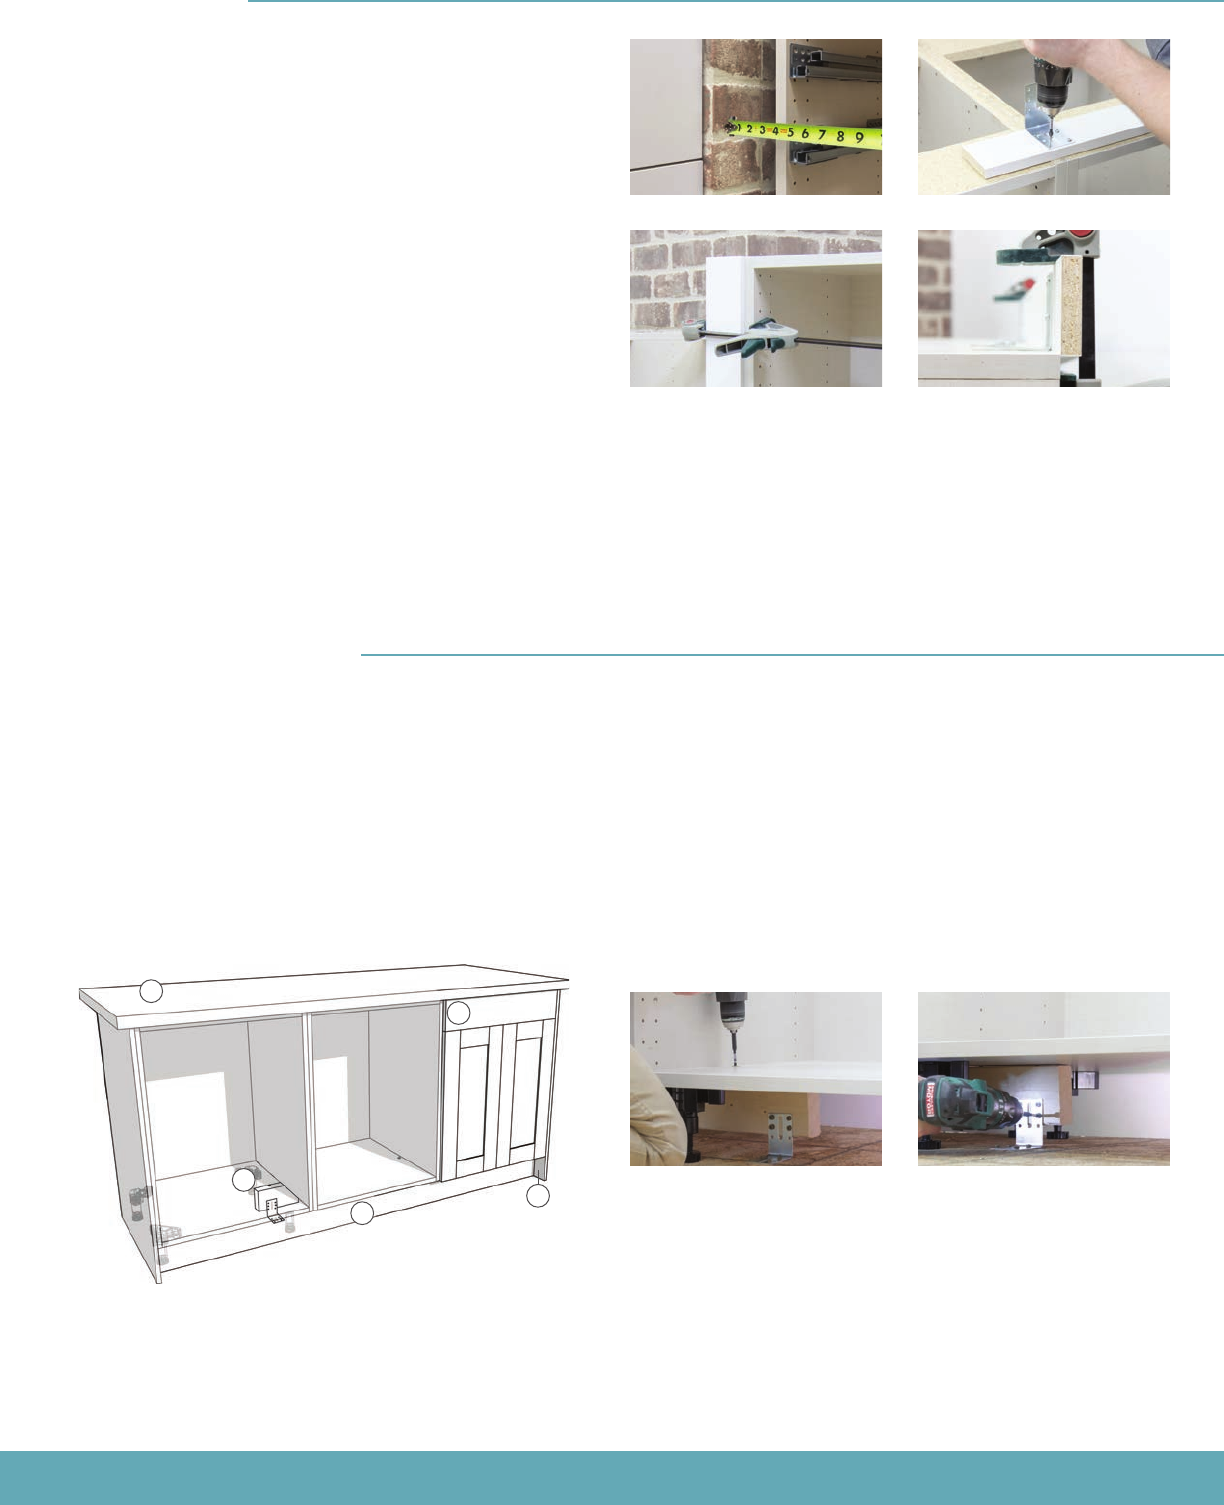
ANCHORING ISLAND AND PENINSULA CABINETS
An island or peninsula will cause your cabinets to be free
standing. In this case, a support piece will be needed to
secure your cabinets to the floor. In the following steps,
you will see an example of how to achieve this.
Pictured
1) Countertop
2) Cover Panel
3) Cabinet Support
4) Drawer Front
5) Toe Kick
1
4
3
5
2
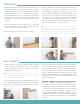
Center the location of your cabinet support between
two cabinets. Secure Large L-Brackets to the floor
using construction screws to the length you need.
Use a block of wood that touches to the bottom of the
cabinet. Secure with screws to the Large L-Brackets.
Fasten through bottom of cabinet into block of wood
with a construction screw.
CABINET SUPPORT DETAIL