
Assembly Instructions

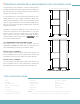
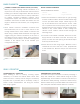
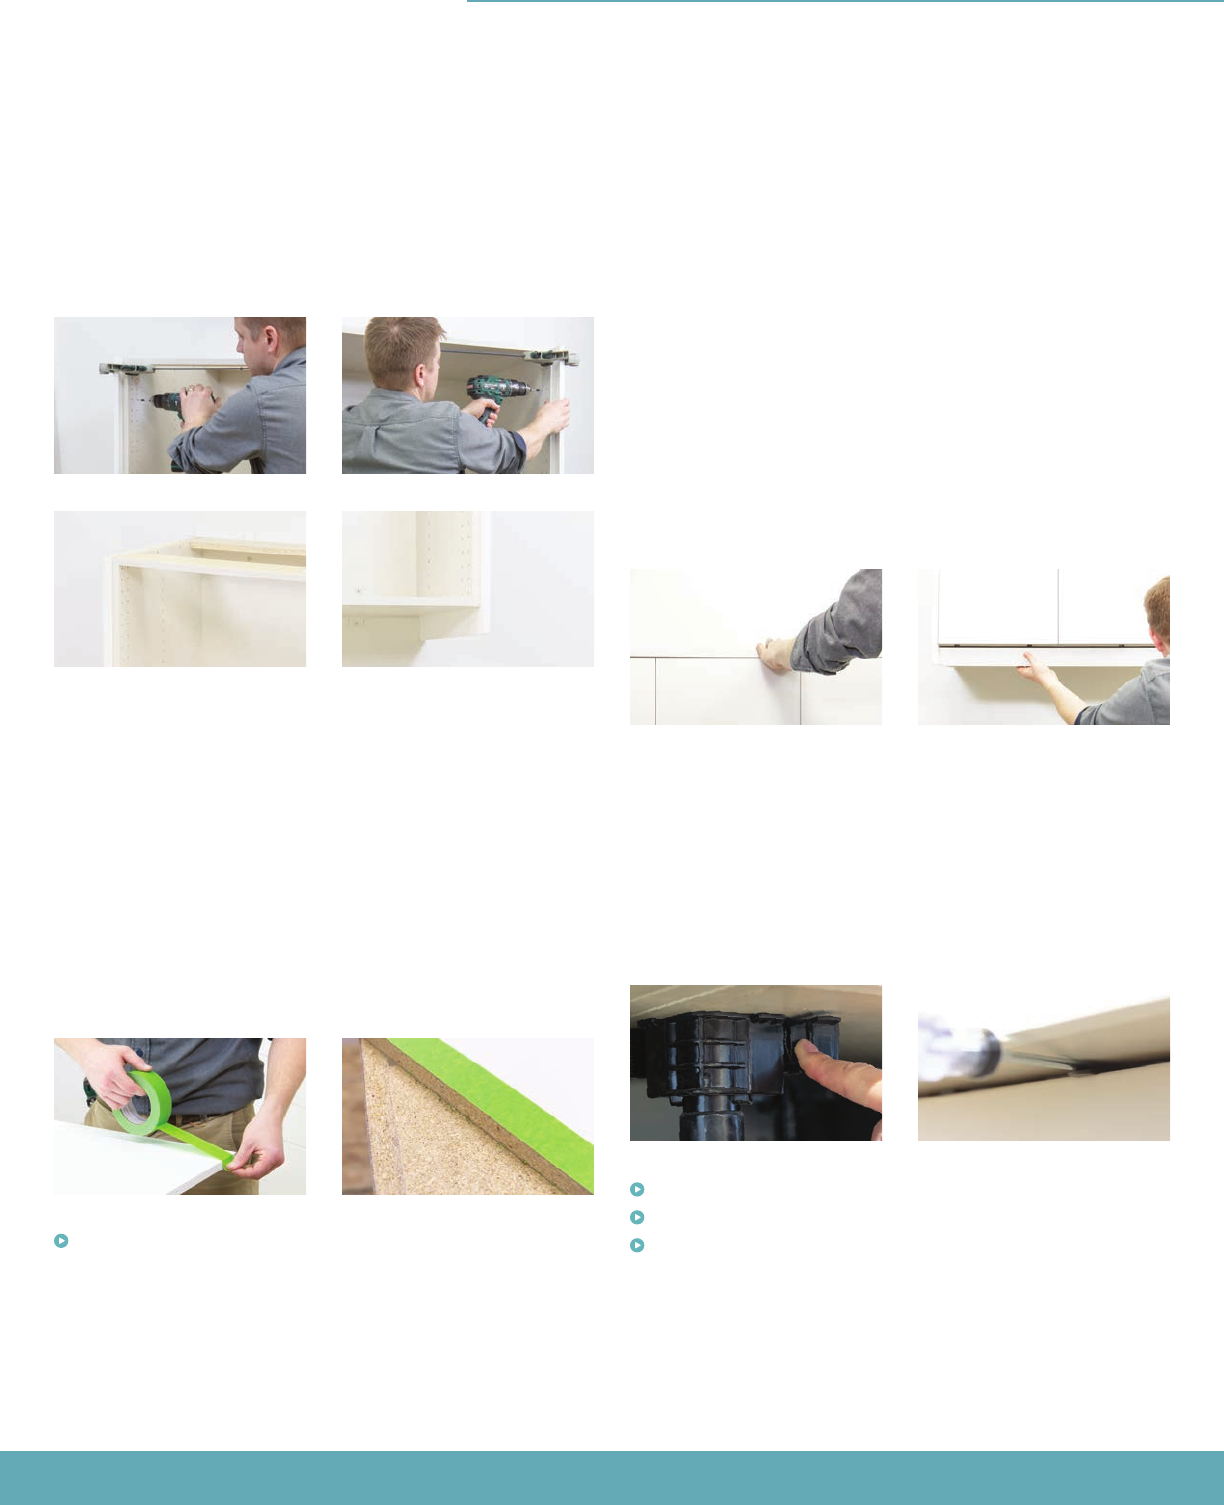
Exposed ends of cabinets (typically end of cabinet
runs) will require a cover panel. Place cover panel onto
cabinet, lining up to be flush to the top of the cabinet
box, and flush to the cabinet door or drawer front
and secure with clamp. Fasten with included screws
through the pre-drilled shelf holes of the cabinet into
the cover panel. More instructions included with cover
panel.
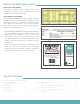
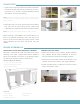
COVER PANELS & MOULDING
TOP MOULDING AND WALL BASE MOULDING
Top and Wall Base Mouldings are the same material
applied in different orientations. Follow the moulding
hardware instructions for detailed installation.
9
Note: Cover panels will be longer than wall cabinets. In
some applications, you may need to trim panel down.
For best results, lay painters tape on the finished side of
the panel before cutting. Instructions included with Cover
Panels. Some cover panels are required in-between
cabinets during the cabinet installation process. All cover
panels are called out on your floor plan and elevation view
printouts.
Video: Top Moulding - klearvuecabinetry.com
Video: Bottom Moulding - klearvuecabinetry.com
Video: Toe Kick Install - klearvuecabinetry.com
Video: Cutting Cover Panels - klearvuecabinetry.com
1
1
2
2
If you do not intend to use wall base moulding, trimming
of wall cover panels may be required.
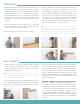
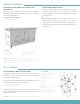
TOE KICK INSTALLATION
Insert Toe Kick Clips into the front of the cabinet leg.
Place Toe Kick underneath, and use a flat tool (such as a
flat head screwdriver) to push the clip down onto the Toe
Kick. Toe Kicks are held in place with tension so cabinets
can easily be maintained in the future. Adhesive Toe Kick
Clips (478-3898) are also available.
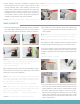
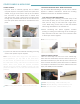
TIPS FOR CUTTING MOULDING
When cutting your moulding, you follow many of the
same rules as when you cut cover panels. Mark your
lines, and cut using a miter saw with a high tooth-
count. When using a miter saw, cut with the finished
side facing downward for the cleanest cut.
When connecting two pieces together, consider
painting or staining the inside edge of the moulding to
help hide seams. We also offer a color-matched caulk
to blend your seams together.
Note: Avoid exposed cuts.
COVER PANELS