
Use and Care Manual


Installation Instructions
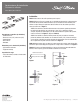
Ledge Shelving
0139-BK4 | 0139-HNY4
Tools Required (not included):
- Power Drill
- 1/8" Drill Bit or 1/4" Drill Bit
- Screwdriver
- Tape Measure
- Level
Installation Materials (included):
- (4) Ledge Shelves
- Mounting Hardware
Load Rating:
- 20 lbs each shelf when mounted
onto studs
Installation:
STEP 1: Select the desired location for the shelf ledge.
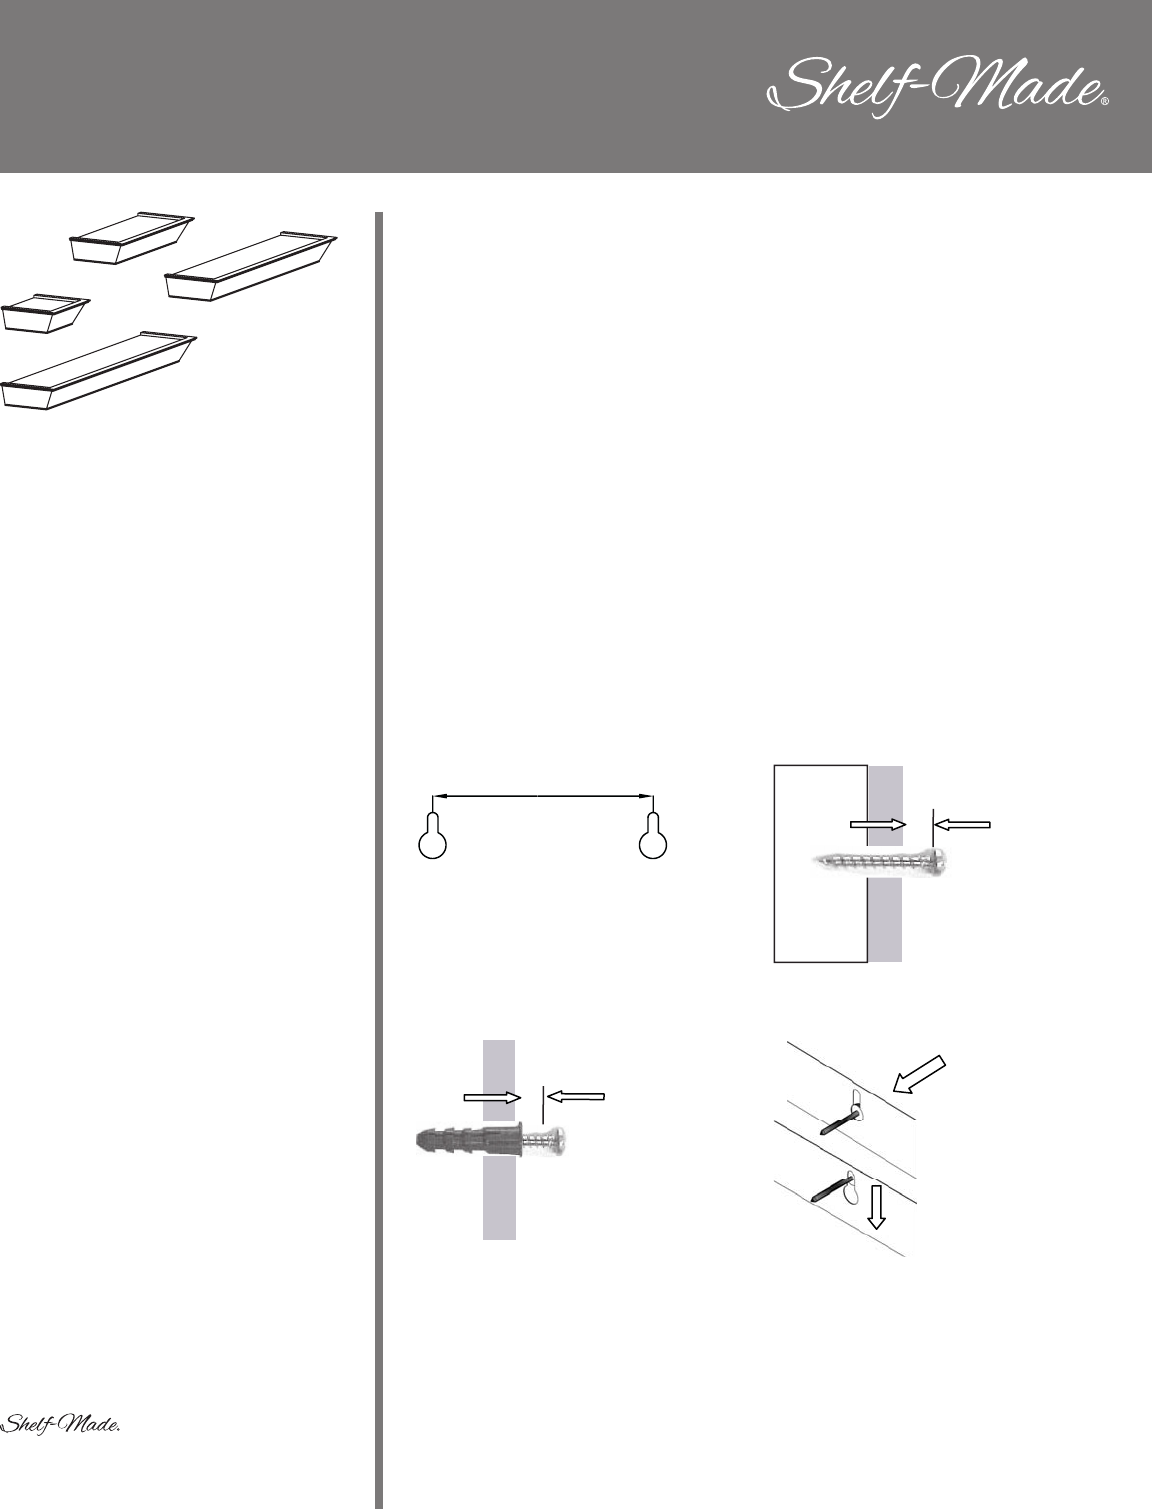
STEP 2: Draw a line on the wall, using the level, in order to determine where the screw
holes will be located. Measure the distance that will be required between the screws in
order to mount the ledge shelf. Mark the positions of the screws in the desired locations,
as shown in Figure 1.
NOTE: If the screws are being driven directly into a stud, pre-drill the screw holes using
a 1/8" drill bit and drive the screws without using anchors, leaving 3/8" of each screw
protruding from the surface of the wall, as shown in Figure 2. (Skip to STEP 3)
NOTE: If the screws are being driven into drywall and not into a stud, drill the screw
holes using a 1/4" drill bit. Insert the anchors into the holes and drive the screws,
leaving 3/8" of each screw protruding from the surface of the wall, as shown in Figure 3.
STEP 3: Position the keyholes on the back of the ledge shelf over the screws. Pull the
ledge shelf downward in order to secure it in place, as shown in Figure 4.
STEP 4: If the ledge shelf is too loose, or if it does not fit over the screws properly, remove
the ledge shelf and adjust the screws accordingly.
Measure Distance
(Back of Shelf)
Figure 1
Figure 4
Figure 2
Stud
3/8"
Wall Surface
Figure 3
3/8"
Wall Surface
2700 Oak Industrial Dr. NE
Grand Rapids, MI 49505
800-253-1561
www.kv.com
customer.service@kv.com
©2015 Knape & Vogt. KV and the KV logo are trademarks of Knape & Vogt. 310455/0715