
Manual


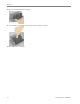
Table Of Contents
- Product Overview
- Main Components
- Control Panel Layout
- Status Lights
- LCD Display Screen
- Memory Card Slots and USB Port
- AiO Home Center (Windows)
- AiO Home Center (Macintosh)
- Getting Started
- Handling and Loading Paper
- Copy
- Scan
- Maintenance
- Support
- Contact Kodak
- Limited Warranty
- Telephone Customer Support
- Troubleshooting
- AiO Fails to Power On
- Bluetooth Device not Recognized
- Device not Recognized
- Ink Cartridge
- Multiple Paper Feed
- No Communication with Computer
- No Paper Feed
- Paper Jam
- Printer not Responding
- Transfer Pictures Failure
- Wrong Paper Size
- Print Troubleshooting
- Envelope Printing Incorrect
- Multiple-page Document in Reverse Order
- Photo Print Smudged
- PictBridge Camera not Detected
- Picture Will Not Print
- Pictures Cropped
- Poor Print Quality
- Print Skewed or Slanted
- Print Spotted
- Print Too Dark
- Print Too Light
- Printing Stops
- Slow Printing
- White Edges on Borderless Prints
- Copy Troubleshooting
- Scan Troubleshooting
- Appendix
- Glossary
- Index
Maintenance
3
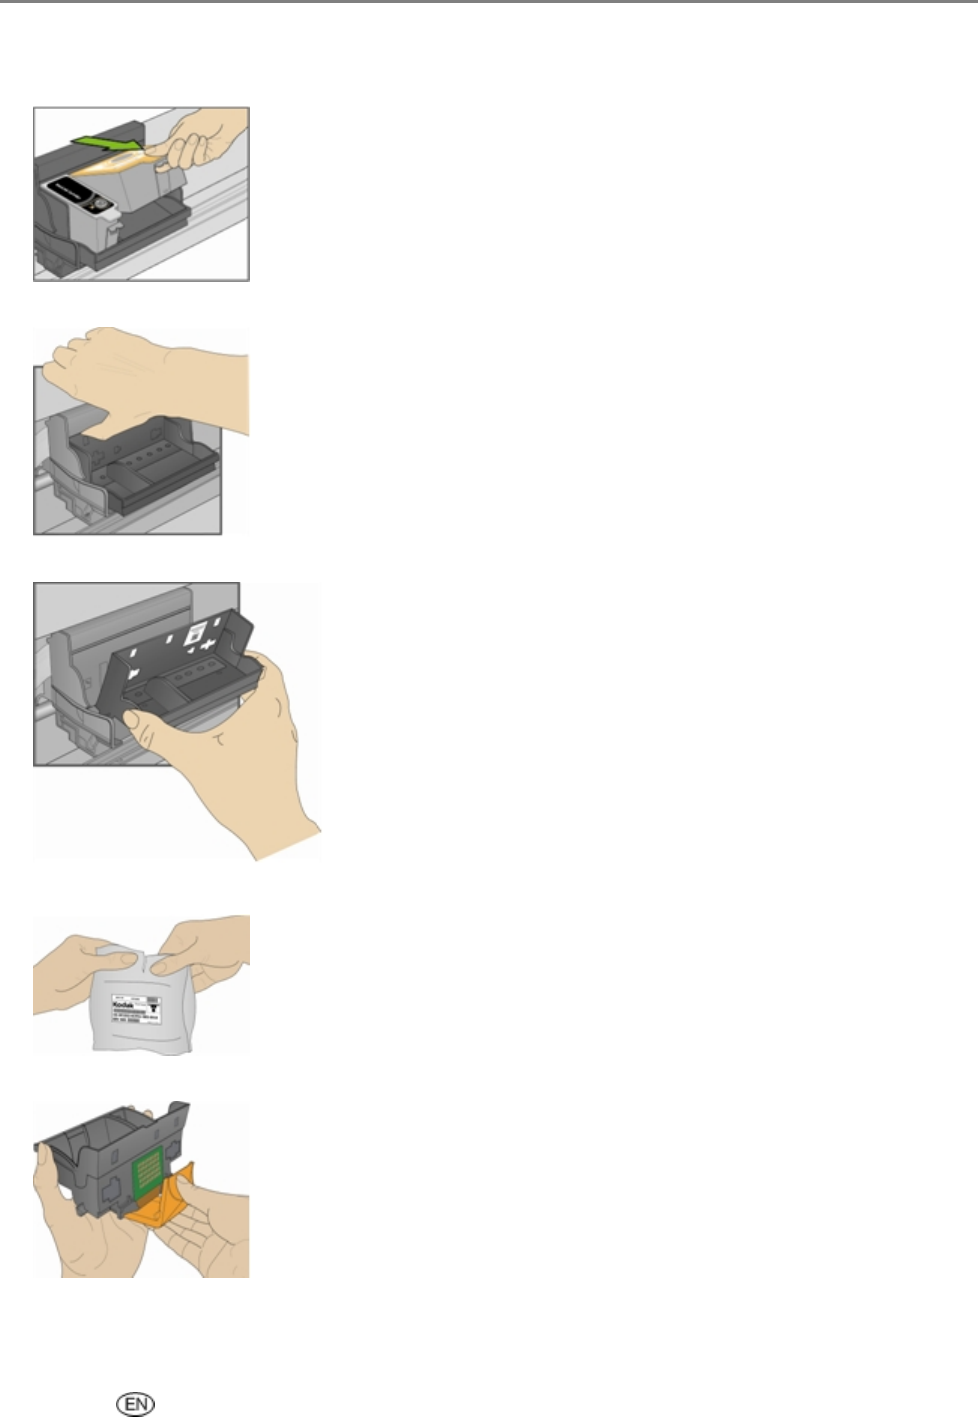
Wait until the printhead is idle and silent, then pinch the pinch latch on the ink cartridge with your
thumb and forefinger and lift it out of the print head. Remove both ink cartridges.
4 Unlatch the printhead by pressing the button in the upper-left corner of the carriage.
5 Remove the old printhead.
6 Remove the printhead from its bag.
7 Remove and discard the clear plastic casing and the orange protective cap.
User’s Guide 75