
Manual
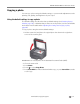
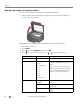
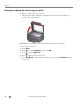
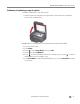
Table Of Contents
- Printer Overview
- Networking Your Printer
- Connecting to a wireless network
- Connecting to an Ethernet network
- Adding a wireless network connection to a USB-connected computer
- Online Printer Management Tool
- Handling Paper
- Printing
- Mobile Printing
- Copying
- Scanning
- Faxing
- Maintaining Your Printer
- Troubleshooting
- Product and Safety Specifications
- Features and Specifications
- Print performance
- Photo printing features
- Copy document features
- Copy photo features
- Scanning features
- Input paper tray
- Output paper tray
- Automatic document feeder (ADF) for originals
- Fax system
- Paper types supported
- Paper sizes supported
- Ink cartridges
- Connectivity
- Software support
- Physical specifications
- Warranty
- System requirements
- Safety information
- Regulatory compliance
- ENERGY STAR® Qualified
- Warranty Information
- Declaration of Conformity
- Features and Specifications
www.kodak.com/go/aiosupport 67
KODAK OFFICE HERO 6.1 All-in-One Printer
Copying a photo
You can copy a photo using the default settings, or you can make adjustments to the
quantity, size, quality, and brightness of your copies.
Using the default settings to copy a photo
The default settings are either the factory default settings (see Resetting factory
defaults, page 114), or defaults that you have set on the printer (see Save as Defaults
at the bottom of the table under Adjusting the settings and copying a photo,
page 68).
To copy a photo using the current default settings:
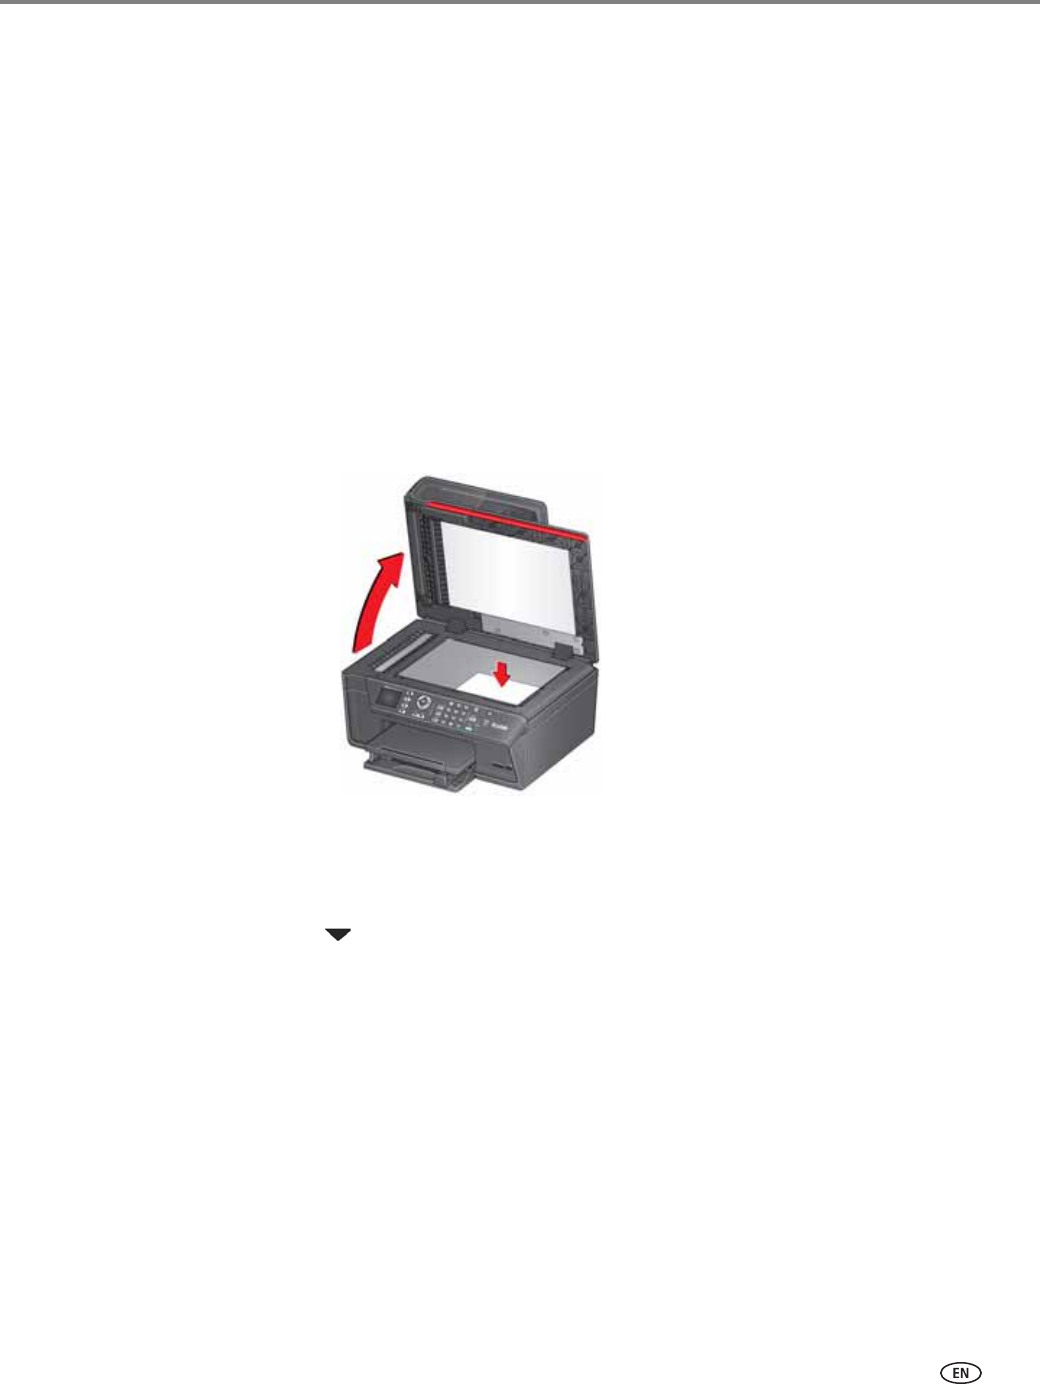
1. Lift the scanner lid, and place the original photo face down in the right front
corner of the scanner glass.
IMPORTANT: Do not load photos in the Automatic Document Feeder (ADF).
2. Close the scanner lid.
3. Press Home.
4. Press to select Copy Photo.
5. Press Start Black to make a black-and-white copy, or press Start Color to make
a color copy.