
Electronic Keyboard User Manual
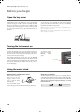


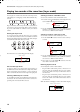
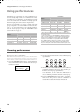
Table Of Contents
- Introduction
- Main features
- Wide range of sounds
- Performances
- Four zones keyboard
- Touch control
- Pedal effects
- Piano eXperience
- One-hundred eighty-five songs
- SongBook included
- Onboard recorder
- Metronome
- Data transfer via USB
- MIDI capabilities
- MIDI over USB
- Temperaments
- Adjustable pitch
- Effects
- Powerful integrated amplification
- Two sets of headphones
- Main features
- Control panel
- Connections
- Before you begin
- Basic functions
- Using performances
- The metronome
- Playing back a song
- Recording a song
- Quick recording procedure
- Step 1: Entering the Record mode
- Step 2: Selecting sounds
- Step 3: Setting the record options
- Step 4: Setting the time signature and tempo
- Step 5: Recording
- Step 6: Second-pass recording
- Changing sounds to a recorded song
- Changing tempo to a recorded song
- Pedal Punch recording
- Auto Punch recording
- Saving the song
- Editing a song
- Editing sounds and performances
- Accessing the Sound edit mode
- Exit from the Sound edit mode
- Saving a sound
- Saving a performance
- Setting the volume
- Adjusting the panning
- Adjusting the effects
- Setting the reverb effect
- Setting the chorus or modulation effect
- Setting the insert effects
- Setting the octave transposition
- Adjusting the fine tune
- Programming the pedals
- Selecting a scale
- Resetting the current sound and performance
- Global settings
- Accessing Global edit
- Exit from the Global edit mode
- Touch settings
- Turning the internal speakers on or off
- Master tuning
- Brilliance
- Default split point
- Assigning functions to the pedals
- Quarter Tone (SubScale realtime programming)
- Fast Play
- Mute Level
- Turning the keyboard on or off (Local Control)
- MIDI Clock
- MIDI IN Channels
- MIDI OUT Channels
- MIDI Filters
- Data transfer via the USB port
- Erasing songs from the User Song album
- General Reset
- System version number
- MIDI
- Installing the Korg USB MIDI Driver
- Assembling the stand
- Appendix
- Sounds
- Performances
- Effects
- Songs
- Error messages
- Write Protect
- Out of Memoy
- Maximum song length reached
- Loading Song Error
- USB Working Wait please
- Memory Full
- Invalid Name
- Song Exists Execute
- Record Mode Not Allowed
- Song Modified Save?
- Sound Modified Save?
- Perf. Modified Save?
- Globals Modified Save?
- Save Global Failure
- Save Preset Failure
- Save Midi Failure
- General Reset Wait Please
- General Reset / nn%
- Troubleshooting
- Polyphony
- Technical specifications
- MIDI Implementation Chart
Before you begin
> Open the key cover
10
Before you begin
Open the key cover
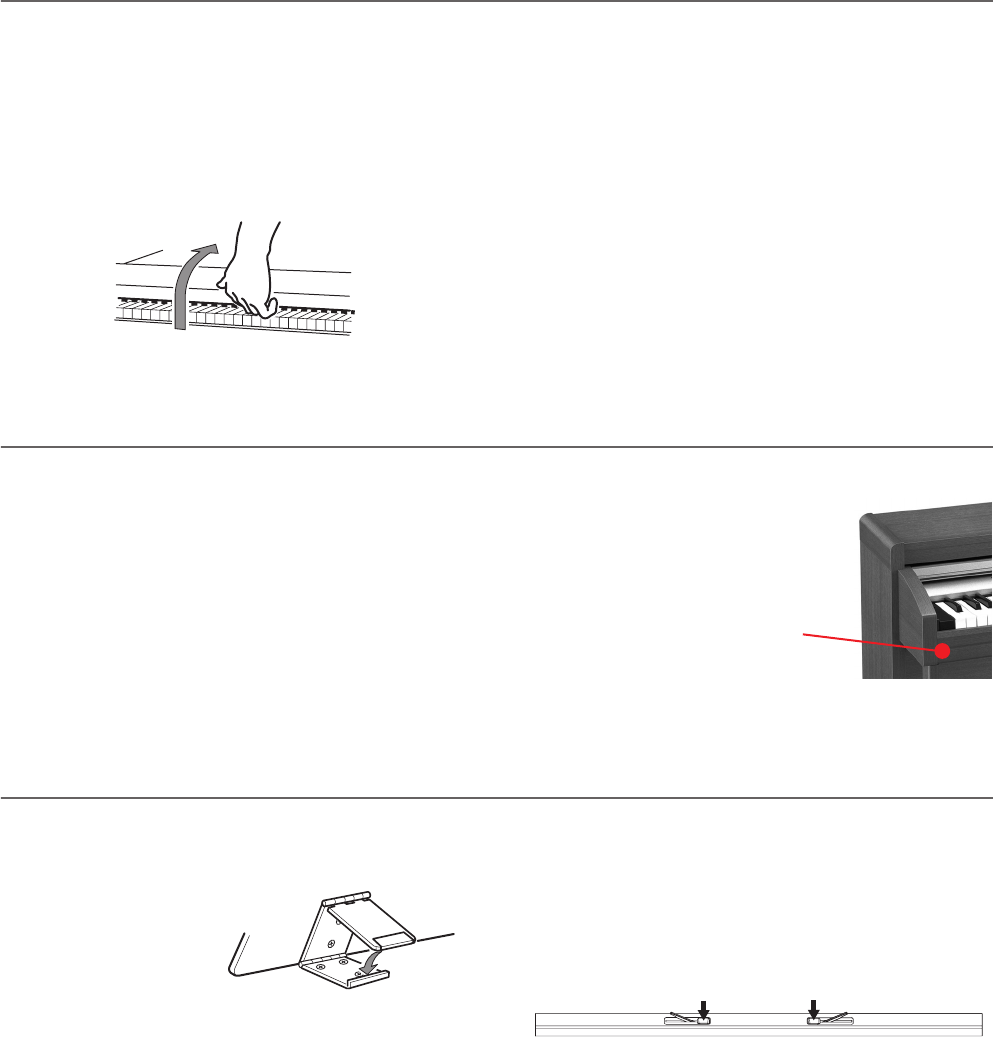
Gently lift the center of the sliding key cover by the indented
portion, and support it while you slide it carefully and fully
into the C-720. Before you open the key cover, make sure that
no foreign objects such as papers or coins are on the top of the
key cover itself, otherwise, these objects may fall into the in-
strument.
To close the key cover, gently lift the center by the indented
portion, and slide it forward. The cover has a soft-landing
mechinism, that makes closing it safer.
Note:
Be careful not to pinch your fingers or hand while open-
ing or closing the key cover.
Note:
The key cover may be damaged if you use excessive force
when opening or closing it.
Turning the instrument on
Connect the supplied power cord to the dedicated socket un-
der the rear of the instrument. Then, plug it into a wall socket.
You don’t need to worry about the local voltage, since the C-
720 uses a universal power adapter.
After having connected the power cable, press the POWER
switch. When the instrument is turned on, the buttons on the
control panel and the display will light up. Also, an LED on the
front of the instrument, also visible when the key cover is
closed, will light up.
To turn the instru-
ment off, press the
POWER switch
again.
Using the music stand
Opening and closing the music stand
Tilt the music stand up-
right, and use the two
stoppers located on the
rear to hold the music
stand in place.
To lower the music stand,
release the stoppers and rest the music stand on the flat top.
Using the score holders
To keep a music book open, use the two score holders in front
of the music stand. Push on the shorter side to make them slide
up. Push on the longer side to make them slide down.
Do not
apply excessive strength or weight to the holders, or you will
risk to break them.
Power LED
C720_English.fm Page 10 Tuesday, October 10, 2006 4:14 PM