
Electronic Keyboard User Manual
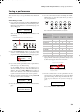
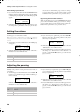
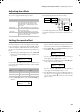
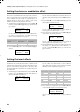


Table Of Contents
- Introduction
- Main features
- Wide range of sounds
- Performances
- Four zones keyboard
- Touch control
- Pedal effects
- Piano eXperience
- One-hundred eighty-five songs
- SongBook included
- Onboard recorder
- Metronome
- Data transfer via USB
- MIDI capabilities
- MIDI over USB
- Temperaments
- Adjustable pitch
- Effects
- Powerful integrated amplification
- Two sets of headphones
- Main features
- Control panel
- Connections
- Before you begin
- Basic functions
- Using performances
- The metronome
- Playing back a song
- Recording a song
- Quick recording procedure
- Step 1: Entering the Record mode
- Step 2: Selecting sounds
- Step 3: Setting the record options
- Step 4: Setting the time signature and tempo
- Step 5: Recording
- Step 6: Second-pass recording
- Changing sounds to a recorded song
- Changing tempo to a recorded song
- Pedal Punch recording
- Auto Punch recording
- Saving the song
- Editing a song
- Editing sounds and performances
- Accessing the Sound edit mode
- Exit from the Sound edit mode
- Saving a sound
- Saving a performance
- Setting the volume
- Adjusting the panning
- Adjusting the effects
- Setting the reverb effect
- Setting the chorus or modulation effect
- Setting the insert effects
- Setting the octave transposition
- Adjusting the fine tune
- Programming the pedals
- Selecting a scale
- Resetting the current sound and performance
- Global settings
- Accessing Global edit
- Exit from the Global edit mode
- Touch settings
- Turning the internal speakers on or off
- Master tuning
- Brilliance
- Default split point
- Assigning functions to the pedals
- Quarter Tone (SubScale realtime programming)
- Fast Play
- Mute Level
- Turning the keyboard on or off (Local Control)
- MIDI Clock
- MIDI IN Channels
- MIDI OUT Channels
- MIDI Filters
- Data transfer via the USB port
- Erasing songs from the User Song album
- General Reset
- System version number
- MIDI
- Installing the Korg USB MIDI Driver
- Assembling the stand
- Appendix
- Sounds
- Performances
- Effects
- Songs
- Error messages
- Write Protect
- Out of Memoy
- Maximum song length reached
- Loading Song Error
- USB Working Wait please
- Memory Full
- Invalid Name
- Song Exists Execute
- Record Mode Not Allowed
- Song Modified Save?
- Sound Modified Save?
- Perf. Modified Save?
- Globals Modified Save?
- Save Global Failure
- Save Preset Failure
- Save Midi Failure
- General Reset Wait Please
- General Reset / nn%
- Troubleshooting
- Polyphony
- Technical specifications
- MIDI Implementation Chart
Editing sounds and performances > Setting the chorus or modulation effect
42
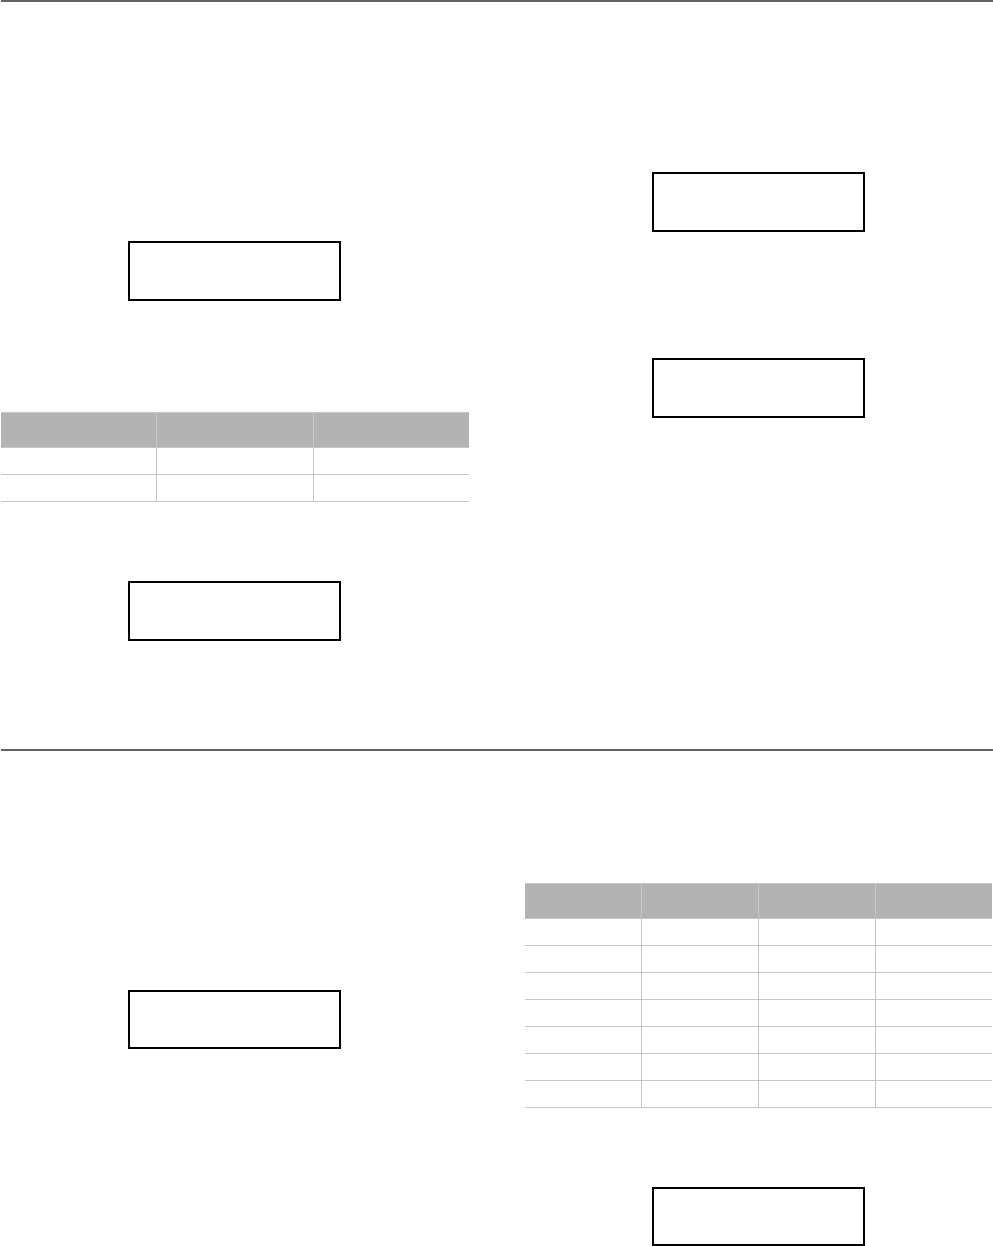
Setting the chorus or modulation effect
The chorus or modulation effect adds depth to the sound. Ei-
ther you are in Single, Layer or Split mode, a single chorus ef-
fect is available for both sounds (see diagram above). A
different amount of chorus can be applied to each sound,
thanks to the Chorus Send parameter (see below).
1. After having pressed the EDIT button, use the SCROLL
button to go to the Chorus Type edit page, with the chorus
type selected:
Use the +/YES and -/NO buttons to select a different cho-
rus effect. See below the list of available chorus-type
effects (a more detailed list is on page 71).
2. Press SCROLL
again to select the Chorus On/Off pa-
rameter:
Use the +/YES and -/NO buttons to turn the chorus on or
off. This corresponds to the status of the CHORUS indica-
tor.
3. Press SCROLL
to go to the Chorus Send edit page, with
the M (Main) parameter selected:
Use the +/YES and -/NO buttons to set the amount of
chorus applied to the Main sound (0 ~ 127).
4. If you are in Layer or Split mode, press SCROLL
again
to select the L (Layer/Left) parameter:
Use the +/YES and -/NO buttons to set the amount of
chorus applied to the Layer/Left sound (0 ~ 127).
5. Press the EXIT button to return to the Main page and save
the changes (see “Exit from the Sound edit mode” on
page 38), or the SCROLL
button to go to the next edit
page (see below).
Setting the insert effects
In addition to the reverb and chorus effects, common to both
sounds in Layer and Split mode, an insert effect (IFX) is avail-
able for each sound (see diagram above). The insert effect
strongly modifies the sound, and is to be considered as part of
the sound itself.
1. After having pressed the EDIT button, use the SCROLL
button to go to the IFX Type edit page, with the IFX as-
signed to the Main sound selected:
Use the +/YES and -/NO buttons to select a different
effect. “Off” means no effect. See below the list of available
IFX effects (a more detailed list is on page 71).
2. If you are in Layer or Split mode, press SCROLL
again
to select the IFX assigned to the Layer/Left sound:
Use the +/YES and -/NO buttons to select a different
effect.
Chorus
Chorus Harm. Chorus Chorus Delay
Ensemble Flanger Tremolo
Chorus Type 5
Chorus Off
Chorus Type 5
Chorus
Off
Chorus Send 6
M:127 L:Off
Chorus Send 6
M:127
L:Off
IFX M/L Type 7
EQ1 Phaser
IFX
LoGain HiGain HLGain MdGain
Echo1 Echo2 Echo3
Dly4th Dly3/4 Dly8th
Pan Trem. Phaser Rotary
AmpSim Comp. Limit. Excit.
Wah PhaTrm AmpTrm CmpAmp
OD-Wah WahAmp
IFX M/L Type 7
LoGain
Phaser
C720_English.fm Page 42 Tuesday, October 10, 2006 4:14 PM