
User guide
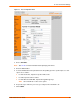
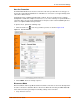
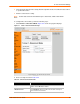
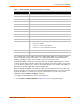
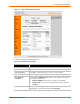

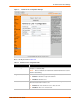
Table Of Contents
- EDS1100/2100 User Guide
- 1: About This Guide
- 2: Overview
- 3: Installation of EDS1100
- 4: Installation of EDS2100
- 5: Using DeviceInstaller
- 6: Configuration Using Web Manager
- 7: Network Settings
- 8: Line and Tunnel Settings
- 9: Terminal and Host Settings
- 10: Services Settings
- 11: Security Settings
- 12: VIP
- 13: Maintenance and Diagnostics Settings
- 14: Advanced Settings
- 15: Branding the EDS1100/2100
- 16: Updating Firmware
- A: Technical Support
- B: Binary to Hexadecimal Conversions
- C: Compliance
- Index
8: Line and Tunnel Settings
EDS1100/2100 User Guide 60
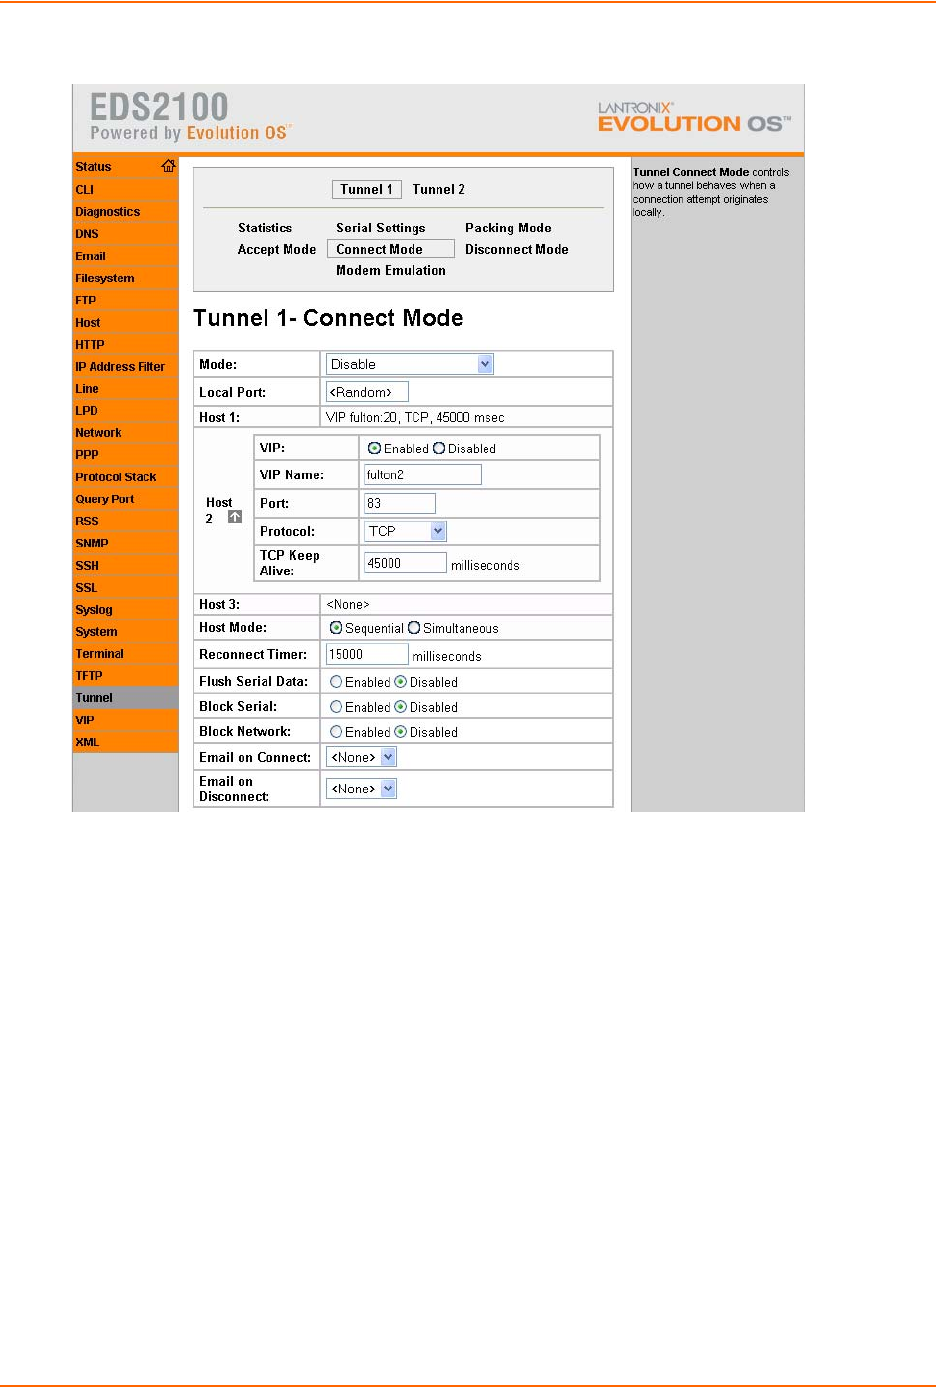
Figure 8-19 Host 2 Configuration Fields
2. Enable VIP by clicking Enabled. The default is disabled.
3. Enter a VIP Name.
Note: See 12: VIP for more information about specifying VIP names.
4. Enter the Port number.
5. Select the Protocol from the pull-down menu. Depending upon the specified protocol, other
options are as follows:
For TCP and Telnet, input the keep alive milliseconds.
For SSH, input the SSH username.
For TCP AES and UDP AES, input the Encrypt/Decrypt keys.
Note: SSL and UDP do not have other options.
6. Repeat the steps until all of your hosts get configured. The maximum is 16.
7. Click Submit.