
User's Manual


1. Insert the ROBOLAB CD-ROM in your CD drive and start the program. Follow the installation instructions. The installation
will take up to 20 minutes. DO NOT connect the IR Tower until told to.
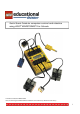
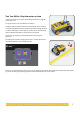
2. While waiting for the installation to fi nish you should insert 6 AA batteries in your RCX. Remove the grey cover and place
them according to indicators at the bottom of the RCX. You can also use rechargeable batteries or a 9–12 volt LEGO trans-
former (product number 9833).
3. When the software has been installed successfully, you should un-tick the box ‘Launch ROBOLAB’, so that you do NOT
start ROBOLAB yet.
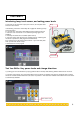
4. Now you must connect your IR Tower to your computer. Make sure ROBOLAB is shutdown before connecting the USB IR
Tower. ROBOLAB will NOT detect the USB IR Tower if you connect it while ROBOLAB is running. If you have a USB IR Tower
simply connect it to a USB port.
5. If you have a serial IR Tower you must fi rst insert a 9-volt battery before connecting it to a serial port (COM port).
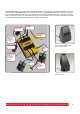
NOTE: Infrared communication between the IR Tower and the RCX reaches up to 10 meters. However, communication can
be interrupted if there are several RCX bricks within reach of one IR Tower. Therefore the IR Tower should always be set to
short range when working with more than one RCX in a classroom.
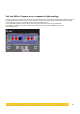
For the USB Tower adjust the setting in the Windows Control Panel. Click the Start icon on your desktop, open Control
Panel, select the LEGO USB Tower icon and set the Infrared Range to short.
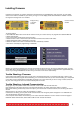
Installing ROBOLAB software and preparing the RCX brick
and IR Tower
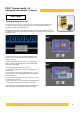
To select the short range on the serial IR Tower move the switch to the left at the front
bottom of the .
4