
All in One Printer User Manual


Table Of Contents
- Contents
- Safety information
- Introduction
- Setting up the printer
- Understanding the printer software
- Loading paper and original documents
- Printing
- Copying
- Scanning
- Faxing
- Maintaining the printer
- Troubleshooting
- Notices
- Product information
- Edition notice
- UNITED STATES GOVERNMENT RIGHTS
- Trademarks
- Licensing notices
- Federal Communications Commission (FCC) compliance information statement
- Exposure to radio frequency radiation
- Industry Canada notice
- European Community (EC) directives conformity
- European EC directives conformity statement for radio products
- Noise emission levels
- Waste from Electrical and Electronic Equipment (WEEE) directive
- Product disposal
- Temperature information
- Power consumption
- LEXMARK LICENSE AGREEMENTS
- Index
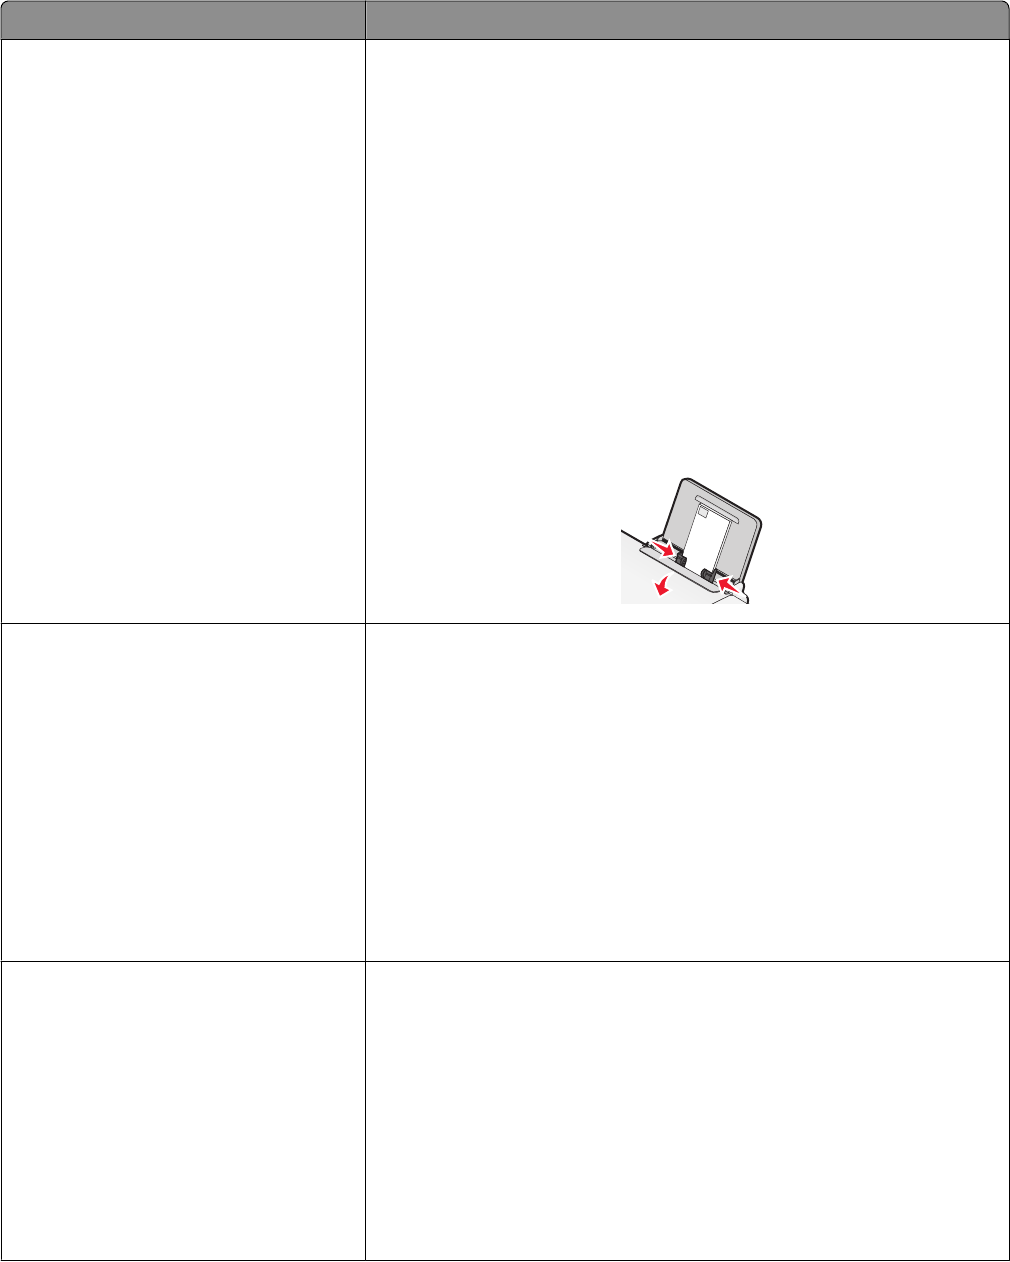
Load up to Make sure
10 envelopes
• The print side of the envelopes faces you.
• The stamp location is in the upper left corner.
• The envelopes are designed for use with inkjet printers.
• The envelopes are loaded in the center of the paper support.
• The paper guides rest against the edges of the envelopes.
Warning—Potential Damage: Do not use envelopes that have metal
clasps, string ties, or metal folding bars.
Notes:
– Do not load envelopes with holes, perforations, cutouts, or deep
embossing.
– Do not use envelopes that have exposed flap adhesive.
– Envelopes require more drying time. Remove each envelope as it
exits, and then allow it to dry to avoid ink smudging.
25 sheets of labels
• The print side of the label sheets faces you.
• The top of the label sheets feeds into the printer first.
• The adhesive on the labels does not extend to within 1 mm of the
edge of the label sheets.
• You use full label sheets. Partial sheets (with areas exposed by missing
labels) may cause labels to peel off during printing, resulting in a paper
jam.
• The label sheets are loaded in the center of the paper support.
• The paper guides rest against the edges of the label sheets.
Note: Labels require more drying time. Remove each sheet of labels as it
exits, and then allow it to dry to avoid ink smudging.
50 transparencies
• The rough side of the transparencies faces you.
• If the transparencies have a removable strip, each strip faces away
from you and down toward the printer.
• The transparencies are loaded in the center of the paper support.
• The paper guides rest against the edges of the transparencies.
Notes:
• Transparencies with paper backing sheets are not recommended.
• Transparencies require more drying time. Remove each transparency
as it exits, and then allow it to dry to avoid ink smudging.
24