
All in One Printer User Manual


Table Of Contents
- Contents
- Safety information
- Introduction
- Setting up the printer
- Understanding the printer software
- Loading paper and original documents
- Printing
- Copying
- Scanning
- Faxing
- Maintaining the printer
- Troubleshooting
- Notices
- Product information
- Edition notice
- UNITED STATES GOVERNMENT RIGHTS
- Trademarks
- Licensing notices
- Federal Communications Commission (FCC) compliance information statement
- Exposure to radio frequency radiation
- Industry Canada notice
- European Community (EC) directives conformity
- European EC directives conformity statement for radio products
- Noise emission levels
- Waste from Electrical and Electronic Equipment (WEEE) directive
- Product disposal
- Temperature information
- Power consumption
- LEXMARK LICENSE AGREEMENTS
- Index
Scanning
Scanning original documents
You can scan and then print photos, text documents, magazine articles, newspapers, and other publications. You
can also scan a document for faxing.
Using the printer control panel
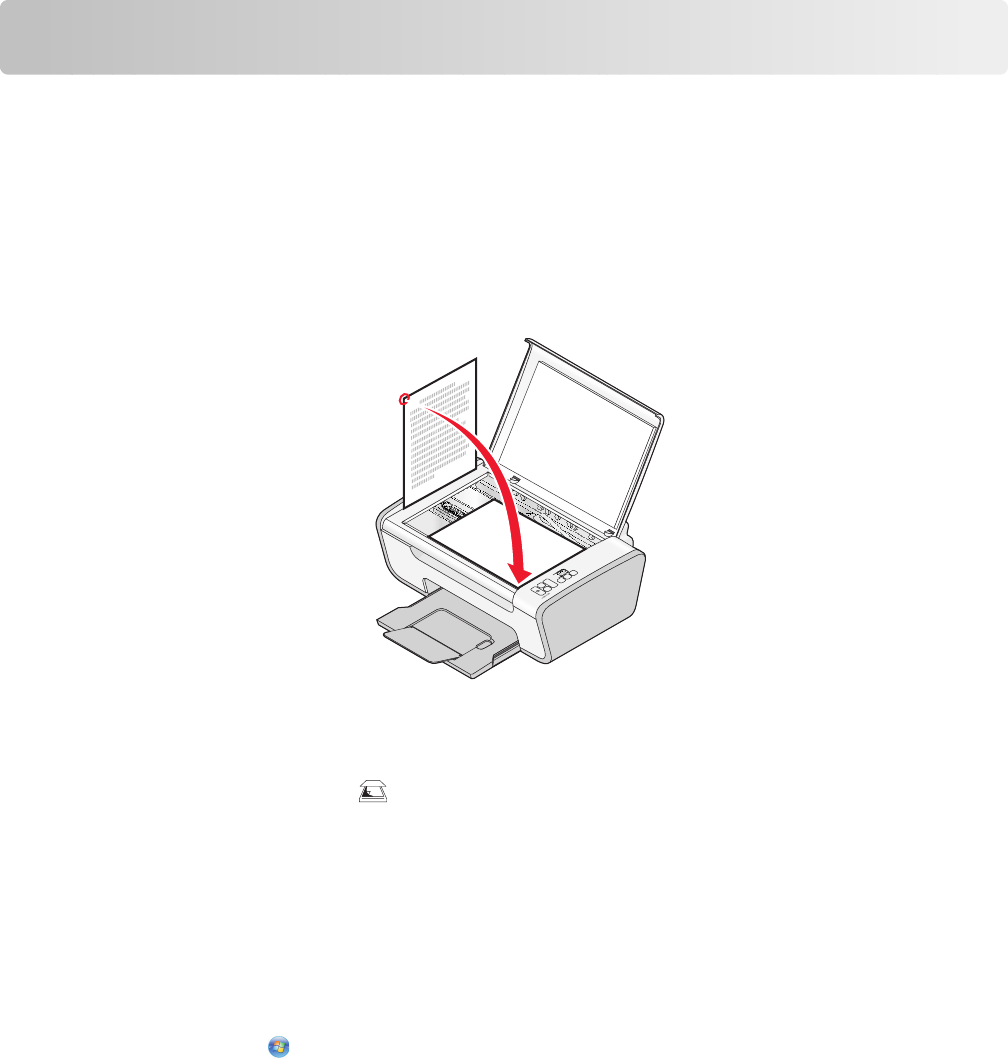
1 Open the top cover, and then load an original document facedown on the scanner glass.
2 Close the top cover to avoid dark edges on the scanned image.
3 Make sure that the printer is connected to a computer, and that both the printer and the computer are on.
4 From the printer control panel, press .
5 Follow the instructions on the computer screen.
Using Windows
1 Open the top cover, and then load an original document facedown on the scanner glass.
2 Close the top cover to avoid dark edges on the scanned image.
3 Do one of the following:
• In Windows Vista, click All Programs, and then select the printer program folder from the list.
• In Windows XP, click Start Programs or All Programs, and then select the printer program folder from the
list.
4 Click Lexmark Productivity Studio.
5 On the main screen, click Scan.
6 Follow the instructions on the screen.
40