
Printer User Manual
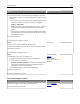
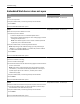

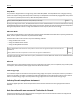
Table Of Contents
- Contents
- Safety information
- Learning about the printer
- Additional printer setup
- Installing hardware options
- Setting up the printer software
- Networking
- Preparing to set up the printer on an Ethernet network
- Installing the printer on an Ethernet network
- Preparing to set up the printer on a wireless network
- Connecting the printer to a wireless network using the Wi-Fi Protected Setup PIN
- Connecting the printer to a wireless network using the printer software
- Connecting the printer to a wireless network using the Embedded Web Server
- Printing a menu settings and network setup page
- Loading paper and specialty media
- Paper and specialty media guide
- Printing
- Understanding the printer menus
- Saving money and the environment
- Securing the printer
- Maintaining the printer
- Managing the printer
- Clearing jams
- Troubleshooting
- Understanding the printer messages
- Toner cartridge messages
- Cartridge, imaging unit mismatch [41.xy]
- Cartridge low [88.xx]
- Cartridge nearly low [88.xy]
- Cartridge very low [88.xy]
- Non-Lexmark cartridge, see User’s Guide [33.xy]
- Replace cartridge, 0 estimated pages remain [88.xy]
- Replace cartridge, printer region mismatch [42.xy]
- Reinstall missing or unresponsive cartridge [31.xy]
- Replace unsupported cartridge [32.xy]
- Imaging unit messages
- Paper loading messages
- Incorrect paper size, open [paper source] [34]
- Load [paper source] with [custom type name] [orientation]
- Load [paper source] with [custom type string] [orientation]
- Load [paper source] with [paper size] [orientation]
- Load [paper source] with [paper type] [paper size] [orientation]
- Load Manual Feeder with [custom type name] [orientation]
- Load Manual Feeder with [custom type string] [orientation]
- Load Manual Feeder with [paper size] [orientation]
- Load Manual Feeder with [paper type] [paper size] [orientation]
- Remove paper from standard output bin
- Printer communication error messages
- Insufficient memory error messages
- Miscellaneous messages
- Toner cartridge messages
- Solving printer problems
- Solving print problems
- Printing problems
- Print quality problems
- Printer is printing blank pages
- Clipped pages or images
- Shadow images appear on prints
- Gray background on prints
- Incorrect margins on prints
- Paper curl
- Print irregularities
- Repeating defects appear on prints
- Print is too dark
- Print is too light
- Skewed print
- Printer is printing solid black pages
- Transparency print quality is poor
- Streaked horizontal lines appear on prints
- Streaked vertical lines appear on prints
- Horizontal voids appear on prints
- Vertical voids appear on prints
- Toner specks appear on prints
- Toner rubs off
- Uneven print density
- Embedded Web Server does not open
- Contacting customer support
- Understanding the printer messages
- Notices
- Product information
- Edition notice
- GOVERNMENT END USERS
- Trademarks
- Federal Communications Commission (FCC) compliance information statement
- Modular component notice
- Licensing notices
- Noise emission levels
- Waste from Electrical and Electronic Equipment (WEEE) directive
- Product disposal
- Static sensitivity notice
- ENERGY STAR
- Temperature information
- Laser notice
- Laser advisory label
- Power consumption
- 日本の VCCI 規定
- European Community (EC) directives conformity
- Regulatory notices for wireless products
- Exposure to radio frequency radiation
- Industry Canada (Canada)
- Notice to users in the European Union
- STATEMENT OF LIMITED WARRANTY FOR LEXMARK LASER PRINTERS, LEXMARK LED PRINTERS, AND LEXMARK MULTIFUN ...
- Patent acknowledgment
- Index
Embedded Web Server does not open
Action Yes No
Step 1
a Turn on the printer.
b Open a Web browser, and then type the printer IP address.
c Press Enter.
Does the Embedded Web Server open?
The problem is solved. Go to step 2.
Step 2
Make sure the printer IP address is correct.
a View the printer IP address:
• From the TCP/IP section in the Network/Ports menu
• By printing a network setup page or menu settings page, and then
finding the TCP/IP section
Note: An IP address appears as four sets of numbers separated
by periods, such as 123.123.123.123.
b Open a Web browser, and then type the IP address.
Note: Depending on the network settings, you may need to type
“https://” instead of “http://” before the printer IP address
to access the Embedded Web Server.
c Press Enter.
Does the Embedded Web Server open?
The problem is solved. Go to step 3.
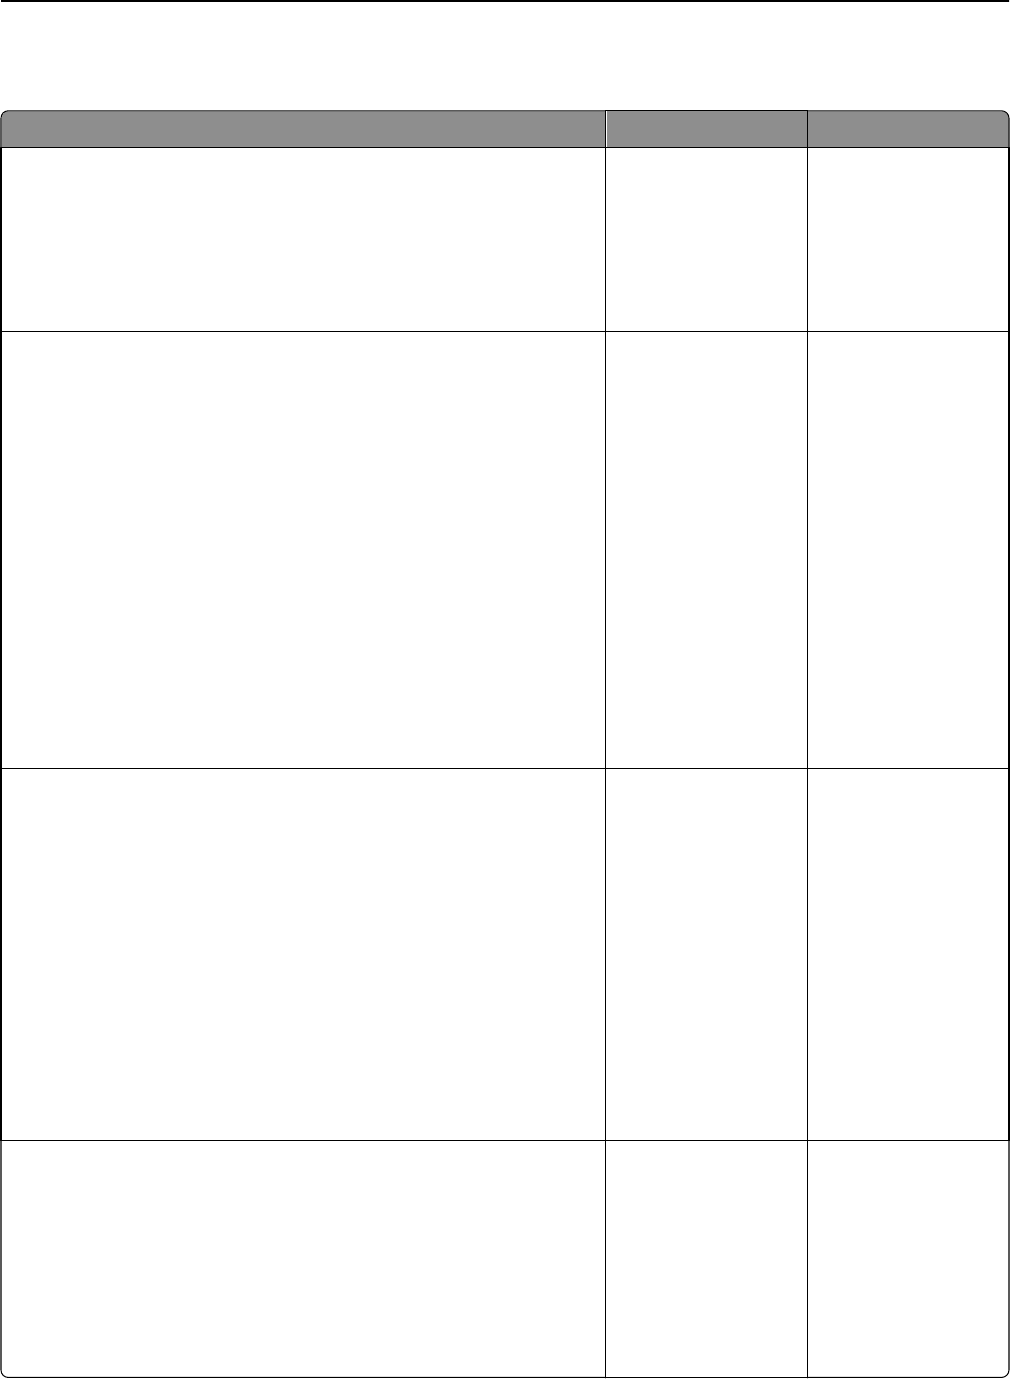
Step 3
Check if the network is working.
a Print a network setup page.
b Check the first section of the network setup page and confirm that the
status is Connected.
Note: If the status is Not Connected, then the connection may be
intermittent, or the network cable may be defective. Contact your
system support person for a solution, and then print another
network setup page.
c Open a Web browser, and then type the printer IP address.
d Press Enter.
Does the Embedded Web Server open?
The problem is solved. Go to step 4.
Step 4
Check if the cable connections to the printer and print server are secure.
a Connect the cables properly. For more information, see the setup
documentation that came with the printer.
b Open a Web browser, and then type the printer IP address.
c Press Enter.
Does the Embedded Web Server open?
The problem is solved. Go to step 5.
Troubleshooting 183