
- lexmark OWNERS MANUAL Printer X644e, X646e
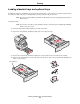
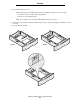
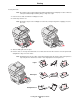
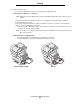
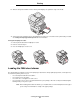

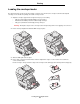
Table Of Contents
- Contents
- Learning about the MFP
- Copying
- Quick copy
- Multiple page copying
- Using the flatbed
- Understanding the copy screens and options
- Copying from one size to another
- Making transparencies
- Copying to letterhead
- Copying photographs
- Making copies using media from a selected tray
- Copying mixed-sized media
- Setting the duplex option
- Reducing and enlarging copies
- Adjusting copy quality
- Setting collation options
- Placing separator sheets between copies
- Setting paper saving options
- Placing the date and time at the top of each page
- Placing an overlay message on each page
- Creating a custom job (job build)
- Canceling a copy job
- Copy tips
- E-mail
- Entering an e-mail address
- Using a shortcut number
- Using the address book
- E-mailing to a profile
- Adding e-mail subject and message information
- Changing the output file type
- E-mailing color documents
- Creating an e-mail shortcut
- Creating an e-mail profile
- Canceling an e-mail
- Understanding e-mail options
- E-mail server setup
- Address book setup
- Faxing
- FTP
- Scanning to a PC or USB flash memory device
- Printing
- Sending a job to print
- Printing from a USB flash memory device
- Canceling a print job
- Printing the menu settings page
- Printing a network setup page
- Printing a font sample list
- Printing a directory list
- Printing confidential and held jobs
- Printing on specialty media
- Loading standard trays and optional trays
- Setting the Paper Type and Paper Size
- Loading the multipurpose feeder
- Loading the 2000-sheet drawer
- Loading the envelope feeder
- Linking trays
- Understanding paper and specialty media guidelines
- Installing and removing options
- Maintaining the MFP
- Clearing jams
- Administrative support
- Adjusting control panel brightness
- Restoring factory default settings
- Adjusting screen timeout
- Adjusting Power Saver
- Configuring the MFP
- Setting Password Protect for the menus
- Restricting Function Access
- Preventing access to the menus from the control panel
- Disabling the Driver to Fax menu item
- Setting the Device Lockout personal identification number (PIN)
- Setting a password before printing received faxes
- Releasing held faxes for printing
- Setting security using the Embedded Web Server (EWS)
- Using the secure EWS
- Supporting SNMPv3 (Simple Network Management Protocol version 3)
- Supporting IPSec (Internet Protocol Security)
- Disabling ports and protocols
- Using 802.1x Authentication
- Confidential Print Setup
- Encrypting the hard disk
- Hard disk wiping
- Using the restricted server list function
- Troubleshooting
- Understanding MFP messages
- Online technical support
- Checking an unresponsive MFP
- Printing multiple language PDFs
- Solving printing problems
- Solving copy quality problems
- Solving scan quality problems
- Solving fax quality problems
- Solving option problems
- Solving paper feed problems
- Print quality troubleshooting
- Solving print quality problems
- Notices
- Index
Loading standard trays and optional trays
62
Printing
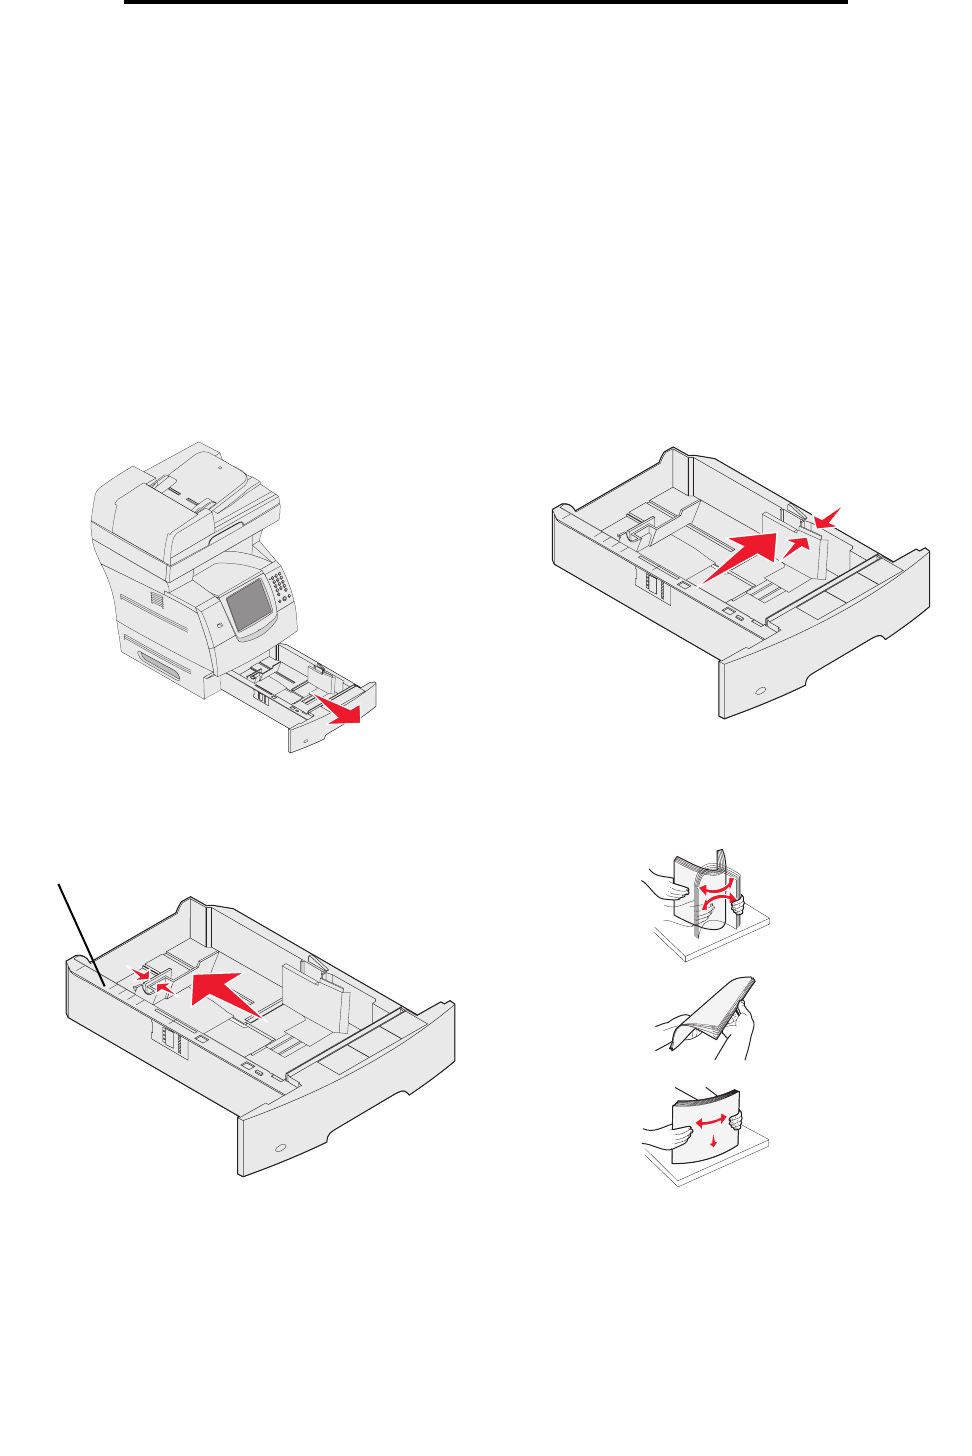
Loading standard trays and optional trays
The MFP has a 500-sheet standard tray. You may have also purchased one or more 250-sheet or 500-sheet optional trays
or a 2000-sheet drawer. The steps for loading a 250-sheet tray or 500-sheet tray are the same.
Note: The steps for loading a 2000-sheet drawer are different than the steps for loading a 250-sheet tray or
500-sheet tray.
To load print media:
Note: Do not remove a tray when a job is printing or when the control panel green indicator light is blinking.
Doing so may cause a jam.
1 Remove the tray from the MFP, and place it on a flat, level surface.
2 Squeeze the side guide tab, and slide the guide to the outer edge of the tray.
3 Squeeze the rear guide tab, and slide the guide to the correct position for the size media you are loading.
4 Flex the sheets back and forth to loosen them, then fan them. Do not fold or crease the print media. Straighten the
edges on a level surface.
Size indicators