
User's Manual
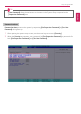
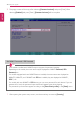


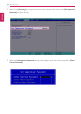

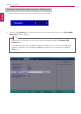
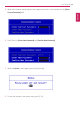

Table Of Contents
- Instruction / Safety Information
- Using Windows 10
- Using the PC
- Using an AC Adapter and a Battery
- Operation Status Lamps
- Keyboard
- Keyboard Backlight
- Adjusting Screen Brightness and Volume
- Hearing Protection Feature
- Using the Touchpad
- Setting Touchpad
- Connecting to External Display
- Connecting to Wireless Display
- Connecting an External USB-C™ (Thunderbolt™) Device
- Using USB-C™ (Thunderbolt™) Charging Function
- Bluetooth
- Wired LAN
- Wireless LAN
- Using a Wired/Wireless Router
- UFS/Micro SD Slot
- Using Software
- Restoring the System
- Setup and Upgrade
- FAQ
212
Setup and Upgrade
3 The popup screen will show up, after selecting [Password on boot] and press [Enter]. After
selecting [Enabled] and press [Enter], [Password on boot] will be complete.
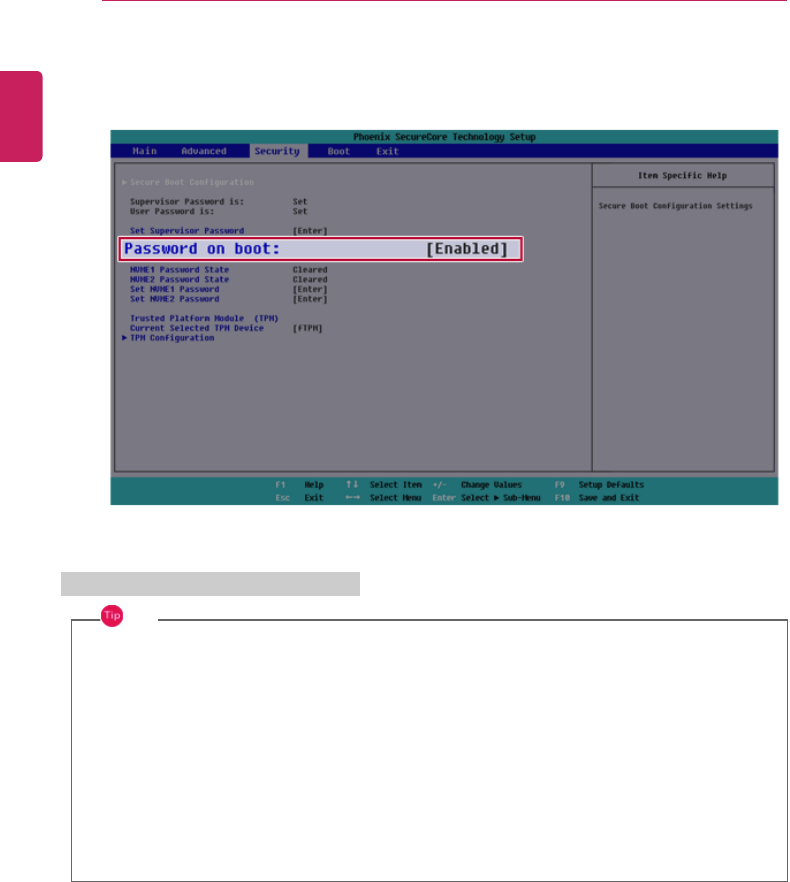
Set NVMe™ Password / SSD Password
TIP
Some models installed with NVMe™ may not support the password settings.
Depending on the model, the menu name may be displayed as NVMe™ Password, SSD
Password, etc.
For models equipped with two NVMe™ devices installed, the menu names are displayed as
NVMe™1, NVMe™2, and if NVMe™ and SSD are installed, they are displayed as NVMe™1,
SSD01, etc.
For models with two NVMe™ or SSD devices, you can set a password for each device. If you set
passwords for both, the password input window will appear twice during booting.
The password input windows appear according to the [Boot Priority order] in the [Boot] menu.
1 After opening the system setup screen, use the arrow keys to move to [Security].
ENGLISH