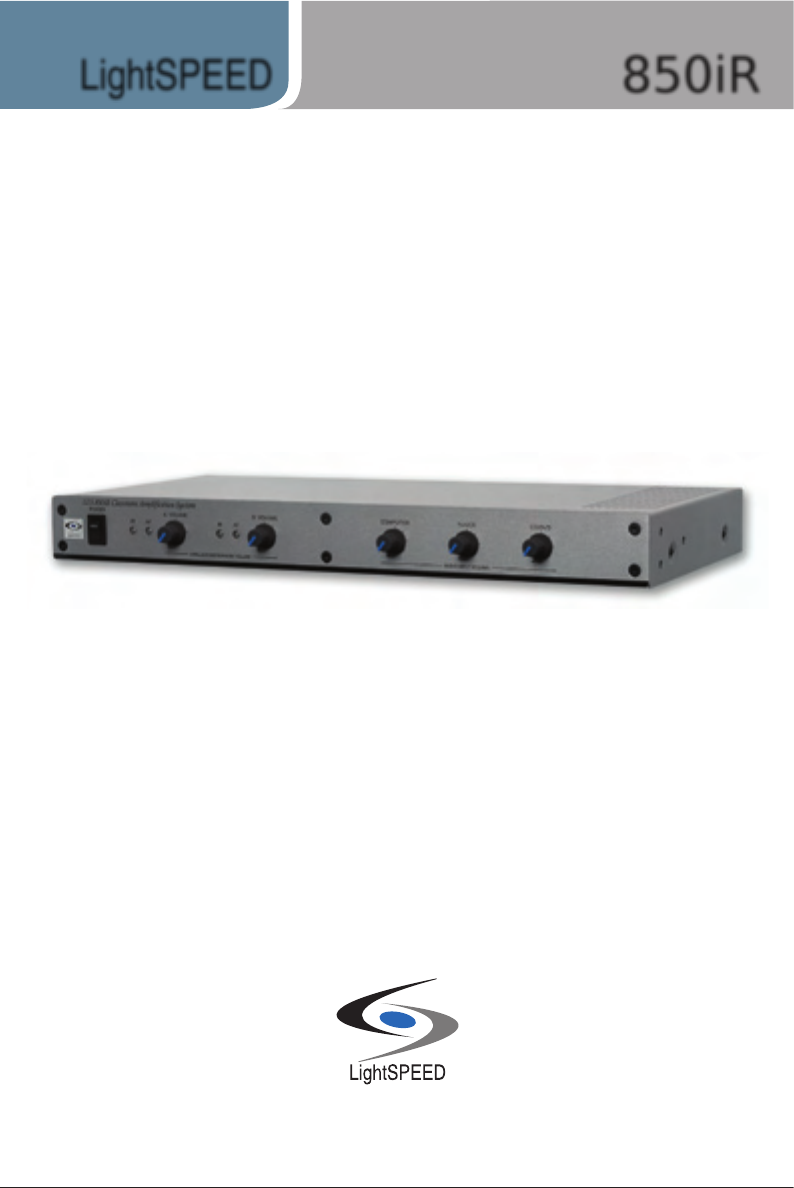
850iR LightSPEED Classroom Amplification System L i g h t S P E E D Te c h n o l o g i e s , I n c . 1 1 5 0 9 S W H e rm a n R d Tu a l a t i n , O R 9 7 0 6 2 800.732.8999 w w w. l i g h t s p e e d - t e k .
850iR User Manual USER NOTES 850iR User Manual SAFETY INSTRUCTIONS 7.
850iR User Manual DAILY USE INSTRUCTIONS 850iR User Manual USER NOTES TURN ON THE 850iR LES 850iR Classroom Amplification System POSITION THE LIGHTMIC Remove the LightMic from the charger and place it around your LT-71 neck. Adjust the neck strap so the top of the microphone rests just below your collarbone. LT-71 TURN ON THE LIGHTMIC Turn the microphone ON using CHARGE BATTERIES Return the LightMic to the cradle charger and recharge the LightMic the LightMic and speak normally.
850iR User Manual USER NOTES 850iR User Manual TABLE OF CONTENTS 850iR CLASSROOM AMPLIFICATION SYSTEM Safety Instructions Daily Use Instructions ii 850iR Classroom Amplification System 1 System Components 2 System Installation 3 Unpacking Your System 3 Location of the Receiver/Amplifier 3 IR Sensor Placement 3 IR Sensor Installation 4 Suspended Ceiling Mount 4 Wall/Solid Ceiling Mount 4 Speaker Installation 4 Front Panel Controls 5–6 Rear Panel Controls 7–8 LightMic Controls and C
850iR User Manual 850iR User Manual USER NOTES 850iR CLASSROOM AMPLIFICATION SYSTEM Record your system serial numbers and purchase information. This is helpful when ordering additional components, accessories, and/or warranty service. 850iR Receiver/Amplifier LES 850iR Classroom Amplification System 1 4 3 2 VOL. ADJ. ALD OUT AUX OUT VOL. ADJ.
850iR User Manual INDIVIDUAL COMPONENTS & OPTIONAL ACCESSORIES Part Number 850iR User Manual SYSTEM COMPONENTS Description RX-850 Infrared receiver/amplifier/mixer w/built-in charger LT71 LightMic™ rechargeable microphone/transmitter w/lavaliere cord, batteries and charging cable HM70 Handheld microphone/transmitter w/batteries and charging cable BA-NH1 Rechargeable AA battery (Nickel Metal Hydride) AC-TCC7 Charging cable for LT-71 and HM-70 microphones AC-LTCB Lavaliere cord for LT-71 PS-24
850iR User Manual 850iR User Manual SYSTEM SPECIFICATIONS SYSTEM INSTALLATION Unpacking Your System Location of the Receiver/Amplifier OVERALL SPECIFICATIONS • Ensure that you have received all of the components of your system. Place the 850iR on a flat surface like a bookcase, countertop or optional LightSPEED wall shelf (part#AC-800WB). Power Output 12 W per channel (48 W total) Amplifier Frequency Response 40 Hz to 20 kHz ±3 dB Carrier Frequencies (IR) 2.06/2.54; 3.2/3.
50iR User Manual TROUBLESHOOTING GUIDE IR SENSOR INSTALLATION Note: Most problems are directly related to low battery power. Please run through the “Battery Check” items first. For remaining troubleshooting, use known good, fully-charged batteries. Battery Check • Confirm batteries are charged each night. • Make sure the LT-71 is turned off while charging so that it will attain a full charge. Full charge will last eight hours. • Make sure the charge cord is connected to the cradle charger.
850iR User Manual 850iR User Manual TIPS ON CLASSROOM AMPLIFICATION FRONT PANEL CONTROLS 2 LES 850iR Classroom Amplification System 4 1 5 2 3 1. POWER Switch/POWER Indicator: This switch is used to turn the 850iR ON (switch up), or OFF (switch down). When the POWER switch is in the ON position, the POWER light will glow red. 2. IR Indicators (IR): These lights will glow red when the corresponding microphone is turned on. This light confirms the 850iR is receiving a steady infrared signal. 1 3.
850iR User Manual 850iR User Manual CHARGING THE HM-70 HANDHELD MIC 6 LES 850iR Classroom Amplification System 1 4 3 2 VOL. ADJ. ALD OUT AUX OUT VOL. ADJ. COMPUTER L SPEAKER OUTPUTS DC POWER CHARGERS AUDIO INPUTS TV/VCR R L CD/DVD ON OFF ON OFF ON OFF ON 24VDC R ADJ 800iX INPUT OFF 250 400 700 1K +10 0 1K4 2K5 4K 6K SENSOR INPUTS SENSOR SHORT -10 PAGING INPUT 5. B VOLUME: Controls the volume 1.
850iR User Manual 850iR User Manual REAR PANEL CONTROLS OPERATING THE OPTIONAL HM-70 HANDHELD MIC 1 4 3 2 1 6 5 VOL. ADJ. ALD OUT AUX OUT VOL. ADJ. COMPUTER L SPEAKER OUTPUTS DC POWER CHARGERS AUDIO INPUTS TV/VCR R L CD/DVD 2 ON OFF ON OFF 1. SPEAKER OUTPUTS (1-4): These binding post connectors are used to connect the 850iR to the loudspeakers. Depending on the speaker package, all the outputs may not be used. 2.
850iR User Manual 850iR User Manual OUTPUT TO PERSONAL FM TRANSMITTER 1. Turn the ALD (Assistive Listening Device) volume control on 1 4 3 2 the back panel all the way down (fully counterclockwise). 7 VOL. ADJ. VOL. ADJ. ALD OUT AUX OUT VOL. ADJ.
850iR User Manual LIGHTMIC CONTROLS AND CONNECTIONS 850iR User Manual INPUT FROM EXTERNAL AUDIO EQUIPMENT Below are instructions on how to connect an external audio device like a TV/VCR, CD/DVD or computer. 4 1 1 LES 850iR Classroom Amplification System 5 LT-71 LT-71 2 1. Turn the audio input volume controls on the front panel all the 3 way down (fully counterclockwise). 6 1 2 4 3 VOL. ADJ. ALD OUT AUX OUT VOL. ADJ.
850iR User Manual 850iR User Manual SYSTEM INTEGRATION DIAGRAM INITIAL SET-UP FINALIZING RECEIVER/AMPLIFIER CONNECTIONS 2. Ensure speaker wire connections are secure and not frayed. Each speaker switch located to the right of the speaker jack should be in the “ON” position. >> 1. Ensure the power switch is in the “OFF” position and all front panel volume controls are turned fully counter-clockwise. Video In Projector Projector LES 850iR Classroom Amplification System >> 1 IR Sensor 2 3.
850iR User Manual CHARGING THE LIGHTMIC SYSTEM OPERATION TURNING THE SYSTEM ON 1. Turn the 850iR switch to the ON position. The red LED on the switch will glow. >> LES 850iR Classroom Amplification System 1. Ensure That the LightMic is turned OFF. >> 2. Place the LightMic into the cradle charger. The LED on the cradle charger will 1 N 2. Slip the LT-71 LightMic with lanyard O around the neck and position the top of O has Note: Positioning of the LightMic is critical B started.
850iR User Manual CHARGING THE LIGHTMIC SYSTEM OPERATION TURNING THE SYSTEM ON 1. Turn the 850iR switch to the ON position. The red LED on the switch will glow. >> LES 850iR Classroom Amplification System 1. Ensure That the LightMic is turned OFF. >> 2. Place the LightMic into the cradle charger. The LED on the cradle charger will 1 N 2. Slip the LT-71 LightMic with lanyard O around the neck and position the top of O has Note: Positioning of the LightMic is critical B started.
850iR User Manual 850iR User Manual SYSTEM INTEGRATION DIAGRAM INITIAL SET-UP FINALIZING RECEIVER/AMPLIFIER CONNECTIONS 2. Ensure speaker wire connections are secure and not frayed. Each speaker switch located to the right of the speaker jack should be in the “ON” position. >> 1. Ensure the power switch is in the “OFF” position and all front panel volume controls are turned fully counter-clockwise. Video In Projector Projector LES 850iR Classroom Amplification System >> 1 IR Sensor 2 3.
850iR User Manual LIGHTMIC CONTROLS AND CONNECTIONS 850iR User Manual INPUT FROM EXTERNAL AUDIO EQUIPMENT Below are instructions on how to connect an external audio device like a TV/VCR, CD/DVD or computer. 4 1 1 LES 850iR Classroom Amplification System 5 LT-71 LT-71 2 1. Turn the audio input volume controls on the front panel all the 3 way down (fully counterclockwise). 6 1 2 4 3 VOL. ADJ. ALD OUT AUX OUT VOL. ADJ.
850iR User Manual 850iR User Manual OUTPUT TO PERSONAL FM TRANSMITTER 1. Turn the ALD (Assistive Listening Device) volume control on 1 4 3 2 the back panel all the way down (fully counterclockwise). 7 VOL. ADJ. VOL. ADJ. ALD OUT AUX OUT VOL. ADJ.
850iR User Manual 850iR User Manual REAR PANEL CONTROLS OPERATING THE OPTIONAL HM-70 HANDHELD MIC 1 4 3 2 1 6 5 VOL. ADJ. ALD OUT AUX OUT VOL. ADJ. COMPUTER L SPEAKER OUTPUTS DC POWER CHARGERS AUDIO INPUTS TV/VCR R L CD/DVD 2 ON OFF ON OFF 1. SPEAKER OUTPUTS (1-4): These binding post connectors are used to connect the 850iR to the loudspeakers. Depending on the speaker package, all the outputs may not be used. 2.
850iR User Manual 850iR User Manual CHARGING THE HM-70 HANDHELD MIC 6 LES 850iR Classroom Amplification System 1 4 3 2 VOL. ADJ. ALD OUT AUX OUT VOL. ADJ. COMPUTER L SPEAKER OUTPUTS DC POWER CHARGERS AUDIO INPUTS TV/VCR R L CD/DVD ON OFF ON OFF ON OFF ON 24VDC R ADJ 800iX INPUT OFF 250 400 700 1K +10 0 1K4 2K5 4K 6K SENSOR INPUTS SENSOR SHORT -10 PAGING INPUT 5. B VOLUME: Controls the volume 1.
850iR User Manual 850iR User Manual TIPS ON CLASSROOM AMPLIFICATION FRONT PANEL CONTROLS 2 LES 850iR Classroom Amplification System 4 1 5 2 3 1. POWER Switch/POWER Indicator: This switch is used to turn the 850iR ON (switch up), or OFF (switch down). When the POWER switch is in the ON position, the POWER light will glow red. 2. IR Indicators (IR): These lights will glow red when the corresponding microphone is turned on. This light confirms the 850iR is receiving a steady infrared signal. 1 3.
850iR User Manual TROUBLESHOOTING GUIDE IR SENSOR INSTALLATION Note: Most problems are directly related to low battery power. Please run through the “Battery Check” items first. For remaining troubleshooting, use known good, fully-charged batteries. Battery Check • Confirm batteries are charged each night. • Make sure the LT-71 is turned off while charging so that it will attain a full charge. Full charge will last eight hours. • Make sure the charge cord is connected to the cradle charger.
850iR User Manual 850iR User Manual SYSTEM SPECIFICATIONS SYSTEM INSTALLATION Unpacking Your System Location of the Receiver/Amplifier OVERALL SPECIFICATIONS • Ensure that you have received all of the components of your system. Place the 850iR on a flat surface like a bookcase, countertop or optional LightSPEED wall shelf (part#AC-800WB). Power Output 12 W per channel (48 W total) Amplifier Frequency Response 40 Hz to 20 kHz ±3 dB Carrier Frequencies (IR) 2.06/2.54; 3.2/3.
850iR User Manual INDIVIDUAL COMPONENTS & OPTIONAL ACCESSORIES Part Number 850iR User Manual SYSTEM COMPONENTS Description RX-850 Infrared receiver/amplifier/mixer w/built-in charger LT71 LightMic™ rechargeable microphone/transmitter w/lavaliere cord, batteries and charging cable HM70 Handheld microphone/transmitter w/batteries and charging cable BA-NH1 Rechargeable AA battery (Nickel Metal Hydride) AC-TCC7 Charging cable for LT-71 and HM-70 microphones AC-LTCB Lavaliere cord for LT-71 PS-24
850iR User Manual 850iR User Manual USER NOTES 850iR CLASSROOM AMPLIFICATION SYSTEM Record your system serial numbers and purchase information. This is helpful when ordering additional components, accessories, and/or warranty service. 850iR Receiver/Amplifier LES 850iR Classroom Amplification System 1 4 3 2 VOL. ADJ. ALD OUT AUX OUT VOL. ADJ.
850iR User Manual USER NOTES 850iR User Manual TABLE OF CONTENTS 850iR CLASSROOM AMPLIFICATION SYSTEM Safety Instructions Daily Use Instructions ii 850iR Classroom Amplification System 1 System Components 2 System Installation 3 Unpacking Your System 3 Location of the Receiver/Amplifier 3 IR Sensor Placement 3 IR Sensor Installation 4 Suspended Ceiling Mount 4 Wall/Solid Ceiling Mount 4 Speaker Installation 4 Front Panel Controls 5–6 Rear Panel Controls 7–8 LightMic Controls and C
850iR User Manual DAILY USE INSTRUCTIONS 850iR User Manual USER NOTES TURN ON THE 850iR LES 850iR Classroom Amplification System POSITION THE LIGHTMIC Remove the LightMic from the charger and place it around your LT-71 neck. Adjust the neck strap so the top of the microphone rests just below your collarbone. LT-71 TURN ON THE LIGHTMIC Turn the microphone ON using CHARGE BATTERIES Return the LightMic to the cradle charger and recharge the LightMic the LightMic and speak normally.
850iR User Manual USER NOTES 850iR User Manual SAFETY INSTRUCTIONS 7.
850iR LightSPEED Classroom Amplification System L i g h t S P E E D Te c h n o l o g i e s , I n c . 1 1 5 0 9 S W H e rm a n R d Tu a l a t i n , O R 9 7 0 6 2 800.732.8999 w w w. l i g h t s p e e d - t e k .