
Manual


Table Of Contents
- Table of Contents
- List of Figures
- Chapter 1: Introduction
- Chapter 2: Getting to Know the Switch
- Chapter 3: Connecting the Switch
- Chapter 4: Using the Console Interface for Configuration
- Chapter 5: Using the Web-based Utility for Configuration
- Appendix A: About Gigabit Ethernet and Fiber Optic Cabling
- Appendix B: Windows Help
- Appendix C: Downloading using Xmodem
- Appendix D: Glossary
- Appendix E: Specifications
- Appendix F: Warranty Information
- Appendix G: Regulatory Information
- Appendix H: Contact Information
10
Chapter 3: Connecting the Switch
Placement Options
WebView Switches
Rack-Mount Placement
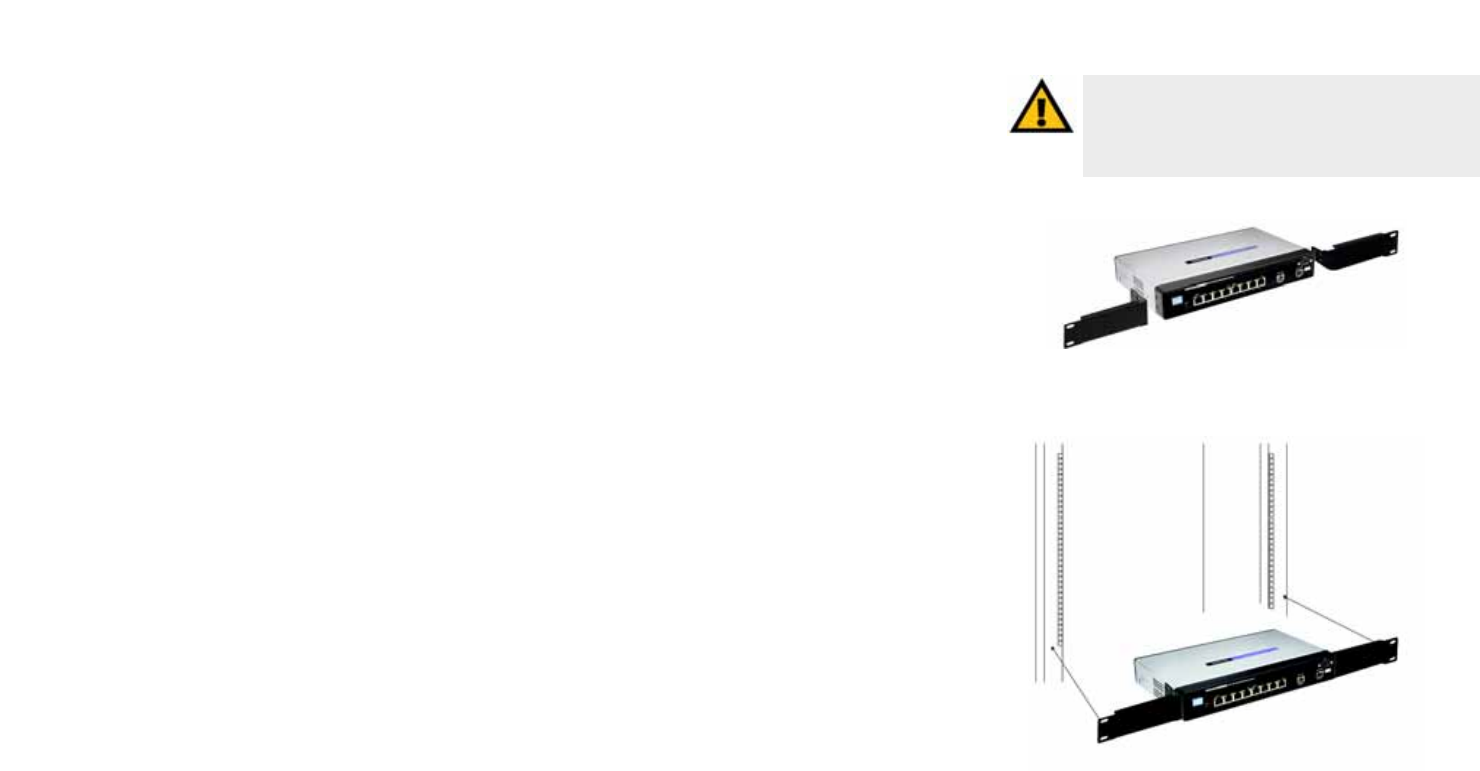
To mount the Switch in any standard-sized, 19-inch wide, 1U high rack, follow these instructions:
1. Place the Switch on a hard flat surface with the front panel facing you.
2. Attach a rack–mount bracket to one side of the Switch with the supplied screws. Then attach the other
bracket to the other side.
3. Make sure the brackets are properly attached to the Switch.
4. Use the appropriate screws (not included) to securely attach the brackets to your rack.
5. Proceed to the section, “Connecting the Switch.”
IMPORTANT: Make sure you use the screws
supplied with the mounting brackets. Using the
wrong screws could damage the Switch and would
invalidate your warranty.
Figure 3-3: Mount the Switch in the Rack
Figure 3-2: Attach the Brackets to the Switch