
Manual


Table Of Contents
- Table of Contents
- List of Figures
- Chapter 1: Introduction
- Chapter 2: Getting to Know the Switch
- Chapter 3: Connecting the Switch
- Chapter 4: Using the Console Interface for Configuration
- Chapter 5: Using the Web-based Utility for Configuration
- Appendix A: About Gigabit Ethernet and Fiber Optic Cabling
- Appendix B: Windows Help
- Appendix C: Downloading using Xmodem
- Appendix D: Glossary
- Appendix E: Specifications
- Appendix F: Warranty Information
- Appendix G: Regulatory Information
- Appendix H: Contact Information
24
Chapter 4: Using the Console Interface for Configuration
Configuring the Switch through the Console Interface
WebView Switches
Network Configuration
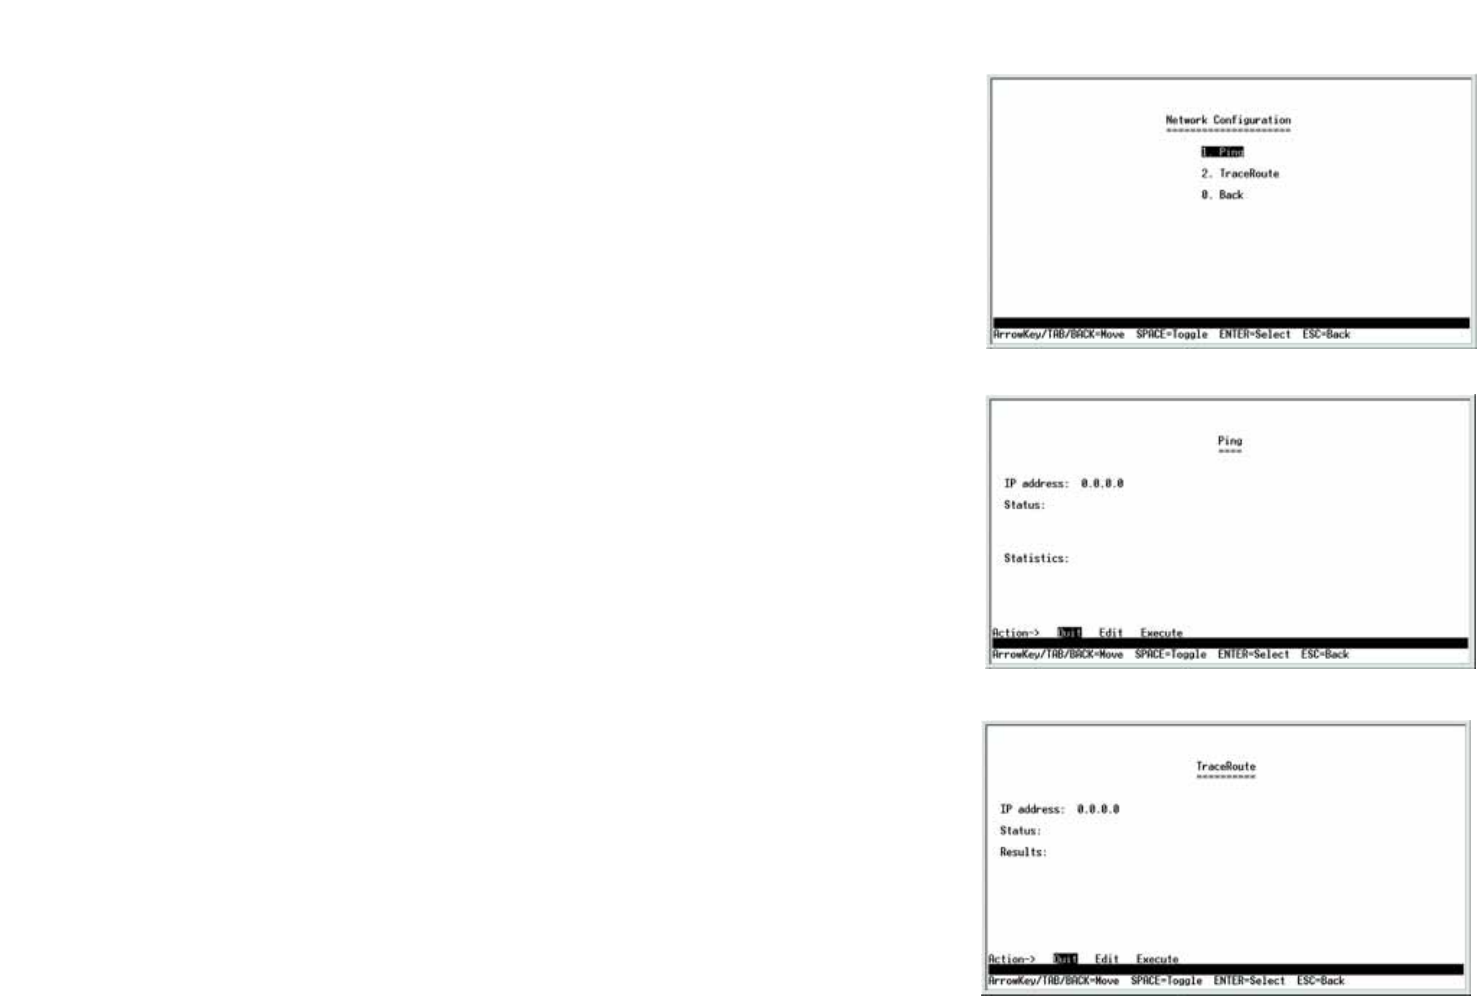
The Network Configuration screen offers a choice of two tests, Ping and TraceRoute.
Ping
The Ping screen displays the IP address of the location you want to contact.
Select Edit to change the IP address, and select Execute to begin the ping test.
After the ping test is complete, the Ping screen displays the IP address, status, and statistics of the ping test.
Select Edit and press the Enter key to make changes. When your changes are complete, press the Esc key to
return to the Action menu. Select Save and press the Enter key to save your changes. To exit, select Quit and
press the Enter key.
TraceRoute
The TraceRoute screen displays the IP address of the address whose route you want to trace.
Select Edit to change the IP address, and select Execute to begin the traceroute test.
After the traceroute test is complete, the TraceRoute screen displays the IP address, status, and statistics of the
traceroute test.
Select Edit and press the Enter key to make changes. When your changes are complete, press the Esc key to
return to the Action menu. Select Save and press the Enter key to save your changes. To exit, select Quit and
press the Enter key.
Figure 4-27: Network Configuration
Figure 4-28: Ping Test
Figure 4-29: TraceRoute Test