
ViewVision DR+ DVD Operating Manual


Table Of Contents
- Remote control Assist – recorder operation
- Front Panel
- Rear Panel & Display
- Welcome
- For your safety
- Essential Information
- Initial Installation
- Initial Remote Control Setup
- Resetting the DVD Recorder
- Switching over to Progressive Scan
- Connections - General
- Connecting to the Aerial
- Connecting to the Television
- Connecting to a set-top box / Satellite Receiver
- Connecting to an External Decoder Box
- Connecting to an Amplifier
- Connecting Audio/Video (A/V) Accessories
- Connecting a digital camcorder
- Activating Digital Link
- Basic Settings
- Main menu
- Setup menu
- The General Menu
- Language Menu
- Audio Menu
- Lock Menu
- Recording Menu
- Disc Menu
- Additional Screen Menus
- HDMI mode
- Video mode
- DivX mode
- Audio mode
- Photo mode
- Card-Reader mode
- Remote control Assist – Card-Reader operation
- Recording
- Edit recordings
- Menu Title List and Chapter List
- Edit Original and Playlist
- Add chapter markers
- Create new Playlist
- Add title/chapter to the Playlist
- Delete title/chapter from Original/Playlist
- Delete part
- Title Name
- Select title start point
- Select chapter
- Sorting
- Undo/redo deletion
- Combine titles
- Divide title
- Combine chapters
- Move Playlists Chapters
- Hide title/chapter
- Protect title
- Dubbing
- Troubleshooting
- Technical Specifications
- Operating additional devices
- Remote control Assist – TV-operation
- Language Code List
- List of country codes
- Glossary
- Index
- Service
25 -
Recording Menu
Rec Mode Set
You can set the picture quality for recording:
DVD+/-R/RW (4,7 GB) HQ mode: approx. 1 hour.
SQ mode: 2 hours.
LQ mode: 4 hours.
EQ mode: 6 hours.
HDD (160 GB) HQ mode: approx. 43 hours.
SQ mode: approx. 80 hours.
LQ mode: approx. 152 hours.
EQ mode: approx. 227 hours.
OK
OK
Rec Mode Set
Rec Aspect
DV Rec Audio
TV Rec Audio
Auto Chapter
AV2 Recording
EQ
LQ
SQ
HQ
3 Prev.
SelectMove
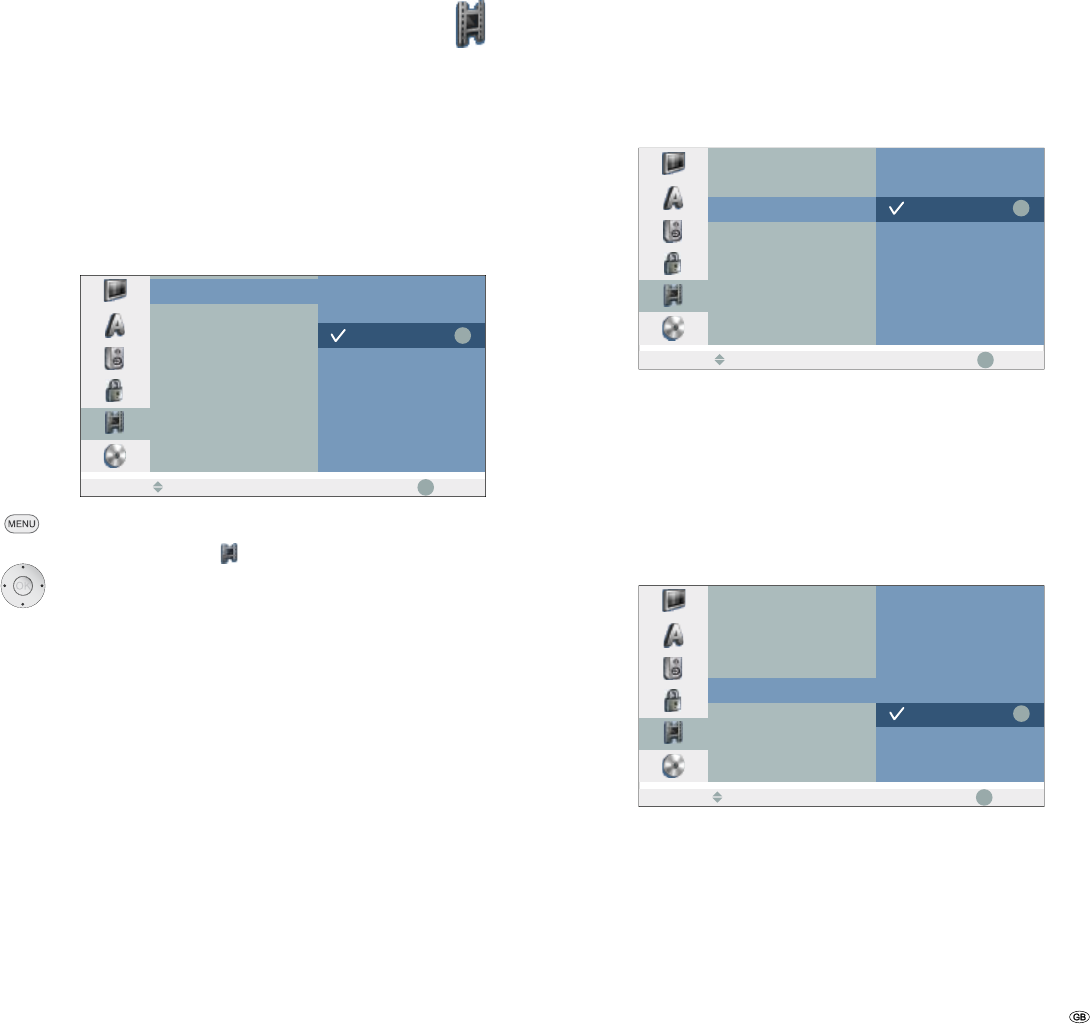
Call menu.
5 6 Select symbol Record.
4 Call second level.
5 6 Select Rec Mode Set.
4 Call third level.
56 Set desired recording quality (EQ, LQ, SQ or HQ).
Confirm with OK.
Rec Aspect
You can adapt the picture format (16:9 or 4:3) to the material being recorded
during the recording.
DV Rec Audio
You need to use this setting if your camcorder with
32 KHz / 12-bit is connected to the DV IN socket on the front panel.
Some digital camcorders have two stereo tracks for audio. One is used for record-
ing, the other is used for post-editing.
On the Audio 1 setting the original sound is recorded.
On the Audio 2 setting the edited sound is used.
OK
OK
Rec Mode Set
Rec Aspect
DV Rec Audio
TV Rec Audio
Auto Chapter
AV2 Recording
Audio 1
Audio 2
3 Prev.
SelectMove
TV Rec Audio
When recording bilingual TV you can select the audio channel to be recorded.
. Audio 1+2: both languages are recorded.
Audio 1: language 1 only.
Audio 2: language 2 only.
Auto Chapter
Chapter start marks are inserted at fixed intervals in recordings on DVDs in video
mode. You can select intervals of 5, 10 or 15 minutes. If you select None automatic
chapter setting is switched off.
OK
OK
Rec Mode Set
Rec Aspect
DV Rec Audio
TV Rec Audio
Auto Chapter
AV2 Recording
None
5 Min
10 Min
15 Min
3 Prev.
SelectMove
AV2 Recording
The signal type can be selected to record the video in signal of a device connected
to the EURO AV2 DECODER.
Auto The video in signal is adapted automatically to the received
video signal.
CVBS Only for recording a CVBS input signal.
RGB Only for recording an RGB input signal.
Initial Installation