
ViewVision DR+ DVD Operating Manual


Table Of Contents
- Remote control Assist – recorder operation
- Front Panel
- Rear Panel & Display
- Welcome
- For your safety
- Essential Information
- Initial Installation
- Initial Remote Control Setup
- Resetting the DVD Recorder
- Switching over to Progressive Scan
- Connections - General
- Connecting to the Aerial
- Connecting to the Television
- Connecting to a set-top box / Satellite Receiver
- Connecting to an External Decoder Box
- Connecting to an Amplifier
- Connecting Audio/Video (A/V) Accessories
- Connecting a digital camcorder
- Activating Digital Link
- Basic Settings
- Main menu
- Setup menu
- The General Menu
- Language Menu
- Audio Menu
- Lock Menu
- Recording Menu
- Disc Menu
- Additional Screen Menus
- HDMI mode
- Video mode
- DivX mode
- Audio mode
- Photo mode
- Card-Reader mode
- Remote control Assist – Card-Reader operation
- Recording
- Edit recordings
- Menu Title List and Chapter List
- Edit Original and Playlist
- Add chapter markers
- Create new Playlist
- Add title/chapter to the Playlist
- Delete title/chapter from Original/Playlist
- Delete part
- Title Name
- Select title start point
- Select chapter
- Sorting
- Undo/redo deletion
- Combine titles
- Divide title
- Combine chapters
- Move Playlists Chapters
- Hide title/chapter
- Protect title
- Dubbing
- Troubleshooting
- Technical Specifications
- Operating additional devices
- Remote control Assist – TV-operation
- Language Code List
- List of country codes
- Glossary
- Index
- Service
- 30
Playing back a DVD or video CD
Preparation
Switch the television on and set the video source to be the input that the recorder
has been connected to or activate the “Control voltage“ option for the television‘s
AV input.
If you have connected the recorder to an audio system, switch on the audio system
and, as the source, set the input that the DVD recorder has been connected to.
Open the disc drawer.
Insert the selected disc in the drawer with the side to be played
facing down.
Close the drawer.
READING shows on the display while disc recognition is in
progress.
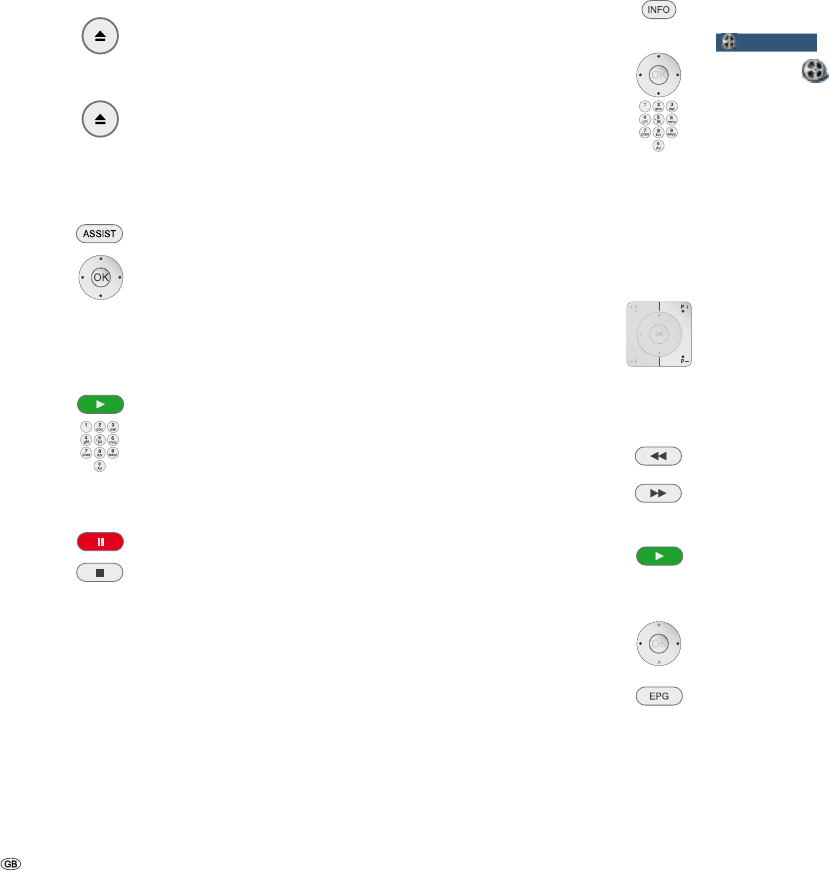
Play
Call main menu.
34 Select FILM.
56 Select HDD, HDD DivX or Disc.
Confirm selection with OK.
A menu appears on the screen.
5 634Select title on DVD.
Start / continue playing.
Select title on (S)VCD.
The menu setting and the exact operating instructions for the
disc may differ from disc to disc. Follow the instructions on the
individual menu pages.
Pause: Pause playing.
Stop: Finish playing.
You will find further information on page 28.
➠ If the child lock is active and the DVD disc‘s security rating is higher than
that of the child lock, the four-digit password will need to be entered (see “Rat-
ings“ on page 23).
➠ DVD‘s have a country code. The recorder will not play a disc that has a
country code which differs from the country code stored in the unit. This player
has country code 2.
➠ You can also switch off (OFF) PBC for (S)VCD (see page 27) in the main menu.
General functions
➠ Unless otherwise indicated, the remote control (page 3) is able to control
the functions described. The recorder‘s own controls can also be used to control
certain functions (page 4).
Select TITLE HDD DVD-ALL DivX
Twice to select the Title menu.
DVD-Video
1/10
0:12:34
1.STEREO
OFF
1/1
NORMAL
4/14
5 6 Select symbol.
34 Select title number.
OK start playing.
Select CHAPTER / TRACK
HDD DVD-ALL VCD
If a title has several chapters/tracks, you can select another
chapter/track as follows:
P+ or P- during playing to select the next chapter/next track or
return to the beginning of the current chapter/track.
P- twice briefly to return to the previous chapter/track.
Search HDD DVD-ALL VCD DivX CD
Select the search direction and speed:
Press several times for faster search in reverse.
Press several times for faster search forwards.
Speed and direction are shown as arrows.
End search mode and continue playing.
Skip
34 Jump back/forward 5 minutes during playing (HDD).
Jump forward 15 seconds during playing (HDD, DVD±R,
DVD±RW).
Video mode